Tiling around a garden tub is a popular way to enhance bathroom aesthetics while protecting surfaces from moisture damage. However, it requires precision and careful planning to achieve both a beautiful and durable finish. Whether you’re a seasoned DIYer or a first-time tiler, understanding the right techniques can save you time, money, and frustration.
In this comprehensive guide, you’ll learn how to tile around a garden tub effectively, covering everything from surface preparation to grout application. We’ll dive into essential tips, tools needed, common pitfalls, and expert advice to ensure your tiling project stands the test of time. By the end, you’ll have the confidence and knowledge to transform your bathroom into a stylish, water-resistant sanctuary.
Why Tiling Around a Garden Tub is Important
A garden tub, often larger and deeper than standard tubs, demands extra attention to moisture management. Tiling serves both decorative and functional purposes:
- Waterproofing: Properly installed tiles create a moisture barrier.
- Durability: Tiles withstand splashes and humidity better than paint or wallpaper.
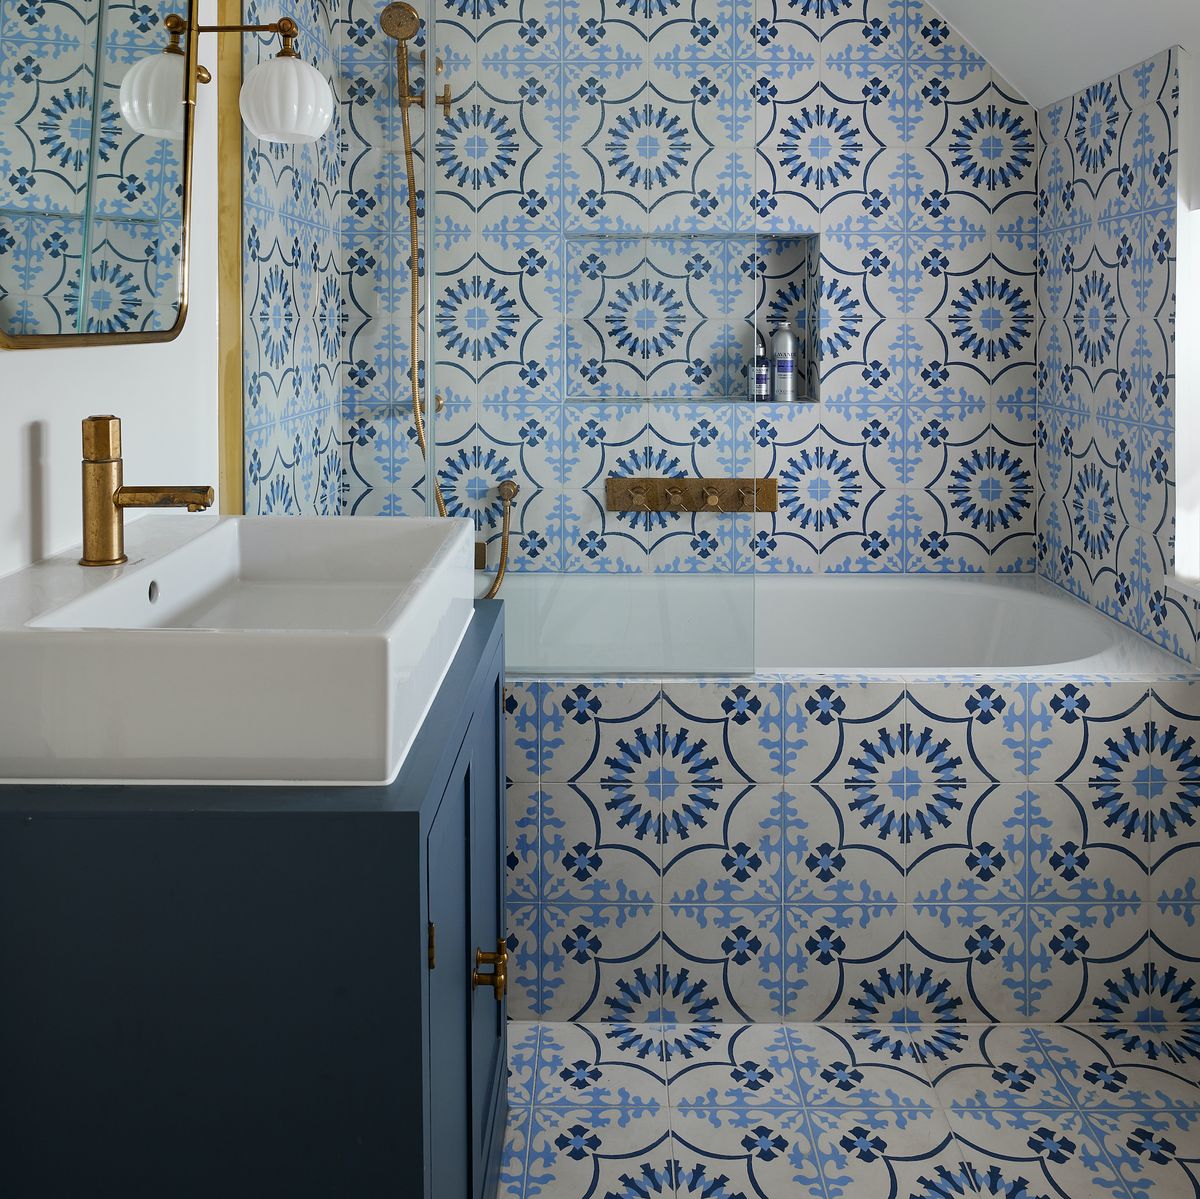
- Aesthetics: Tiles offer endless design possibilities, from classic subway to mosaic patterns.
Tools and Materials Needed for Tiling Around a Garden Tub
Before starting, gather the essential tools and materials:
- Ceramic or porcelain tiles (water-resistant)
- Tile adhesive or thin-set mortar
- Notched trowel
- Tile spacers
- Tile cutter or wet saw
- Grout (preferably waterproof)
- Grout float
- Sponge and bucket of water
- Level and measuring tape
- Waterproof backer board or cement board
- Silicone caulk (for joints)
- Safety gear (gloves, goggles)
Step-by-Step Guide: How to Tile Around a Garden Tub
Step 1: Prepare the Surface
Why this matters: A smooth, clean surface ensures tiles adhere correctly and last longer.
- Remove any old tiles, wallpaper, or paint around the tub area.
- Repair any damaged drywall or plaster.
- Install a waterproof cement backer board around the tub, especially if the area is prone to moisture.
- Seal any gaps or seams with waterproof tape and thin-set.
Step 2: Plan Your Tile Layout
Key tip: Dry-lay a few tiles to visualize spacing and design.
- Measure the wall areas around the tub precisely.
- Start tiling from the most visible corner or from the tub edge.
- Use a level to mark a straight line as a starting point.
- Account for tile cuts around fixtures and curves.
Step 3: Apply Tile Adhesive
- Use a notched trowel to spread thin-set mortar evenly on a small section.
- Work in small areas to prevent the adhesive from drying out before tile placement.
Step 4: Place the Tiles and Use Spacers
- Press tiles firmly into the adhesive with a slight twisting motion.
- Insert tile spacers between tiles for consistent grout lines.
- Regularly check alignment with a level.
- Cut tiles as needed to fit edges and corners using a tile cutter or wet saw.
Step 5: Let Tiles Set
- Allow the adhesive to dry as per manufacturer instructions (usually 24 hours).
Step 6: Apply Grout
- Remove tile spacers.
- Mix grout according to instructions.
- Use a grout float to press grout into the joints at a 45-degree angle.
- Wipe off excess grout with a damp sponge before it dries.
- Let grout cure fully (usually 24-72 hours).
Step 7: Seal and Caulk
- Apply silicone caulk around the tub edges where tiles meet the tub to prevent water seepage.
- Seal grout lines with a grout sealer for added protection and longevity.
Tips for Tiling Around Curved or Irregular Tub Edges
- Use smaller tiles or mosaic tiles for curved edges; they conform better to shapes.
- Consider tile trim or bullnose tiles for clean, finished edges.
- For complex curves, use a tile nipper to make small, precise cuts.
Common Mistakes to Avoid When Tiling Around a Garden Tub
- Skipping waterproofing steps, leading to mold and water damage.
- Not using tile spacers, resulting in uneven grout lines.
- Applying adhesive to too large an area at once.
- Neglecting to seal grout, which can absorb moisture.
- Using non-waterproof grout or caulk.
Expert Insights: Why Professional Installation Might Be Worth It
While DIY tiling is achievable, professionals bring:
- Precision cutting and fitting skills.
- Experience with waterproofing standards.
- Tools for complex tile patterns and curves.
- Time-saving efficiency and quality assurance.
Maintenance Tips for Tiled Garden Tub Surrounds
- Clean tiles regularly with pH-neutral cleaners.
- Reseal grout annually to maintain water resistance.
- Inspect and replace caulk if cracks or gaps appear.
- Avoid harsh chemicals that can degrade grout and sealants.
Frequently Asked Questions (FAQs)
Q1: Can I tile directly over drywall around my garden tub?
No. Drywall is not moisture-resistant and will degrade over time. Use cement backer board designed for wet areas.
Q2: What type of tile is best for garden tubs?
Porcelain and ceramic tiles are durable and water-resistant. Mosaic tiles work well for curves.
Q3: How long does tiling around a garden tub take?
Typically 2-4 days, including drying and curing times.
Q4: How do I prevent mold behind the tiles?
Ensure proper waterproofing with backer boards, waterproof membranes, and sealed grout and caulk.
Conclusion
Tiling around a garden tub combines functionality with style, creating a bathroom feature that is both beautiful and resilient. By following a structured approach—preparing surfaces properly, planning layouts, using the right materials, and applying precise techniques—you can achieve professional-quality results. Remember, waterproofing is paramount to prevent costly damage, so never cut corners in this area.
Whether you choose to DIY or hire a professional, understanding the tiling process empowers you to make informed decisions and ensures your garden tub area remains a luxurious and inviting space for years to come. Ready to start your tiling project? Gather your tools, plan meticulously, and transform your bathroom today!
