Maintaining your garden tiller is essential for efficient soil cultivation and a thriving garden. One critical aspect of upkeep is sharpening the tiller tines. Sharp tines penetrate soil more easily, improve aeration, and reduce strain on your equipment. If your garden tiller tines are dull, you might notice poor soil turnover, increased fuel consumption, and slower work progress. In this comprehensive guide, we’ll walk you through how to sharpen garden tiller tines effectively, ensuring your tiller performs at its best every season.
You’ll learn why sharpening matters, the tools you need, safety tips, and step-by-step instructions to restore your tines. Whether you’re a seasoned gardener or a beginner, this guide will give you the confidence to maintain your tiller like a pro.
Why Sharpening Garden Tiller Tines Is Important
Sharp tines cut through soil cleanly and efficiently. Here are the key benefits of keeping your tines sharp:
- Improved Soil Penetration: Sharp edges dig into compact soil more easily.
- Better Aeration: Efficient tilling increases oxygen flow, promoting healthy root growth.
- Reduced Fuel and Effort: Your tiller works less hard, saving fuel and reducing wear.
- Longer Equipment Life: Regular maintenance prevents corrosion and damage.
Dull tines, conversely, grind against the soil, wear out faster, and can lead to uneven tilling.
When to Sharpen Your Tiller Tines
Knowing when to sharpen is just as important as knowing how. Look out for these signs:
- Tines appear rounded or blunted at the edges.
- The tiller struggles or requires more power to break soil.
- Uneven soil cultivation, with clumps left untouched.
- Visible rust or corrosion on the blades.
Proactive sharpening every 10 to 15 hours of use or at the start of each gardening season can help maintain optimal performance.
Tools and Materials Needed for Sharpening Garden Tiller Tines
Before you start, gather the following tools:
- Wire brush or steel wool (for cleaning)
- Angle grinder with a metal grinding disc or a metal file
- Safety goggles and work gloves
- Clamp or vise to secure the tines
- Rust remover or penetrating oil (optional)
- Marker or chalk (to mark edges for sharpening guidance)
Step-by-Step Guide to Sharpen Garden Tiller Tines
1. Prepare and Clean the Tines
- Turn off and disconnect the tiller from power sources.
- Remove debris, dirt, and rust with a wire brush or steel wool.
- Apply rust remover or penetrating oil if necessary, then wipe clean.
Cleaning ensures a smooth sharpening process and prevents clogging your tools.
2. Remove the Tines (Optional but Recommended)
- Consult your tiller’s manual for tine removal instructions.
- Use a wrench or screwdriver to detach tines safely.
- Securing tines in a vise makes sharpening easier and safer.
If removal isn’t feasible, sharpen while the tines are attached, but be extra cautious.
3. Mark the Sharpening Edges
- Use a marker or chalk to highlight the existing bevel or cutting edge.
- This visual guide prevents over-grinding and maintains the original tine shape.
4. Sharpen the Tines
With an angle grinder: Hold the grinder at a 30 to 45-degree angle to the tine edge. Use smooth, even strokes to grind along the marked edge. Avoid overheating the metal by grinding in short bursts.
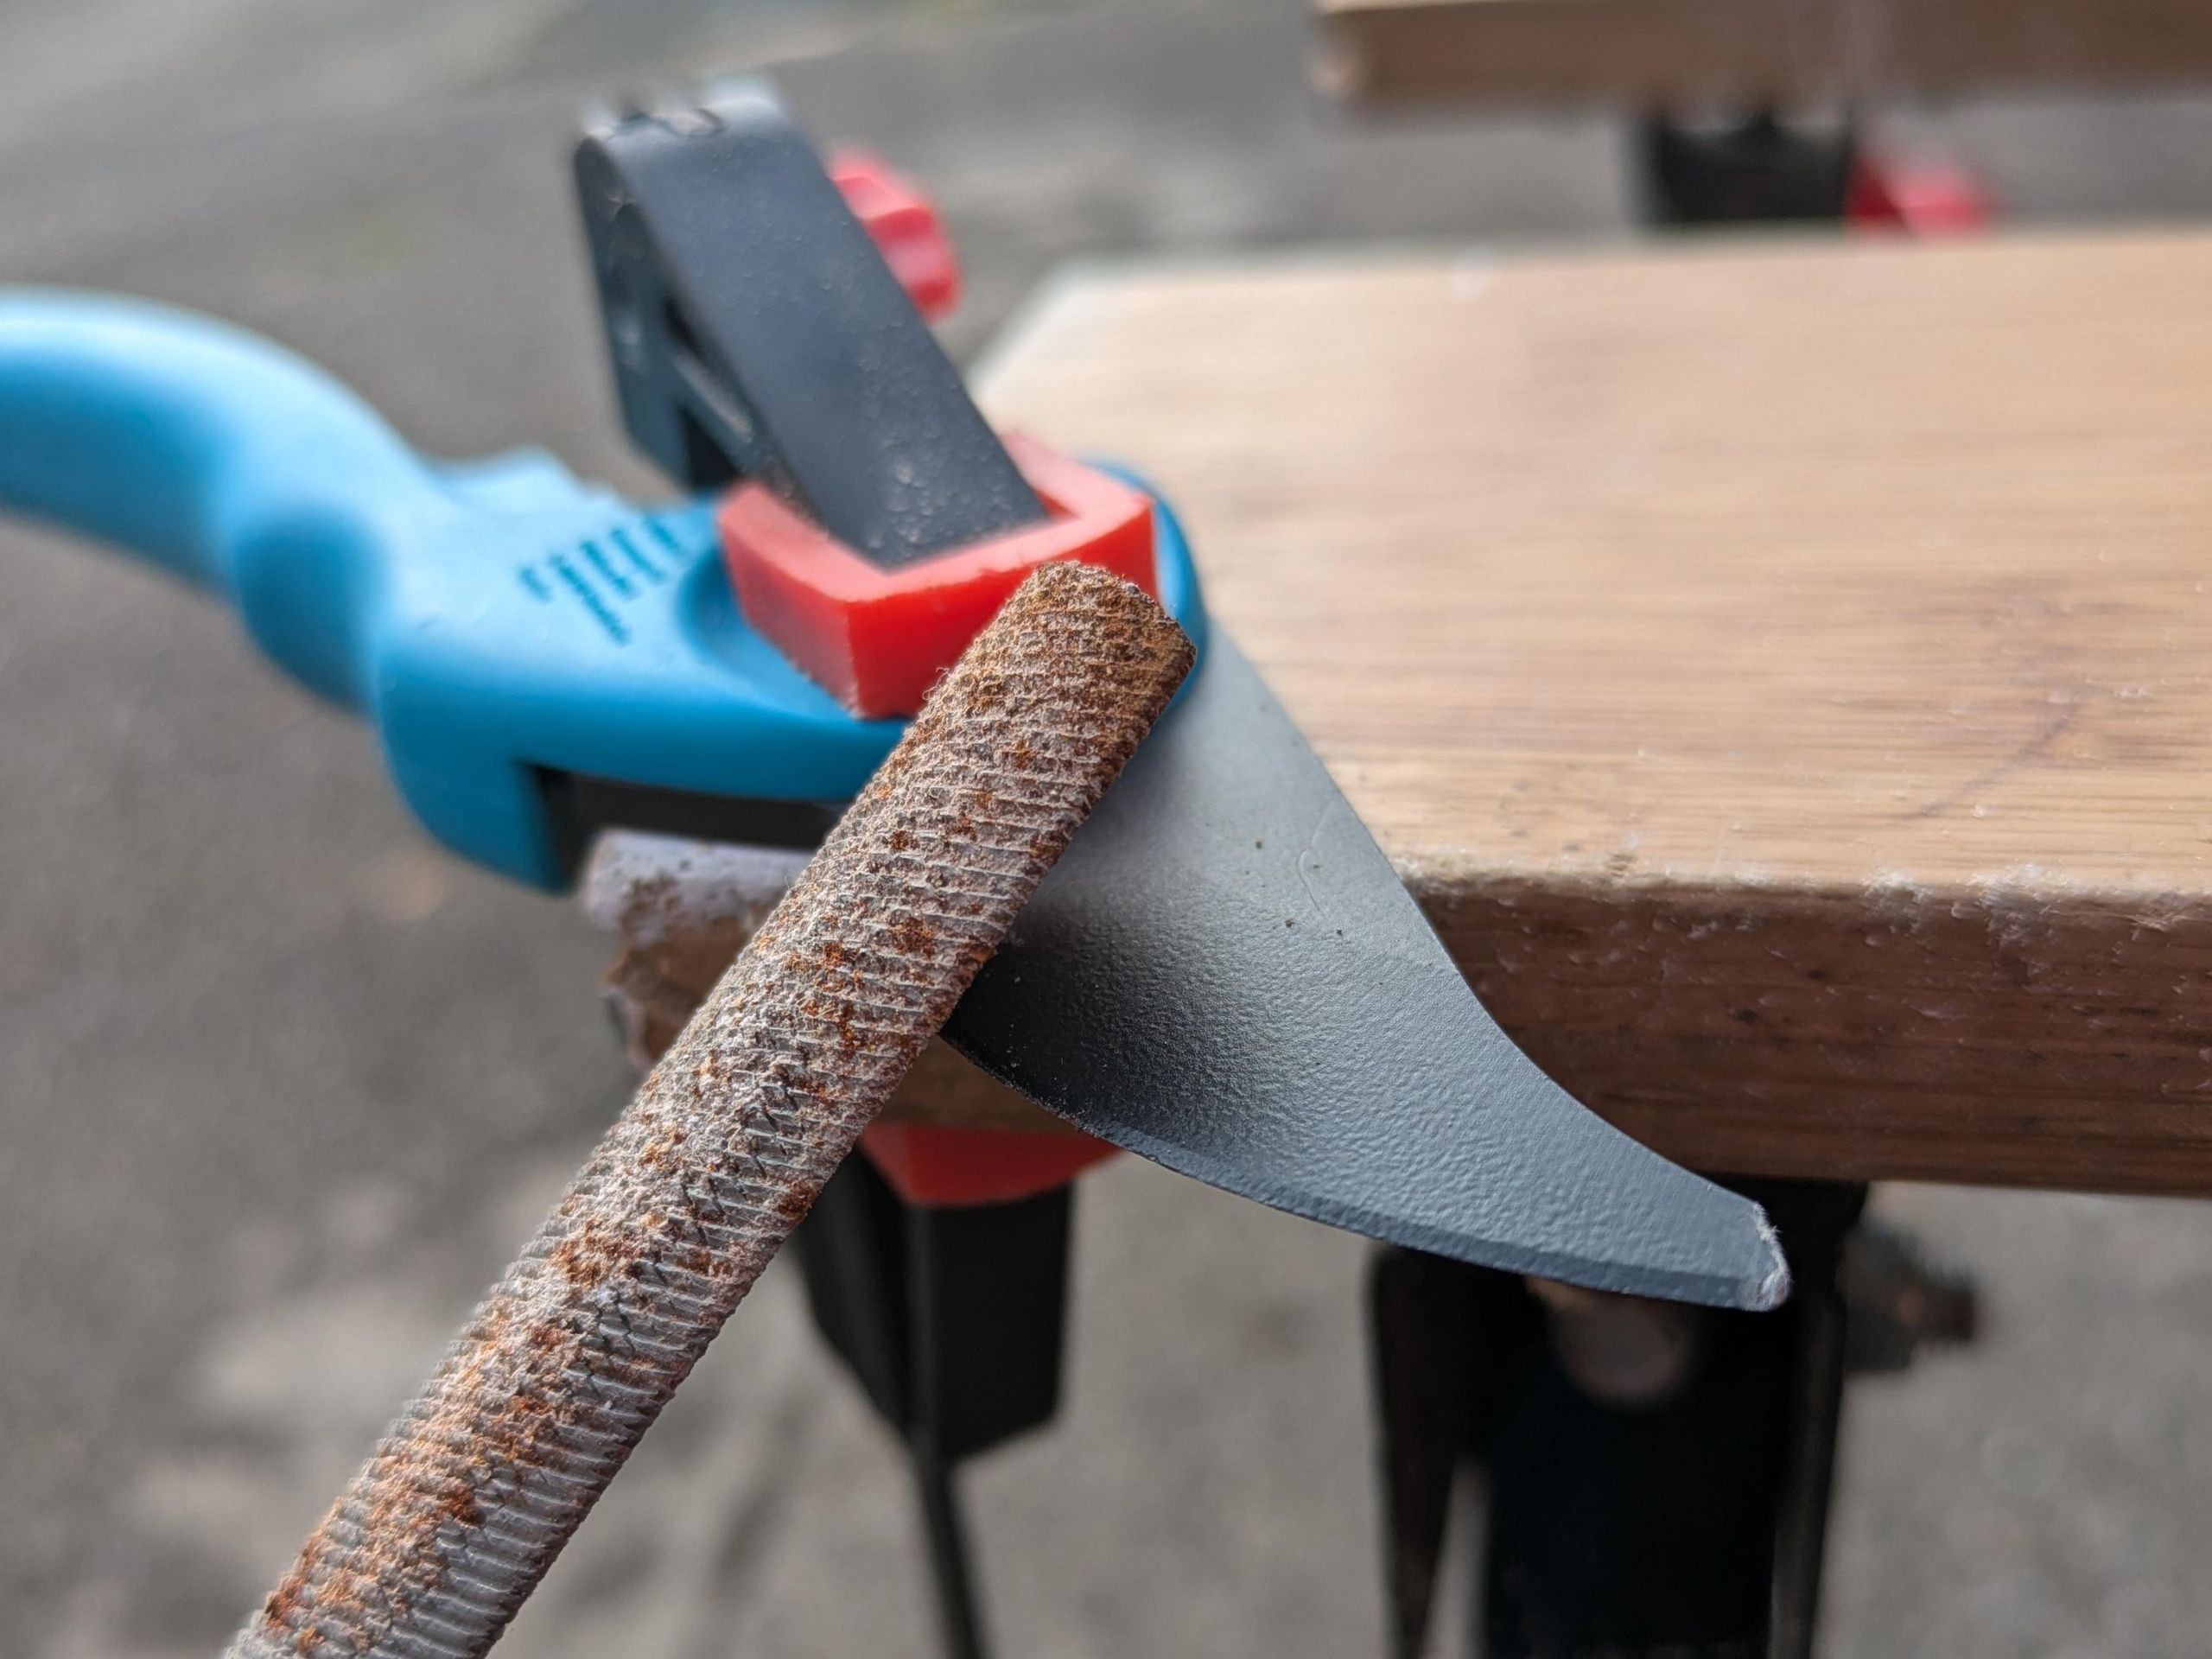
With a metal file: Secure the tine in a vise. File in one direction along the edge, maintaining the original bevel angle. Use consistent pressure until the edge is sharp.
Aim for a sharp, clean edge without removing too much metal.
5. Inspect and Smooth the Edges
- Check for burrs or rough spots.
- Use a finer file or sandpaper to smooth edges and prevent injury during use.
6. Reattach the Tines
- Securely bolt or screw the tines back onto the tiller.
- Double-check tightness to avoid loosening during operation.
7. Test the Tiller
- Run the tiller in a safe area.
- Observe tine performance and soil penetration.
- If needed, repeat sharpening or make minor adjustments.
Safety Tips When Sharpening Tiller Tines
- Always wear safety goggles to protect your eyes from metal shards.
- Use work gloves to avoid cuts and abrasions.
- Work in a well-ventilated area to avoid inhaling dust.
- Keep your workspace clean and free of flammable materials.
- Disconnect power sources before starting any maintenance.
Additional Maintenance Tips for Garden Tiller Tines
- After sharpening, apply a light coat of oil to prevent rust.
- Clean tines after each use to maintain performance.
- Inspect for cracks or severe wear—replace tines if damaged.
- Store your tiller in a dry place to minimize corrosion.
Frequently Asked Questions (FAQs)
Q1: Can I sharpen tiller tines with a hand file?
Yes, a metal hand file works well for regular maintenance and minor sharpening. It’s cost-effective and safe but requires more time and effort than a grinder.
Q2: How often should I sharpen tiller tines?
Typically, every 10-15 hours of use or once per gardening season. Heavy use or tough soil may require more frequent sharpening.
Q3: Can dull tines damage my garden soil?
Dull tines don’t cut soil cleanly, which can lead to poor aeration, uneven soil texture, and more effort for plants to grow.
Conclusion
Sharpening garden tiller tines is a simple yet vital task that significantly improves your tiller’s efficiency and longevity. With the right tools and techniques, you can restore your tines to sharpness, ensuring better soil cultivation and a healthier garden. Regular maintenance not only saves time and fuel but also protects your equipment investment. Start sharpening your tiller tines today to enjoy smoother, easier gardening seasons ahead!
Ready to boost your garden tiller’s performance? Gather your tools and keep those tines sharp for the best soil preparation results!
