Garden fabric, also known as landscape fabric or weed barrier, is an essential tool for maintaining a weed-free, healthy garden. However, to allow your plants to thrive, you need to make precise holes in the fabric for seedlings and mature plants. This article will guide you through the best techniques for making holes in garden fabric, ensuring your plants receive adequate air, water, and nutrients while keeping weeds at bay.
Why Make Holes in Garden Fabric?
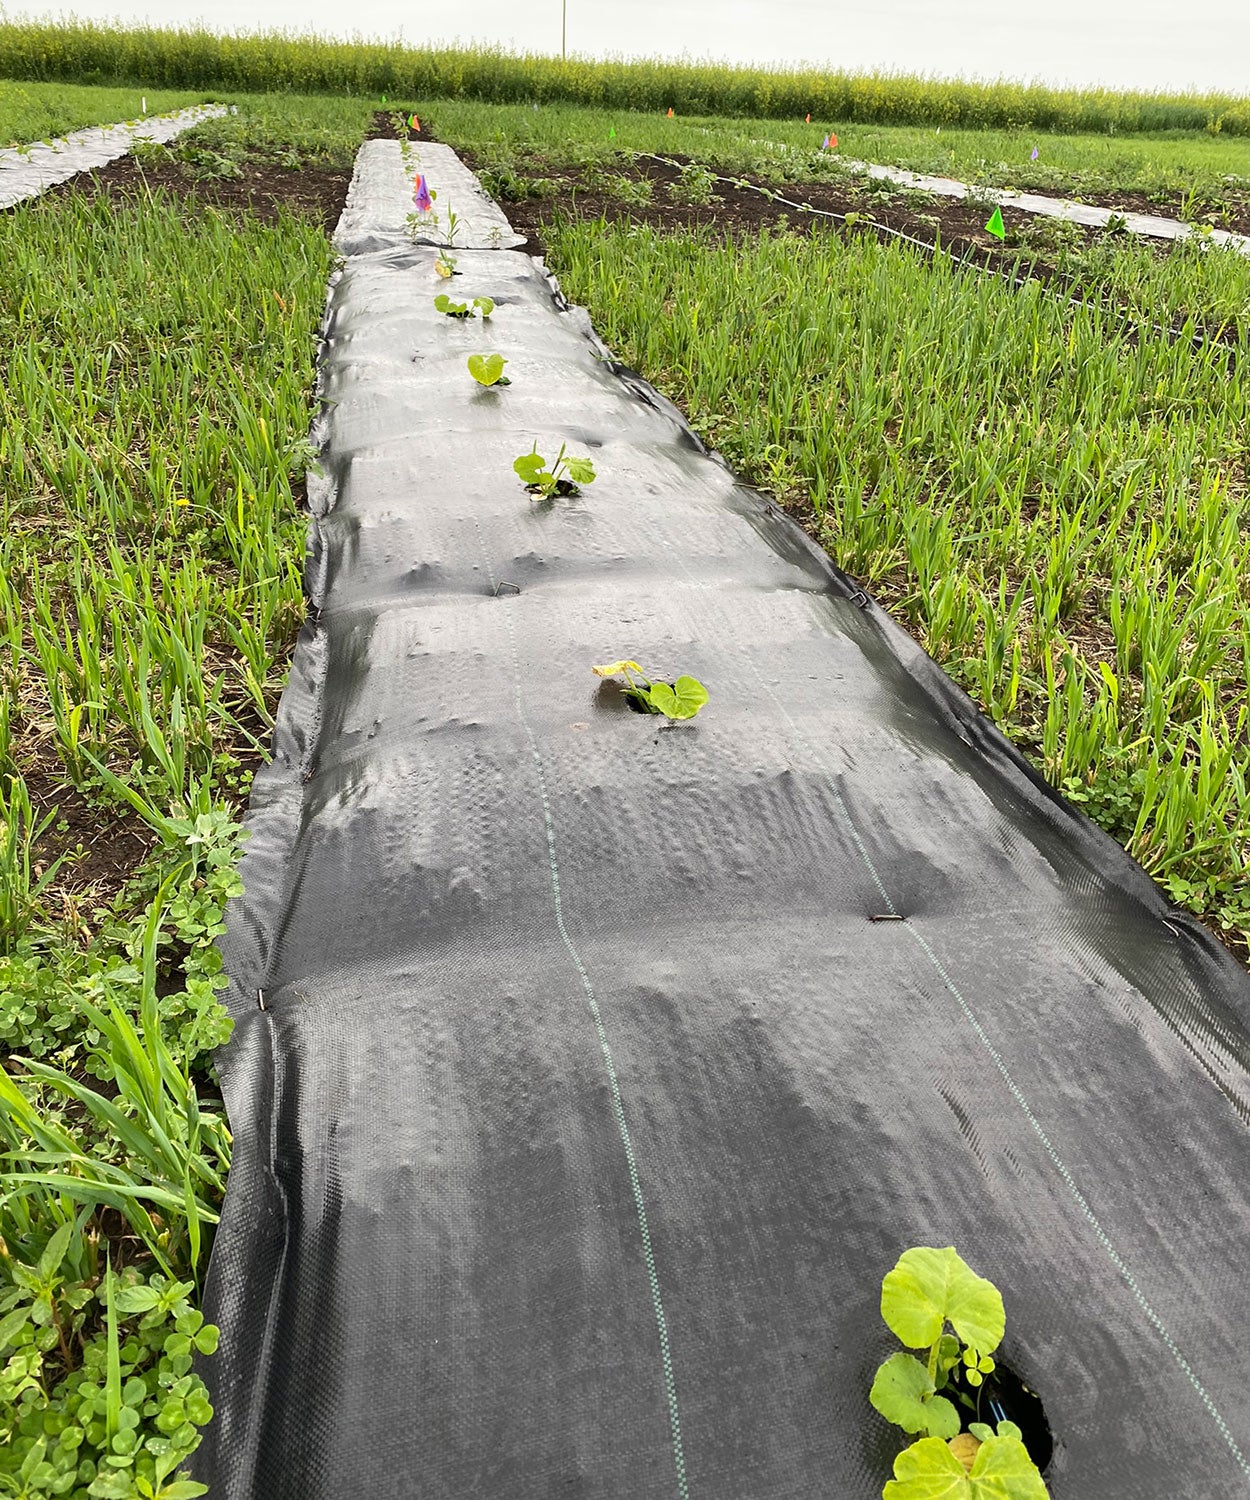
Garden fabric acts as a protective barrier by blocking sunlight and suppressing weed growth. But without holes, plants can’t access the soil, leading to poor growth or even death. Properly made holes:
- Allow water and air to reach roots
- Enable plants to grow without restriction
- Maintain fabric’s weed-blocking effectiveness
- Prevent fabric tearing or damage over time
What You’ll Need to Make Holes in Garden Fabric
Before starting, gather these tools to make the process efficient and clean:
- Sharp utility knife or garden scissors
- Hand trowel or dibber (optional)
- Measuring tape or ruler
- Marker or chalk
- Gloves (for protection)
How to Make Holes in Garden Fabric: Step-by-Step
1. Plan Your Layout
Before cutting, decide where your plants will go. Measure and mark each spot with chalk or a marker. Proper spacing depends on the plant type, so check seed packets or plant tags for guidance.
2. Prepare the Fabric
Lay the garden fabric flat and smooth out wrinkles to ensure accurate hole placement. If installing new fabric, secure edges with landscape staples to prevent shifting.
3. Cut the Holes
Use one of these methods based on the size of the plant and your preference:
- Small Cross or X-Cut:
- Use a sharp utility knife to cut a small “X” at the marked spot.
- Gently fold back the fabric flaps to create an opening.
This method is ideal for seedlings and transplants.
Circular Hole:
- Using garden scissors, cut a round hole slightly larger than the root ball.
This works best for larger plants or shrubs.
Square or Rectangular Hole:
- Cut a neat square or rectangle for plants that need more space.
- Useful for vegetables like tomatoes that require room to grow.
4. Insert Plants
Place the seedling or plant into the hole carefully, ensuring roots have good soil contact. Fold the fabric edges around the stem to minimize weed growth.
5. Secure the Fabric Around Plants
If needed, use soil or mulch to hold the fabric edges in place around the plant base. This prevents lifting and exposure to weeds.
Tips for Making Effective Holes in Garden Fabric
- Avoid tearing the fabric beyond the hole: Excessive tearing compromises the weed barrier function.
- Make holes just big enough for plants: Larger holes invite weeds to grow through.
- Use sharp tools: Dull blades can cause ragged cuts and damage fabric integrity.
- Work carefully around mature plants to avoid disturbing roots.
Common Questions About Holes in Garden Fabric
Can I Make Holes After Installing Fabric?
Yes, you can cut holes after laying fabric, but it’s best to plan holes ahead of time to minimize fabric damage.
How Big Should the Holes Be?
Holes should be just large enough to fit the plant’s root ball or seedling stem. For seedlings, a small slit suffices. For mature plants, measure root size and add a little extra room.
Will Water Pass Through the Holes?
Yes, garden fabric is permeable, allowing water and air to pass through. Holes help direct water to roots more effectively.
Real-World Example: Successful Use of Garden Fabric with Holes
A community garden in Seattle reported a 40% reduction in weed growth and a 30% increase in vegetable yield after using garden fabric with carefully cut holes for their crops. The key to their success was precise hole placement and minimal fabric damage, demonstrating how this simple technique boosts garden productivity.
Conclusion
Making holes in garden fabric is a crucial step to balance weed control with healthy plant growth. By planning your layout, using sharp tools, and cutting holes just the right size, you can ensure your plants thrive while keeping weeds at bay. Remember, the key lies in precision and care—small, neat holes are better than large, ragged ones.
Start applying these methods in your garden today, and watch your plants flourish with the perfect blend of protection and nourishment!
Ready to transform your garden? Grab your garden fabric and tools, and start making those perfect holes for a thriving, weed-free garden environment!
