Garden netting is an essential tool for many gardeners. It helps protect plants from pests, birds, and harsh weather, ensuring a healthy and abundant harvest. Whether you want to shield your vegetable patch, fruit trees, or delicate flowers, making your own garden netting can be cost-effective and customized to your needs. In this comprehensive guide, we’ll walk you through how to make garden netting from scratch, the materials you need, and tips to ensure it lasts all season long.
Why Use Garden Netting?
Garden netting acts as a physical barrier that protects your plants without the use of chemicals. It:
- Keeps out birds, insects, and small animals
- Provides shade and reduces wind damage
- Helps retain moisture and can improve plant growth
- Is reusable and environmentally friendly
By making your own netting, you can tailor the size and mesh density to suit your garden’s specific needs.
Materials Needed to Make Garden Netting
Before you start, gather the following supplies:
- Netting material: Choose from nylon, polyethylene, or polypropylene mesh. The mesh size depends on the pests you want to exclude.
- Measuring tape: To measure your garden area accurately.
- Scissors or utility knife: For cutting the netting.
- Rope or twine: To secure the netting around plants or garden frames.
- Garden stakes or poles: To hold the netting up and create a structure.
- Zip ties or garden clips: For fastening the netting to supports.
- Optional: Sewing kit or heat sealer: To reinforce edges if needed.
Step-by-Step Guide: How to Make Garden Netting
Step 1: Measure Your Garden Area
- Use a measuring tape to determine the length, width, and height of the area you want to cover.
- Add extra length and width for securing the netting around the edges.
Step 2: Choose the Right Netting Material
- For bird protection, use a fine mesh (about 1/2 inch).
- For insect control, opt for an even finer mesh (1/8 inch or less).
- For larger animals like rabbits, a mesh size around 1 inch works well.
- Nylon or polyethylene netting is durable and resistant to UV rays.
Step 3: Cut the Netting to Size
- Lay the netting flat on a clean surface.
- Cut it according to your measurements, allowing at least 6 inches extra on each side for securing.
Step 4: Reinforce the Edges
- To prevent fraying, fold the edges and sew them or use a heat sealer if your material allows.
- Alternatively, attach a rope along the edge by sewing or tying to add strength.
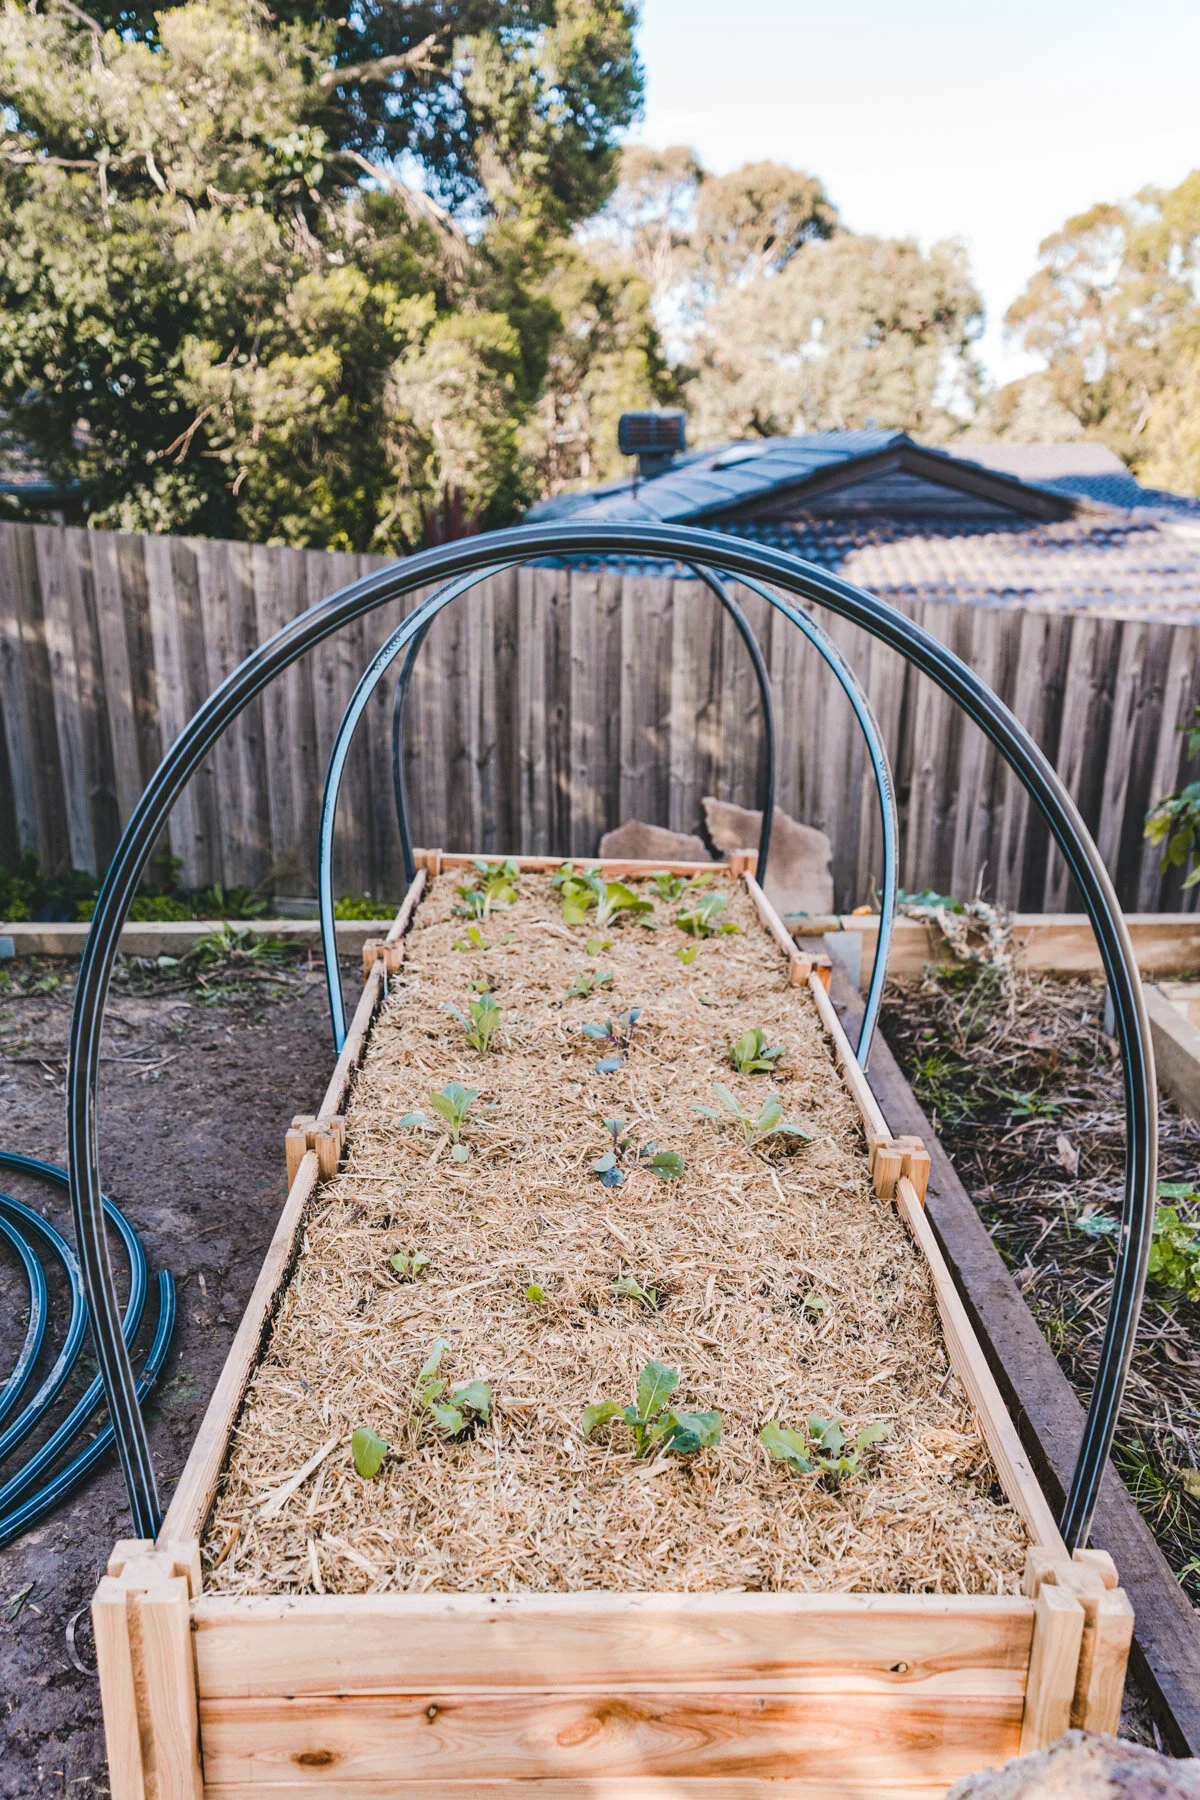
Step 5: Set Up the Support Structure
- Install garden stakes or poles around your planting area.
- Space them evenly to hold the netting taut.
Step 6: Drape and Secure the Netting
- Carefully drape the netting over your plants or frame.
- Use rope, twine, zip ties, or garden clips to fasten the netting to the stakes or poles.
- Ensure the netting reaches the ground or is anchored securely to prevent pests from sneaking underneath.
Tips for Effective Garden Netting Use
- Inspect regularly for tears or loose areas and repair immediately to maintain protection.
- Remove netting during pollination if covering flowering plants that require insect access.
- Store netting properly in a dry place during off-season to extend its lifespan.
- Adjust mesh size based on recurring pest problems.
- Use lightweight materials to avoid damaging delicate plants.
Common Questions About Garden Netting
What is the best material for garden netting?
Nylon and polyethylene are top choices due to their durability and UV resistance. Polypropylene works well but may degrade faster under strong sunlight.
How do I prevent animals from getting under the netting?
Ensure the netting is anchored firmly to the ground using stakes, rocks, or burying the edges slightly. Regular inspection also helps.
Can I use garden netting year-round?
Yes, but remove or adjust it based on plant needs such as pollination periods or winter protection.
Real-World Example: Successful Use of Garden Netting
A community garden in Oregon reported a 40% increase in berry harvest after installing custom-made nylon netting. The netting kept birds away and reduced pest damage without harming beneficial insects. Gardeners noted the netting was easy to install and reusable for multiple seasons.
Conclusion
Making your own garden netting is a practical, affordable way to protect your plants from pests and environmental stress. By selecting the right materials and following a clear step-by-step process, you can create a tailored barrier that boosts your garden’s productivity. Remember to maintain and adjust your netting for best results. Start crafting your garden netting today and enjoy a thriving, well-protected garden tomorrow!
