Creating an above ground garden is an excellent way to grow fresh vegetables, herbs, and flowers without the hassle of digging into the ground. Whether you have limited yard space, poor soil quality, or simply want an easier gardening option, above ground gardening offers flexibility and accessibility. In this guide, we’ll cover everything you need to know about how to make an above ground garden, from planning and materials to planting and maintenance. By the end, you’ll be equipped with practical tips and expert advice to start your own flourishing garden above the soil line.
Why Choose an Above Ground Garden?
Above ground gardens, also known as raised bed gardens, bring numerous benefits:
- Improved soil quality: You control the soil mix, avoiding poor or contaminated ground soil.
- Better drainage: Raised beds prevent waterlogging, which benefits most plants.
- Easier access: Gardening becomes more accessible, especially for those with mobility challenges.
- Pest control: Elevated beds can reduce weed growth and deter some pests.
- Extended growing season: Soil in raised beds warms faster in spring, allowing earlier planting.
Understanding these advantages highlights why above ground gardening is a smart choice for beginners and seasoned gardeners alike.
How to Make an Above Ground Garden: Step-by-Step
Step 1: Choose the Right Location
Select a spot that gets at least 6 to 8 hours of direct sunlight daily, as most vegetables and herbs require full sun to thrive. Ensure the area has easy access to water and is relatively flat to maintain bed stability.
Step 2: Decide on Garden Dimensions and Materials
- Size: A common raised bed size is 4 feet wide by 8 feet long, allowing easy reach to the center without stepping inside. The height ranges from 12 to 24 inches depending on your preference.
- Materials: Popular options include:
- Untreated wood: Cedar or redwood is durable and naturally rot-resistant.
- Recycled materials: Composite lumber or repurposed bricks.
- Metal: Corrugated steel beds offer a modern look but may heat soil quickly in hot climates.
- Concrete blocks: Durable and inexpensive, ideal for DIY projects.
Pro tip: Avoid treated wood with harmful chemicals that can leach into the soil.
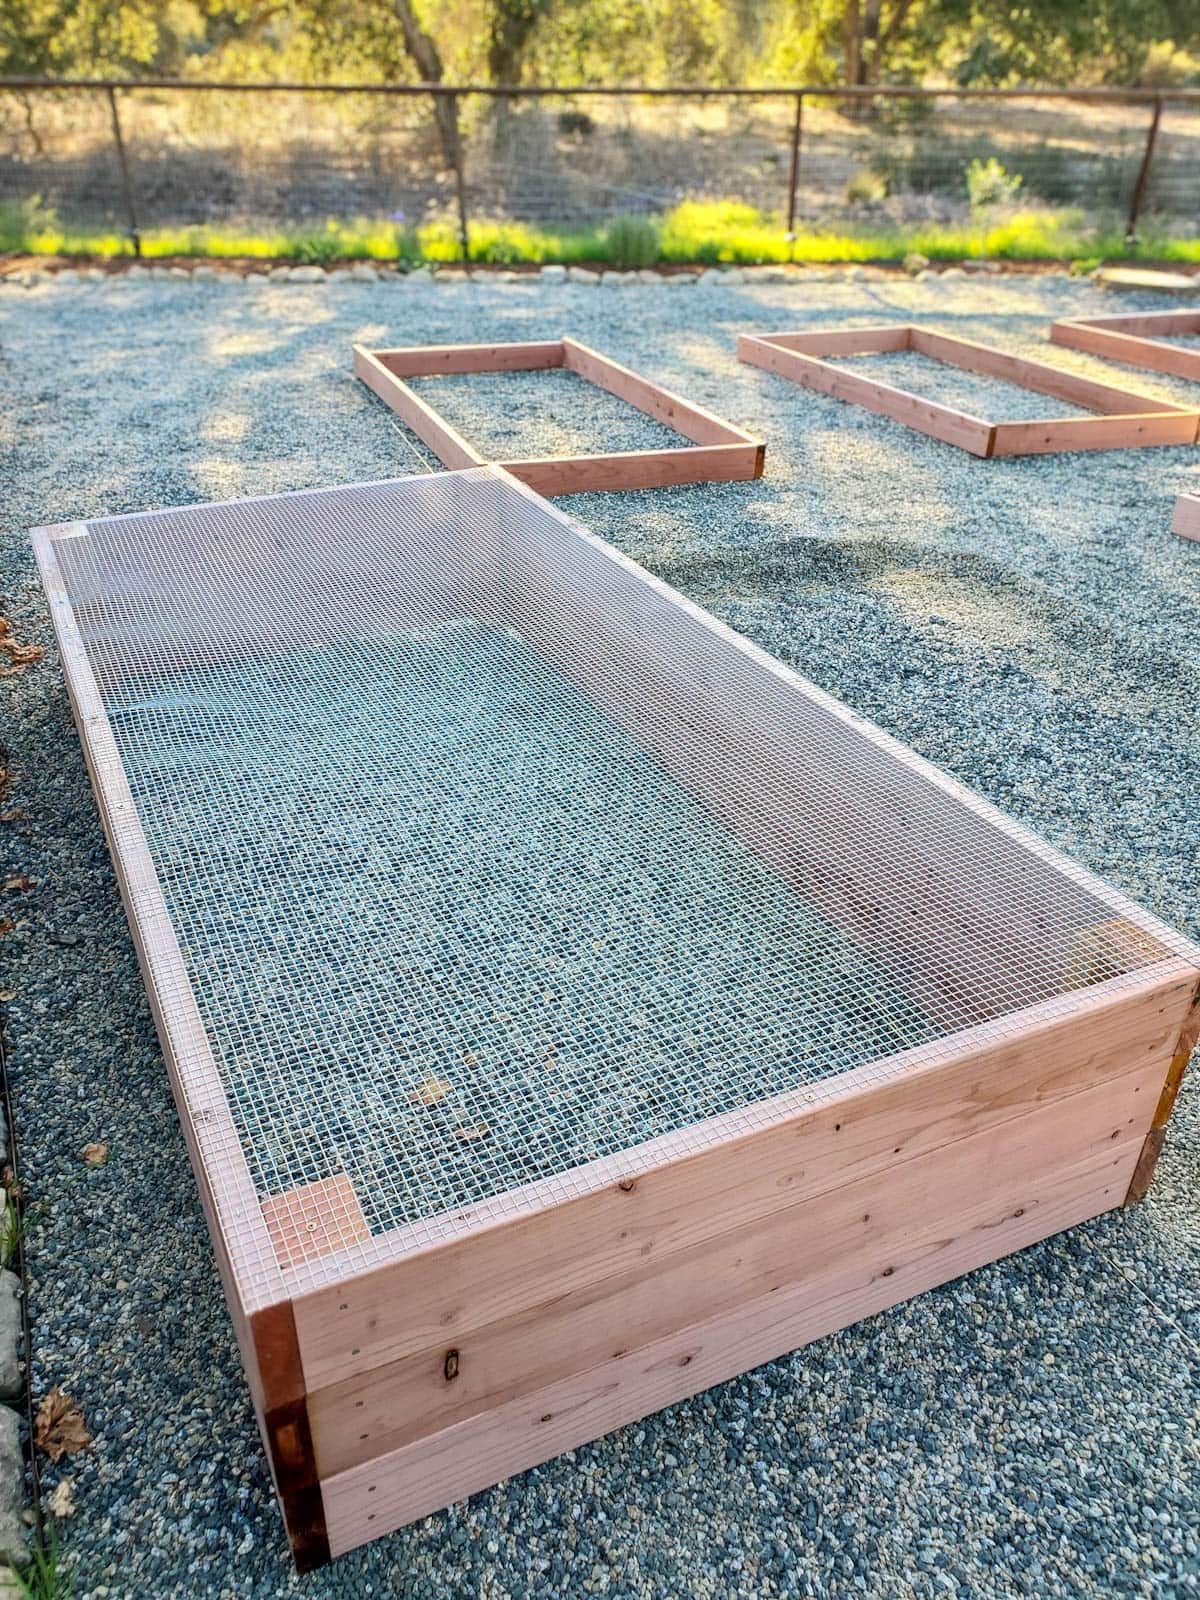
Step 3: Build the Frame
- Assemble your frame using screws or brackets to secure corners.
- Ensure the bed is level and sturdy.
- If desired, line the bottom with landscape fabric to block weeds while allowing drainage.
Step 4: Fill with Quality Soil
The right soil mix is crucial for plant health. Use a combination of:
- Topsoil (40%)
- Compost (40%) for nutrients and moisture retention
- Coarse sand or perlite (20%) to improve drainage and aeration
This blend mimics ideal garden soil and supports healthy root development.
Step 5: Plan Your Planting Layout
- Group plants with similar light and water needs.
- Use vertical supports for climbing plants like beans or cucumbers.
- Consider companion planting to naturally deter pests and improve growth.
Step 6: Plant and Water Properly
- Follow seed packet instructions for spacing and depth.
- Water consistently to keep soil moist but not soggy.
- Mulch with straw or wood chips to retain moisture and suppress weeds.
Step 7: Maintain Your Above Ground Garden
- Regularly check for pests and diseases.
- Fertilize with organic options like fish emulsion or compost tea every 4-6 weeks.
- Rotate crops annually to prevent soil depletion and pest buildup.
What Can You Grow in an Above Ground Garden?
Almost any plant suited for your climate can thrive in raised beds, including:
- Vegetables: Tomatoes, lettuce, carrots, peppers, cucumbers, spinach
- Herbs: Basil, parsley, thyme, rosemary
- Flowers: Marigolds, nasturtiums, petunias (also great for pest control)
- Small fruits: Strawberries, bush blueberries
Raised beds are especially beneficial for root crops like carrots and beets, as loose soil allows easier root expansion.
Expert Tips for Success
- Start small: Begin with one or two beds to learn soil and watering needs.
- Use drip irrigation: Saves water and delivers moisture directly to roots.
- Test your soil: Periodically check pH and nutrient levels for optimal plant health.
- Protect from pests: Use row covers or natural repellents to keep insects and animals at bay.
Frequently Asked Questions About Above Ground Gardens
Q1: How deep should my raised bed be?
A minimum of 12 inches is sufficient for most vegetables, but root crops may need 18-24 inches for better growth.
Q2: Can I put my raised bed on concrete or asphalt?
Yes! Above ground gardens can be placed almost anywhere with access to sunlight. Just ensure good drainage by adding a layer of gravel or sand beneath.
Q3: How often should I water an above ground garden?
Water daily during hot weather, especially in the morning. Soil should stay moist but not waterlogged.
Conclusion
Building an above ground garden is a rewarding project that yields fresh, healthy produce and beautifies your outdoor space. By selecting the right location, materials, and soil, and following the steps outlined above, you can create a thriving garden accessible to all skill levels. Remember to plan thoughtfully, maintain your garden regularly, and enjoy the process of nurturing plants from seed to harvest. Start your above ground garden today and experience the joy and benefits of growing your own food right at home!
Ready to build your garden? Gather your materials and start planning your above ground garden this season for a fruitful and sustainable gardening journey.
