Creating a wooden garden bed is a rewarding project that can transform your outdoor space and boost your gardening success. Whether you have limited space or want to improve your soil quality, building a raised wooden garden bed offers excellent control over growing conditions. This guide will walk you through the essential steps to build a sturdy, attractive, and long-lasting wooden garden bed.
In this article, you will learn why wooden garden beds are popular, the materials and tools you need, and a detailed step-by-step process to construct your own. Additionally, we’ll cover tips on choosing the right wood, maintaining your garden bed, and maximizing your planting potential. By the end, you’ll be ready to build a garden bed that enhances both the look and productivity of your garden.
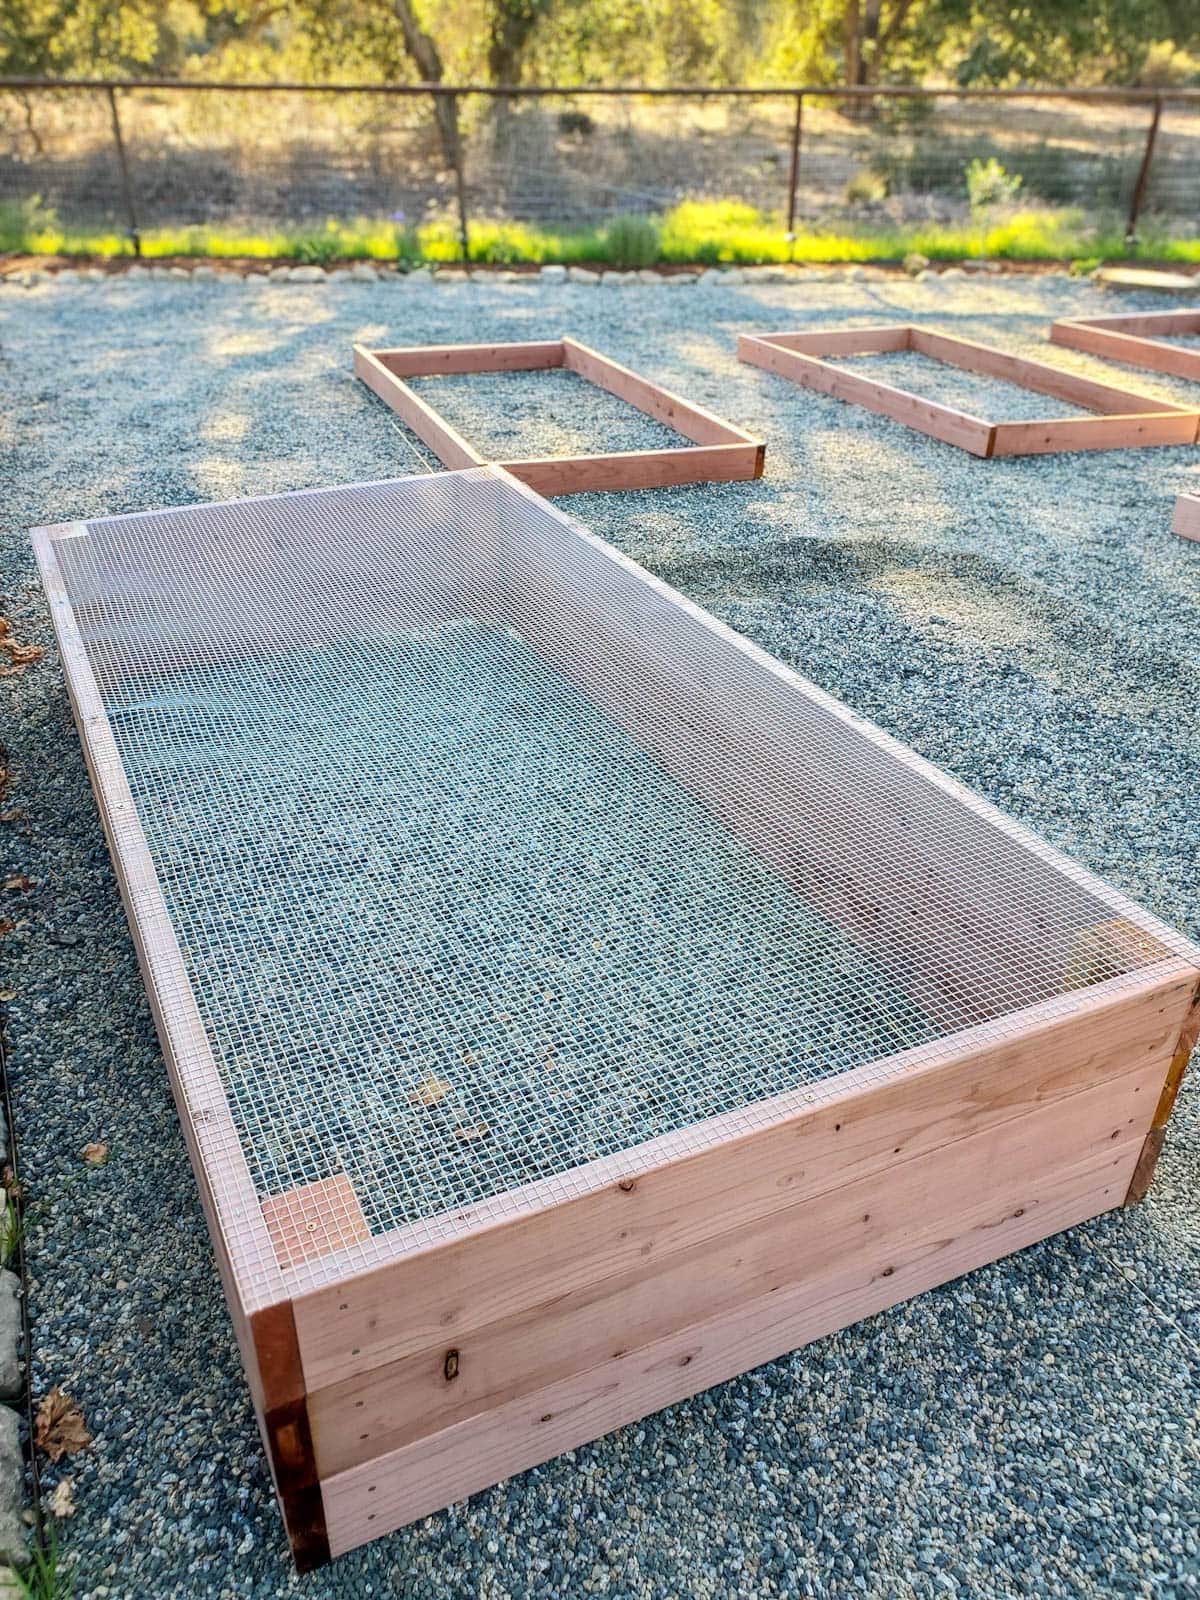
Why Build a Wooden Garden Bed?
Wooden garden beds offer several advantages that make them a top choice for gardeners:
- Improved Soil Quality: Raised beds allow you to control the soil mix, improving drainage and fertility.
- Better Pest Control: Elevating plants can reduce weed growth and soil-borne pests.
- Accessibility: Raised beds are easier on the back and knees, making gardening more comfortable.
- Aesthetic Appeal: Wood adds a natural, warm look to any garden space.
Choosing the right materials and construction method ensures your garden bed lasts for years while supporting healthy plant growth.
Materials and Tools Needed
Before you start building, gather the following materials and tools:
Materials
- Wood boards: Cedar or redwood are ideal for their natural resistance to rot and insects. Avoid treated wood with harmful chemicals.
- Wood screws or galvanized nails: For durability and rust resistance.
- Corner brackets (optional): For added structural support.
- Landscape fabric or weed barrier: To line the bottom and prevent weeds.
- Soil mix: A blend of compost, topsoil, and organic matter.
Tools
- Tape measure
- Saw (hand saw or power saw)
- Drill with screwdriver bits
- Hammer (if using nails)
- Carpenter’s square
- Level
- Pencil or marker
Step-by-Step Guide to Making a Wooden Garden Bed
1. Choose the Location and Size
- Select a flat, sunny spot that receives at least 6-8 hours of direct sunlight daily.
- Typical garden beds measure 4 feet wide (for easy reach) and can vary in length from 4 to 8 feet or more.
- Decide on a height of 6 to 12 inches depending on the type of plants you want to grow.
2. Prepare the Wood
- Cut the wood boards to your desired length using a saw.
- Smooth any rough edges with sandpaper to prevent splinters.
3. Assemble the Frame
- Arrange the boards into a rectangular or square shape.
- Use a carpenter’s square to ensure right angles at corners.
- Drill pilot holes to prevent wood splitting.
- Secure the boards together with screws or nails.
- For added strength, attach corner brackets inside each corner.
4. Prepare the Site
- Clear the area of grass, weeds, and debris.
- Level the ground using a rake or shovel.
- Lay down landscape fabric to block weed growth but allow water drainage.
5. Position the Frame
- Place the assembled wooden frame on the prepared site.
- Use a level to ensure the bed sits evenly.
6. Fill the Bed with Soil
- Fill the bed with a high-quality soil mix.
- A recommended mix is 40% topsoil, 40% compost, and 20% organic matter such as peat moss or coconut coir.
- Lightly tamp the soil to remove air pockets but avoid compacting.
Tips for Choosing the Right Wood
- Cedar and Redwood: Naturally resistant to rot and insects, lasting 10+ years.
- Untreated Pine: Affordable but has a shorter lifespan (2-5 years).
- Avoid Pressure-Treated Wood: Contains chemicals that can leach into the soil and harm plants.
- Reclaimed Wood: Eco-friendly but ensure it’s not contaminated or chemically treated.
Maintenance and Longevity
To extend the life of your wooden garden bed:
- Apply a non-toxic wood sealant or natural oil to protect against moisture.
- Inspect annually for signs of rot or damage.
- Replace any damaged boards promptly.
- Rotate crops each season to avoid soil nutrient depletion.
Maximizing Your Wooden Garden Bed’s Potential
- Use companion planting to improve yield and reduce pests.
- Install drip irrigation for efficient watering.
- Add mulch to retain moisture and suppress weeds.
- Consider vertical supports for climbing plants like beans or cucumbers.
Conclusion
Building a wooden garden bed is a practical and enjoyable way to enhance your gardening experience. With the right materials, tools, and a clear plan, you can construct a beautiful and functional raised bed that supports healthy plant growth for years to come. Remember to choose durable wood, prepare your site carefully, and maintain your garden bed regularly.
Ready to start your gardening journey? Gather your materials and tools, follow these steps, and watch your wooden garden bed flourish with vibrant plants and fresh produce. Happy gardening!
Key Takeaways:
- Wooden garden beds improve soil quality, pest control, and accessibility.
- Cedar and redwood are the best wood choices for durability.
- Assemble a sturdy frame with proper tools and secure joints.
- Prepare the site with weed barriers and level ground.
- Use a nutrient-rich soil mix for optimal plant growth.
- Maintain your garden bed to prolong its lifespan and productivity.
By following this guide, you’ll enjoy a sustainable gardening space customized to your needs and style.
