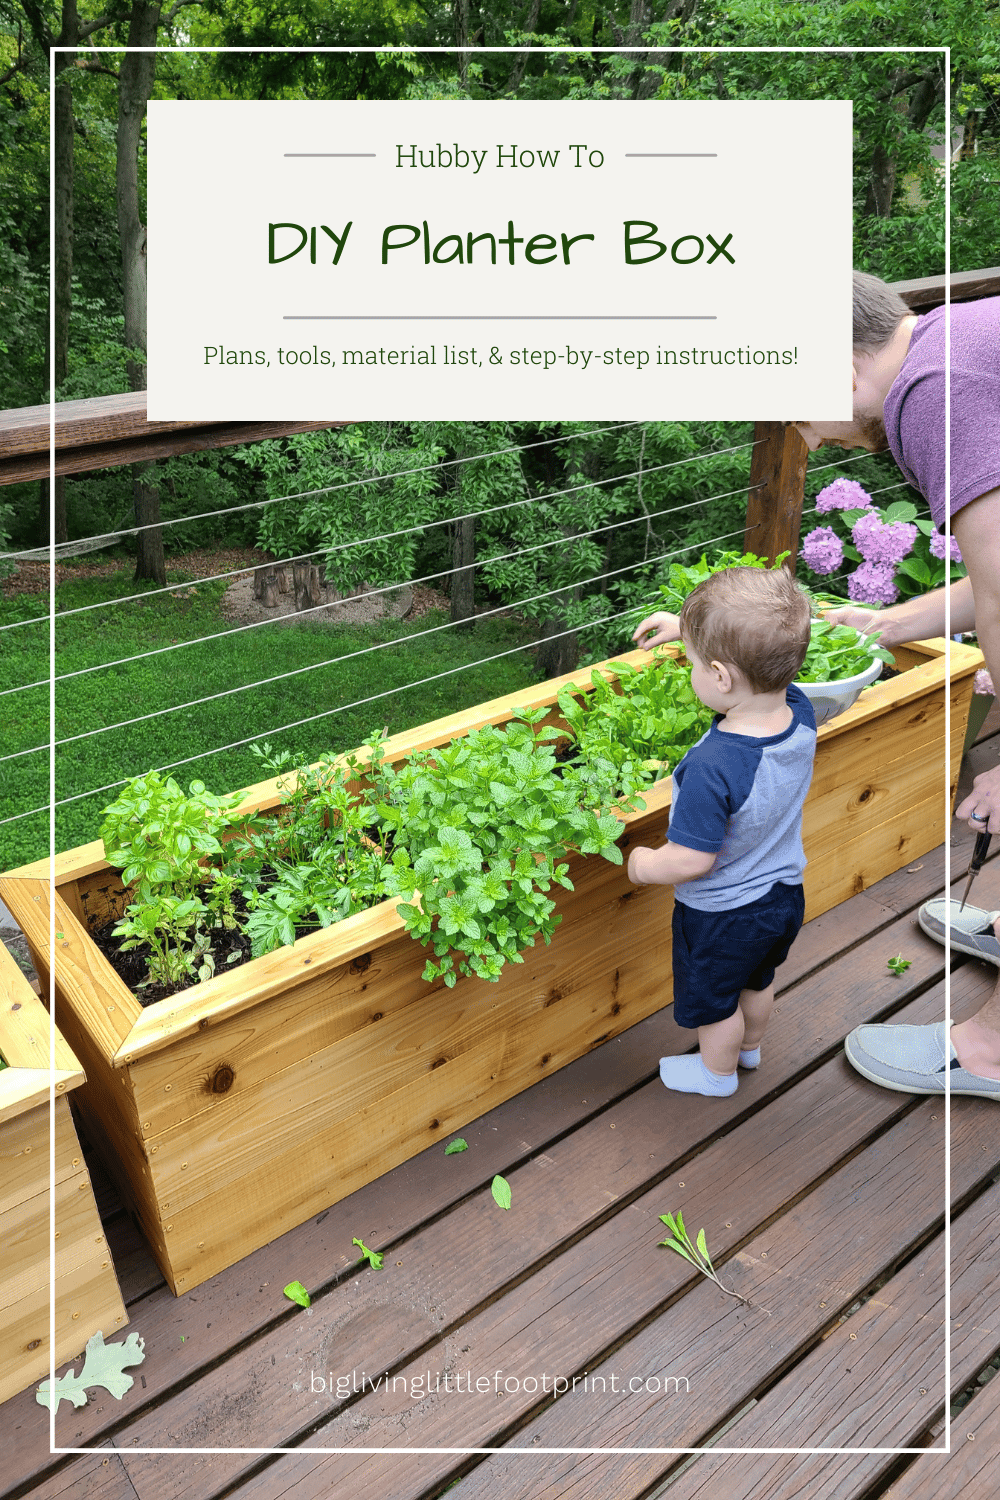
Creating a planter box for your garden is a rewarding and practical way to grow flowers, herbs, and vegetables. Whether you have limited space or want to add a decorative touch to your outdoor area, a planter box offers versatility and control over your garden environment. In this guide, you will learn how to make a planter box for a garden with simple materials and easy-to-follow steps, ensuring your plants thrive beautifully.
Planter boxes help manage soil quality, improve drainage, and protect plants from pests. Plus, building one yourself saves money and lets you customize the size, shape, and style to fit your garden perfectly. This article covers everything from choosing the right materials to assembling your planter box and maintaining it for lasting use. By the end, you’ll have the confidence and knowledge to create a durable, attractive planter box that enhances your gardening experience.
Why Build a Planter Box for Your Garden?
Before diving into the construction process, it’s important to understand the benefits of planter boxes:
- Space Efficiency: Ideal for small gardens, patios, or balconies.
- Improved Soil Control: You can choose high-quality, nutrient-rich soil tailored to your plants.
- Better Drainage: Prevents waterlogging and root rot.
- Pest Management: Elevated boxes deter some pests.
- Aesthetic Appeal: Adds structure and beauty to your garden layout.
With these advantages, DIY planter boxes become a smart and enjoyable gardening solution.
Materials Needed to Make a Planter Box
Choosing the right materials impacts the durability and functionality of your planter box. Here are common options:
| Material | Pros | Cons |
|—————–|———————————-|———————————|
| Cedar Wood | Naturally rot-resistant, durable | More expensive |
| Pine Wood | Affordable, easy to work with | Less durable, may need treatment|
| Recycled Wood| Eco-friendly, cost-effective | Variable quality, may contain nails |
| Plastic/Composite | Weather-resistant, lightweight | Less natural look, limited breathability |
Additional materials:
- Screws or nails (galvanized or stainless steel to resist rust)
- Drill or hammer
- Saw (hand saw or power saw)
- Measuring tape
- Sandpaper
- Landscape fabric or plastic liner (optional, to protect wood and retain soil)
Step-by-Step Instructions: How to Make a Planter Box for a Garden
Step 1: Plan Your Design and Size
Decide on the dimensions of your planter box based on your available space and the types of plants you want to grow. A common size is:
- Length: 3-4 feet
- Width: 1.5-2 feet
- Height: 12-18 inches
This size allows easy access and sufficient soil depth for most plants.
Step 2: Cut the Wood Pieces
Using your measurements, cut the wood into:
- Two long side panels
- Two short end panels
- One bottom panel (optional, depending on design)
For example, a planter box measuring 4 feet long by 2 feet wide needs:
- 2 pieces of 4 feet (long sides)
- 2 pieces of 2 feet (short ends)
Tip: Sand all cut edges to remove splinters and ensure smooth surfaces.
Step 3: Assemble the Frame
- Start by attaching the short end panels to the long side panels using screws or nails.
- Use a drill to pre-drill holes to prevent wood splitting.
- Ensure corners are square (90 degrees) by measuring diagonals.
- If including a bottom panel, attach it securely to the frame.
Step 4: Install Drainage
Good drainage is critical to plant health.
- Drill several holes in the bottom panel to allow excess water to escape.
- If you do not have a bottom panel (open-bottom design), ensure the box sits on a level surface that allows water to drain.
- Line the inside with landscape fabric to prevent soil loss while allowing water flow.
Step 5: Finish and Protect the Wood
- Apply a non-toxic, water-based sealant or exterior wood stain to protect your planter from weather damage.
- Avoid paints or sealants with harmful chemicals that could leach into the soil.
- Allow the finish to dry thoroughly before filling with soil.
Filling and Using Your Planter Box
Choosing the Right Soil Mix
Use a high-quality potting mix designed for container gardening. A good mix includes:
- Organic compost for nutrients
- Perlite or vermiculite for aeration
- Coconut coir or peat moss for moisture retention
Planting Tips
- Arrange plants according to their sunlight and space needs.
- Water thoroughly after planting but avoid overwatering.
- Add mulch on top to retain moisture and reduce weeds.
Maintenance Tips for Your Planter Box
- Regular Watering: Check soil moisture daily, especially in hot weather.
- Fertilize Periodically: Use balanced, slow-release fertilizers to replenish nutrients.
- Inspect for Damage: Repair any loose boards or signs of rot promptly.
- Seasonal Care: In colder climates, consider moving the planter indoors or providing protection during winter.
Frequently Asked Questions (FAQs)
How long does a wooden planter box last?
With proper maintenance and quality wood like cedar, a planter box can last 5 to 10 years or more.
Can I use treated wood for planter boxes?
Avoid pressure-treated wood due to chemicals that might harm plants or soil health.
Is it necessary to have a bottom panel?
Not always. Open-bottom boxes allow natural drainage but may require a weed barrier. Bottom panels help contain soil but need drainage holes.
Conclusion
Making a planter box for your garden is a straightforward project that combines creativity and practicality. By selecting the right materials and following the step-by-step instructions, you can build a durable, attractive planter that suits your gardening needs perfectly. Remember to focus on proper drainage, soil quality, and regular maintenance to ensure your plants flourish. Start your DIY planter box today and enjoy the satisfaction of growing your own vibrant garden space!
Ready to get started? Gather your materials, follow these steps, and transform your garden with a beautiful, custom planter box!
