Introduction
Creating a garden sprinkler system is a smart way to keep your plants healthy and your lawn lush without the hassle of manual watering. Whether you’re a seasoned gardener or a DIY enthusiast, building your own sprinkler system can save water, time, and money. This article will walk you through how to make a garden sprinkler system from scratch, covering everything from planning and materials to installation and maintenance.
By the end of this guide, you’ll understand the key components of an effective sprinkler system and how to customize it for your garden’s unique needs. Plus, you’ll gain tips to optimize water distribution and conserve resources. Let’s dive into creating an efficient, cost-effective irrigation setup that will keep your garden thriving year-round.
Why Build Your Own Garden Sprinkler System?
Before jumping into the how-to, it’s important to understand why a homemade sprinkler system might be the best choice:
- Cost Savings: Commercial systems can be expensive. DIY options often cost less while providing comparable results.
- Customization: Tailor the layout and water coverage based on your garden’s size and shape.
- Water Efficiency: Properly designed systems reduce water waste by targeting plants precisely.
- Convenience: Automate watering schedules to free up your time and ensure consistent irrigation.
With these benefits in mind, let’s explore the step-by-step process.
Step 1: Plan Your Garden Sprinkler System
Assess Your Garden’s Water Needs
Understanding your garden’s irrigation requirements is crucial. Consider:
- Garden Size and Shape: Measure the total area and note irregular shapes.
- Plant Types: Different plants need varying water amounts.
- Water Source: Identify your water supply and pressure (e.g., outdoor faucet, rain barrel).
Design the Layout
Sketch a scaled map of your garden and mark:
- Zones: Divide the garden into sections with similar watering needs.
- Sprinkler Placement: Position sprinklers to cover all areas without overlap.
- Pipe Routes: Plan the simplest paths to connect sprinklers to the water source.
Pro Tip: Use a tape measure and garden hose to test sprinkler reach before finalizing placement.
Step 2: Gather Materials and Tools
Essential Materials
- PVC Pipes or Polyethylene Tubing: Main water lines.
- Sprinkler Heads: Choose between fixed spray, rotary, or drip emitters.
- Connectors and Fittings: Elbows, tees, couplings to connect pipes.
- Pipe Cutter or Hacksaw: For cutting pipes to length.
- Teflon Tape: To seal threaded connections.
- Valve(s): To control water flow per zone.
- Pressure Regulator (optional): Ensures consistent water pressure.
- Backflow Preventer: Protects your water supply from contamination.
- Timer (optional): Automates watering schedules.
Tools Needed
- Shovel or trenching tool
- Measuring tape
- Adjustable wrench
- Screwdriver
- Pipe primer and cement (for PVC pipes)
Step 3: Install the Main Water Line and Zones
Lay Out Pipes
- Dig Trenches: About 6-8 inches deep along your planned pipe routes.
- Cut Pipes: Measure and cut pipes to fit your layout.
- Connect Pipes and Fittings: Use primer and cement for PVC; push-to-connect fittings for polyethylene tubing.
- Install Valves: Attach valves at zone junctions for easy control.
Connect Sprinkler Heads
- Attach sprinkler heads to lateral pipes using risers or threaded fittings.
- Adjust sprinkler head height and angle for optimal coverage.
Step 4: Connect to Water Source and Test
- Attach Backflow Preventer: Connect it to your outdoor faucet or main water line.
- Connect Main Line: Securely connect your main pipe to the water source.
- Turn On Water: Check for leaks and proper sprinkler coverage.
- Adjust Sprinklers: Fine-tune spray patterns and distances.
Step 5: Automate and Maintain Your System
Automation Options
- Install a timer to schedule watering times, ensuring consistent irrigation without manual effort.
- Use soil moisture sensors for smart watering based on actual garden needs.
Maintenance Tips
- Regularly inspect for leaks, clogs, or broken sprinkler heads.
- Flush pipes at the start and end of the watering season.
- Winterize the system in cold climates by draining water to prevent pipe damage.
Expert Tips for an Efficient Garden Sprinkler System
- Use Drip Irrigation for Sensitive Plants: Drip systems deliver water directly to roots, reducing evaporation.
- Group Plants by Water Needs: Create zones based on similar watering requirements to avoid over or underwatering.
- Monitor Water Pressure: High pressure can damage sprinklers; install a pressure regulator if necessary.
- Consider Rain Sensors: They prevent watering during rainfall, saving water and preventing overwatering.
Conclusion
Building your own garden sprinkler system is an achievable and rewarding DIY project that enhances your garden’s health and beauty. By carefully planning your system, selecting the right materials, and following installation best practices, you can create an efficient irrigation setup tailored to your garden’s unique needs.
Remember, a well-designed sprinkler system not only conserves water but also saves you time and effort in maintaining a thriving outdoor space. Start planning your garden sprinkler system today and enjoy the benefits of automated, precise watering for years to come!
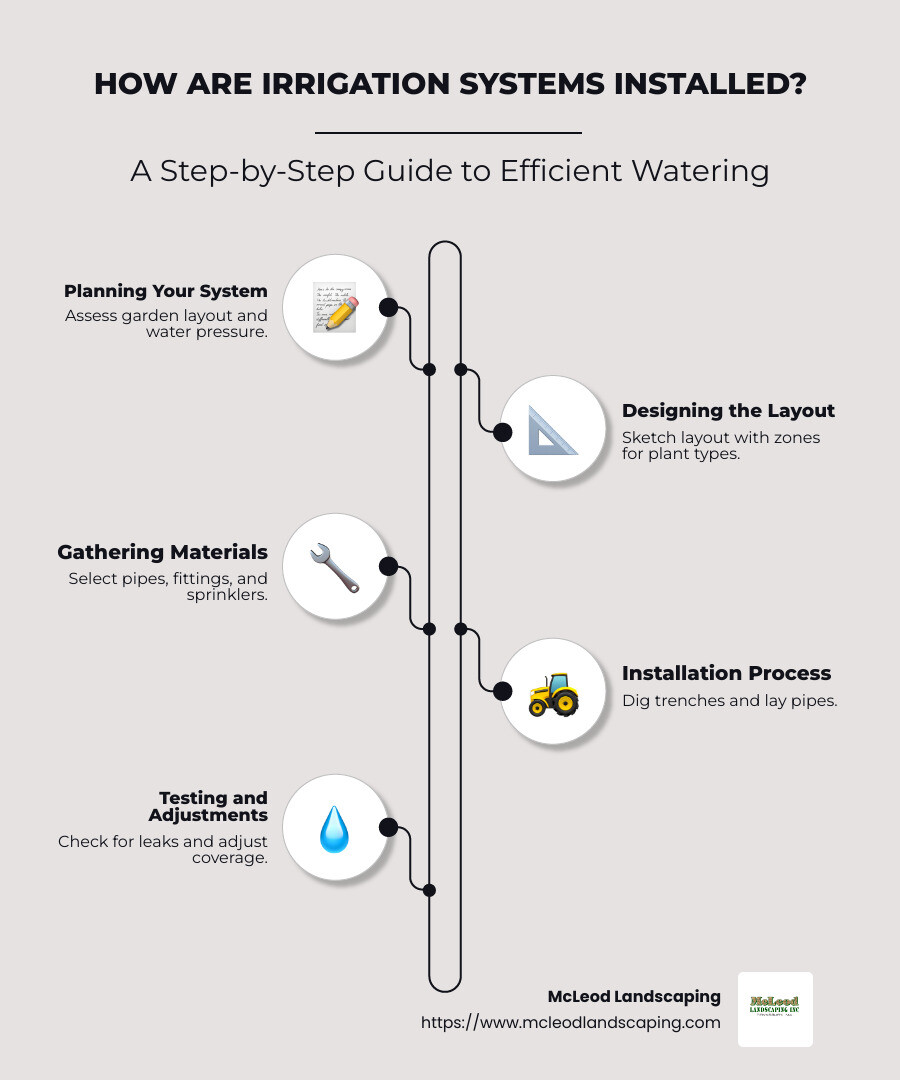
Summary of Key Steps:
- Plan your layout and water needs.
- Gather materials and tools.
- Install pipes, valves, and sprinkler heads.
- Connect to water source and test.
- Automate watering and perform regular maintenance.
Embrace this project as an opportunity to combine your gardening passion with practical DIY skills. Happy watering!
