Creating a garden border is a simple yet effective way to enhance the appearance and organization of your outdoor space. Among various materials, cement garden borders stand out for their durability, low maintenance, and clean, modern look. Whether you want to keep your lawn tidy, separate flower beds, or add a decorative touch, learning how to make a cement garden border can be a rewarding DIY project.
In this comprehensive guide, we’ll cover everything you need to know—from planning and materials to mixing cement and finishing your border. By the end, you’ll have expert tips and practical steps to build a professional-quality garden border that lasts for years.
Why Choose a Cement Garden Border?
Before diving into the process, it’s important to understand why cement is a smart choice for garden edging:
- Durability: Cement withstands weather changes, heavy foot traffic, and lawn equipment without cracking easily.
- Low Maintenance: Unlike wood, cement doesn’t rot, warp, or attract pests.
- Customizable: You can mold cement into various shapes and sizes, paint it, or add textures for a unique look.
- Cost-Effective: Cement materials are affordable and widely available, making it a budget-friendly project.
What You’ll Need to Make a Cement Garden Border
Gathering the right materials and tools beforehand ensures a smooth workflow:
Materials:
- Portland cement
- Sand (fine aggregate)
- Gravel or crushed stone (optional for stronger concrete)
- Water
- Concrete bonding adhesive (optional)
- Formwork materials (wooden planks or flexible plastic edging)
- Release agent (e.g., cooking spray or oil)
Tools:
- Wheelbarrow or cement mixer
- Shovel or hoe for mixing
- Trowel for smoothing and shaping
- Level and measuring tape
- Stakes and string line for marking
- Gloves and safety glasses
Step-by-Step Instructions: How to Make a Cement Garden Border
Step 1: Plan and Mark Your Border
Start by deciding the location and shape of your garden border. Use stakes and string to mark straight lines or lay out a garden hose for curved edges. Measure the length and width to estimate the amount of cement mix needed.
Step 2: Prepare the Ground
Clear the area of grass, roots, and debris. Dig a shallow trench about 4-6 inches deep and 4 inches wide where the border will sit. This foundation helps stabilize the cement and prevents shifting.
Step 3: Build the Formwork
Construct a mold using wooden planks or flexible plastic edging along the trench. Apply a release agent to the inside surfaces of the formwork to ensure easy removal after the cement sets.
Step 4: Mix the Cement
Use a standard concrete mix ratio for garden borders:
– 1 part Portland cement
– 2 parts sand
– 3 parts gravel (optional for added strength)
– Add water gradually until the mix reaches a thick, workable consistency (similar to peanut butter).
Mix thoroughly in a wheelbarrow or cement mixer.
Step 5: Pour and Shape the Cement
Pour the cement mix into the formwork, filling it completely. Use a trowel to spread the cement evenly and smooth the surface. For decorative edges, shape the border’s top using edging tools or the trowel’s edge.
Step 6: Level and Finish
Check the border’s level with a spirit level. Tap the formwork gently to release air bubbles and compact the concrete. After smoothing, you can create textures or patterns using stamps or brushes if desired.
Step 7: Cure the Cement
Let the cement cure slowly by keeping it moist for at least 48 hours. Cover the border with plastic sheeting or damp burlap to prevent rapid drying and cracking.
Step 8: Remove the Formwork and Clean Up
Once cured, carefully remove the wooden forms. Clean any rough edges with a wire brush or sandpaper for a neat finish.
Tips for a Successful Cement Garden Border
- Work in cool, shaded conditions to slow curing and reduce cracking.
- Use latex gloves to protect your skin from cement irritation.
- Reinforce longer borders with wire mesh or rebar for extra stability.
- Paint or seal the cement border to enhance aesthetics and protect against stains.
- Plan drainage by sloping the border slightly away from plants to prevent waterlogging.
Common Questions About Cement Garden Borders
How long does a cement garden border last?
With proper installation and maintenance, a cement garden border can last 20 years or more. Its longevity depends on climate, soil conditions, and usage.
Can I add color to cement borders?
Yes! You can mix concrete dyes into the cement or apply concrete stains and paints after curing for vibrant colors.
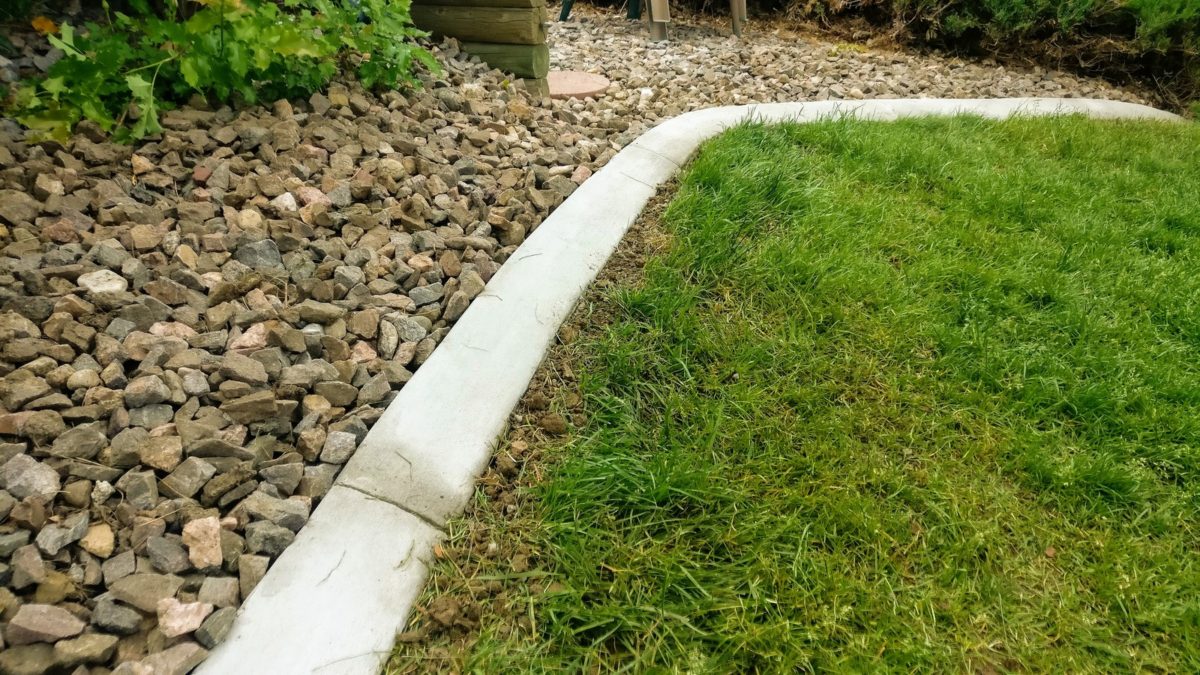
Is it possible to make curved cement borders?
Absolutely. Using flexible formwork or segmented wooden forms allows you to create smooth, curved edges.
Conclusion
Making a cement garden border is a practical and rewarding way to elevate your garden’s design while adding functional value. By following the steps outlined above, you can create a sturdy, attractive border tailored to your landscape’s needs. Remember, patience during curing and attention to detail during preparation will ensure a professional finish.
Ready to transform your garden edges? Gather your materials, plan carefully, and start crafting a cement border that will stand the test of time. Your garden’s new look awaits!
Start your cement garden border project today and enjoy a cleaner, more organized outdoor space that combines beauty with long-lasting durability.
