Creating a level garden bed is essential for healthy plant growth, consistent watering, and an aesthetically pleasing garden. Uneven garden beds can cause water runoff, soil erosion, and uneven nutrient distribution, which negatively impact your plants. Whether you’re starting a new garden or fixing an existing bed, understanding how to level a garden bed can improve your garden’s productivity and appearance.
In this comprehensive guide, we’ll walk you through the process of leveling a garden bed, covering essential tools, techniques, and expert tips. By following these steps, you’ll ensure your garden bed is perfectly flat, well-drained, and ready for planting. Let’s dive in and transform your garden space into a thriving, orderly environment.
Why Is Leveling a Garden Bed Important?
Before delving into the how-to, it’s crucial to understand why leveling your garden bed matters. Here are the key benefits:
- Improved Water Distribution: A level surface ensures water spreads evenly, preventing dry spots or waterlogged areas.
- Prevents Soil Erosion: Slopes can cause soil to wash away during heavy rains.
- Promotes Uniform Plant Growth: Plants receive consistent nutrients and moisture.
- Enhances Garden Aesthetics: A flat garden bed looks tidy and professional.
What You’ll Need: Tools and Materials
Before starting, gather the following:
- Garden rake
- Shovel or spade
- Garden hoe
- Level tool (carpenter’s level or a long straight board and a small level)
- String and stakes
- Measuring tape
- Wheelbarrow (optional for moving soil)
- Soil amendments (compost or topsoil as needed)
Step-by-Step Guide: How to Level Your Garden Bed
1. Clear the Area
Remove all plants, weeds, rocks, and debris from the garden bed. This prepares a clean surface for leveling.
2. Mark the Boundaries
Use stakes and string to outline the garden bed’s perimeter. This helps maintain straight edges and a clear working area.
3. Check the Current Level
Using your level tool, check for uneven spots along the bed. Place the level board on the soil surface and see where it tips.
- If you don’t have a carpenter’s level, place a long, straight board across the bed and set a small level on top.
- Identify low spots (dips) and high spots (bumps).
4. Loosen the Soil
Use a garden fork or spade to loosen compacted soil. This step makes it easier to move soil and create a smooth surface.
5. Add or Remove Soil
- For low spots: Add fresh soil or compost to raise the surface.
- For high spots: Dig and remove excess soil.
Use a shovel to transfer soil between areas or bring in new soil if necessary.
6. Spread and Level Soil
Use a garden rake to spread the soil evenly across the bed. Frequently check with your level board to ensure flatness.
- Work in small sections to maintain control.
- Use the rake to fill dips and break up clumps.
7. Compact the Soil Lightly
After leveling, lightly press the soil with your feet or a tamper. Avoid over-compacting, which can hinder root growth.
8. Final Check and Adjustments
Re-check the bed with your level tool. Make minor adjustments by adding or removing soil where needed.
Tips for Maintaining a Level Garden Bed
- Regularly Check After Heavy Rains: Rain can cause soil to shift or erode.
- Add Mulch: Mulching helps prevent soil displacement and retains moisture.
- Incorporate Organic Matter: Compost improves soil structure, reducing uneven settling.
- Avoid Excessive Foot Traffic: Walking on beds compacts soil and creates dips.
Common Questions About Leveling Garden Beds
How Often Should I Level My Garden Bed?
Leveling is typically needed when starting a new garden or if you notice uneven water pooling or plant growth issues. For established beds, check annually, especially after heavy rains or frost.
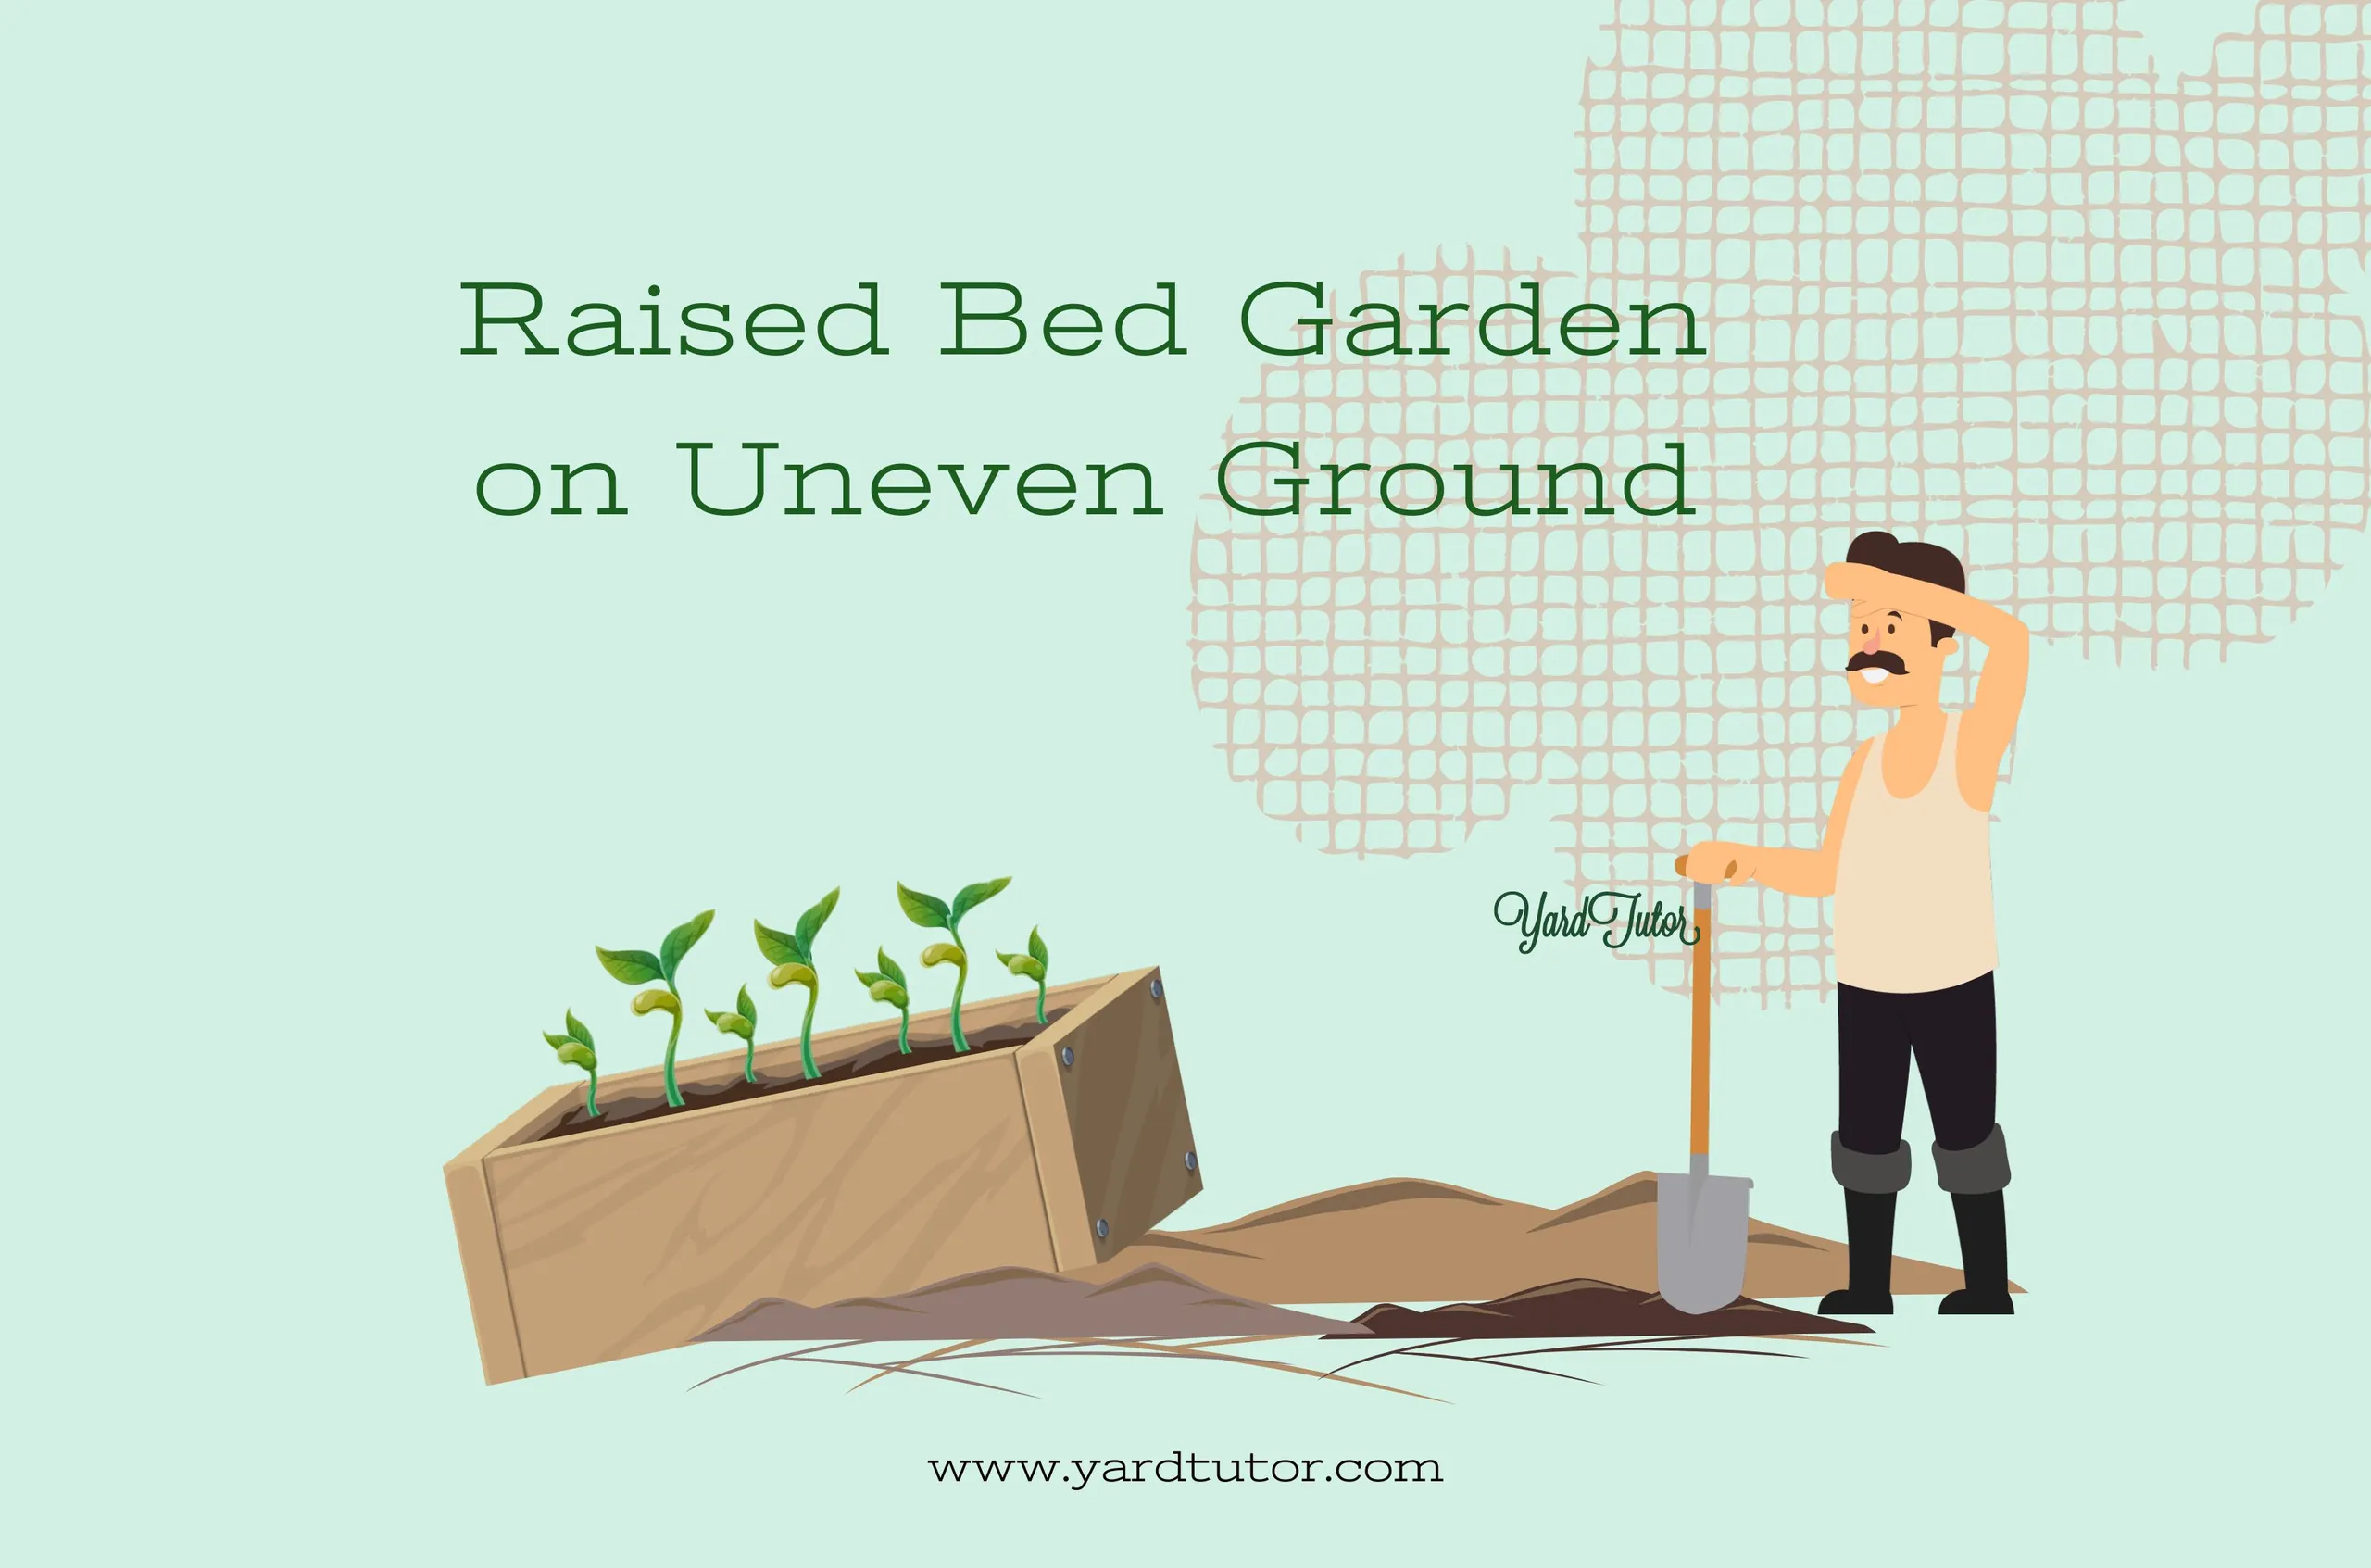
Can I Level a Raised Garden Bed?
Yes! Even raised beds can develop high and low spots. Follow the same steps to redistribute soil or add fresh soil where needed.
What If My Garden Bed Is on a Slope?
If your garden is on a slope, consider terracing or building raised beds with retaining walls to create flat planting surfaces.
Real-World Example: Successful Garden Bed Leveling
Jane, a home gardener from Oregon, struggled with water pooling in her vegetable garden. After leveling her beds following these steps, she noticed improved water distribution and healthier plants. By regularly inspecting and adjusting her beds, Jane now enjoys a vibrant, productive garden year-round.
Conclusion
Leveling a garden bed is a simple yet vital task that can significantly enhance your garden’s health and appearance. By clearing the area, measuring carefully, and adjusting soil levels, you create an optimal environment for your plants to thrive. Remember to maintain your garden bed regularly to prevent unevenness caused by weather and foot traffic.
Ready to boost your garden’s productivity? Grab your tools and start leveling your garden bed today for uniform growth, better water management, and a beautiful garden that stands out.
Start leveling your garden bed now and watch your plants flourish with even soil and optimal care!
