Creating a thriving raised garden bed starts with building healthy, nutrient-rich soil layers. Knowing how to layer your raised garden bed properly can improve drainage, increase fertility, and promote strong root growth. Whether you’re a beginner or an experienced gardener, mastering this technique is essential for maximizing plant health and yield.
In this guide, we’ll walk you through the best practices for layering your raised garden bed. You’ll learn about the ideal materials for each layer, how to assemble them for optimum results, and tips to maintain soil vitality. By the end, you’ll have a clear, actionable plan to build a raised bed that supports vigorous plant growth season after season.
Why Layering Matters in Raised Garden Beds
Raised beds offer excellent control over soil quality, but simply filling them with random soil won’t yield the best results. Proper layering:
- Enhances drainage to prevent waterlogging.
- Improves soil aeration for healthier roots.
- Supports nutrient cycling by integrating organic matter.
- Reduces weed growth through strategic base layers.
Successful layering mimics natural soil horizons but accelerates the decomposition process, creating a fertile environment tailored for your plants.
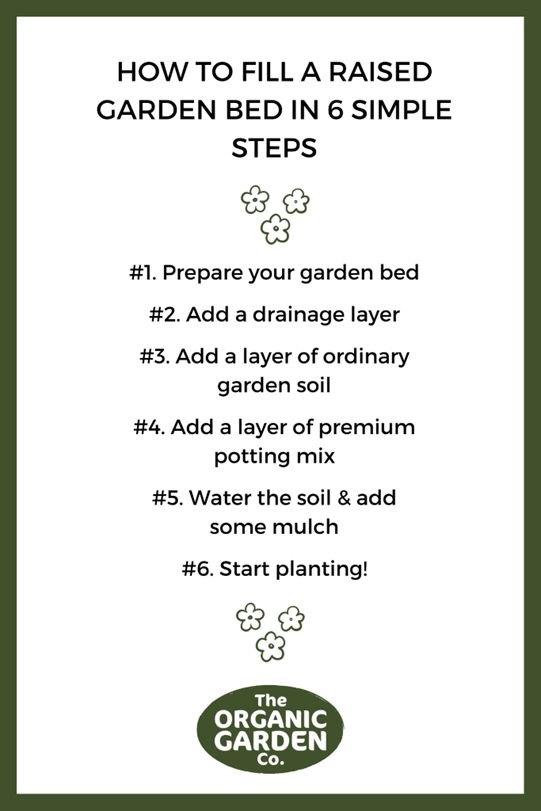
How to Layer Your Raised Garden Bed: Step-by-Step
Step 1: Prepare the Base Layer
Purpose: Encourage drainage and weed suppression.
- If your raised bed sits directly on soil, start by placing a weed barrier like cardboard or newspaper to block weeds.
- Add a coarse layer of organic material such as small branches, twigs, or straw (about 3-4 inches thick). This layer creates air pockets and improves drainage.
- Avoid using synthetic materials that block water flow.
Example: Permaculture expert Geoff Lawton advocates using woody debris at the base to mimic forest floor conditions, promoting microbial life.
Step 2: Add a Layer of Brown Organic Matter
Purpose: Provide carbon for soil microbes.
- Spread a 3-4 inch layer of brown materials such as dried leaves, straw, or shredded paper.
- This helps balance nitrogen-rich materials and supports microbial decomposition.
Step 3: Incorporate a Layer of Green Organic Matter
Purpose: Supply nitrogen and promote nutrient availability.
- Add a 2-3 inch layer of green materials like grass clippings, vegetable scraps, or fresh garden trimmings.
- These materials break down faster and release nutrients essential for plant growth.
Tip: Avoid adding meat or dairy scraps to prevent pests.
Step 4: Add Compost or Well-Rotted Manure
Purpose: Introduce rich nutrients and beneficial microbes.
- Spread a 3-4 inch layer of high-quality compost or well-rotted manure.
- This layer feeds plants directly and enhances soil structure.
Statistic: Studies show that compost-amended soils can increase vegetable yields by up to 20%.
Step 5: Top with Quality Garden Soil
Purpose: Provide a loose, fertile growing medium.
- Add a final 6-8 inch layer of garden soil mixed with compost.
- Choose soil with good texture—ideally loamy and well-draining.
- Avoid heavy clay soils unless amended with organic matter.
Tips for Maintaining Your Layered Raised Bed
- Rotate crops yearly to prevent nutrient depletion.
- Top-dress with compost each season to replenish nutrients.
- Mulch the surface with straw or wood chips to retain moisture and suppress weeds.
- Monitor soil moisture and avoid overwatering.
Common Questions About Layering Raised Garden Beds
Can I use regular soil to fill my raised bed?
Regular soil often lacks proper drainage and nutrients. Mixing it with compost and organic layers is key for best results.
How deep should my raised bed be for layering?
Aim for at least 12-18 inches depth to accommodate the various layers comfortably.
Can I skip the base layer of twigs and branches?
While not mandatory, this layer greatly improves drainage and reduces compaction over time.
Conclusion: Build Your Raised Garden Bed for Success
Layering your raised garden bed is a simple yet powerful technique to create fertile, well-draining soil that supports healthy plants. By following the step-by-step layering process—starting with a drainage base, then alternating brown and green organic matter, followed by compost and rich soil—you set the stage for a productive garden.
Remember, the key to success lies in maintaining these layers with regular compost additions and mindful watering. Start layering your raised bed today and watch your garden flourish with vibrant vegetables, flowers, and herbs.
Ready to transform your garden? Gather your materials, follow this guide, and experience the benefits of a perfectly layered raised garden bed. Your plants will thank you!
Quick Reference: Raised Garden Bed Layering Summary
| Layer Number | Material | Thickness | Purpose |
|————–|——————————|—————–|——————————–|
| 1 | Twigs, branches, straw | 3-4 inches | Drainage and aeration |
| 2 | Brown organic matter | 3-4 inches | Carbon source for microbes |
| 3 | Green organic matter | 2-3 inches | Nitrogen source |
| 4 | Compost or rotted manure | 3-4 inches | Nutrients and beneficial microbes |
| 5 | Garden soil + compost mix | 6-8 inches | Growing medium |
By implementing these proven layering strategies, you’ll cultivate a raised garden bed that nurtures robust plant growth and bountiful harvests. Happy gardening!
