Creating neat and attractive garden borders is essential for a well-maintained outdoor space. One of the best ways to achieve this is by laying edging stones. These stones not only define garden beds but also prevent soil erosion and keep mulch and gravel in place. If you’re wondering how to lay edging stones in garden efficiently, this comprehensive guide will walk you through every step with expert tips and practical advice.
In this article, you will learn why garden edging matters, the materials and tools you’ll need, and a detailed, easy-to-follow process for laying edging stones. Whether you want a rustic look or a modern garden design, this guide will help you transform your garden edges into clean, professional-looking borders.
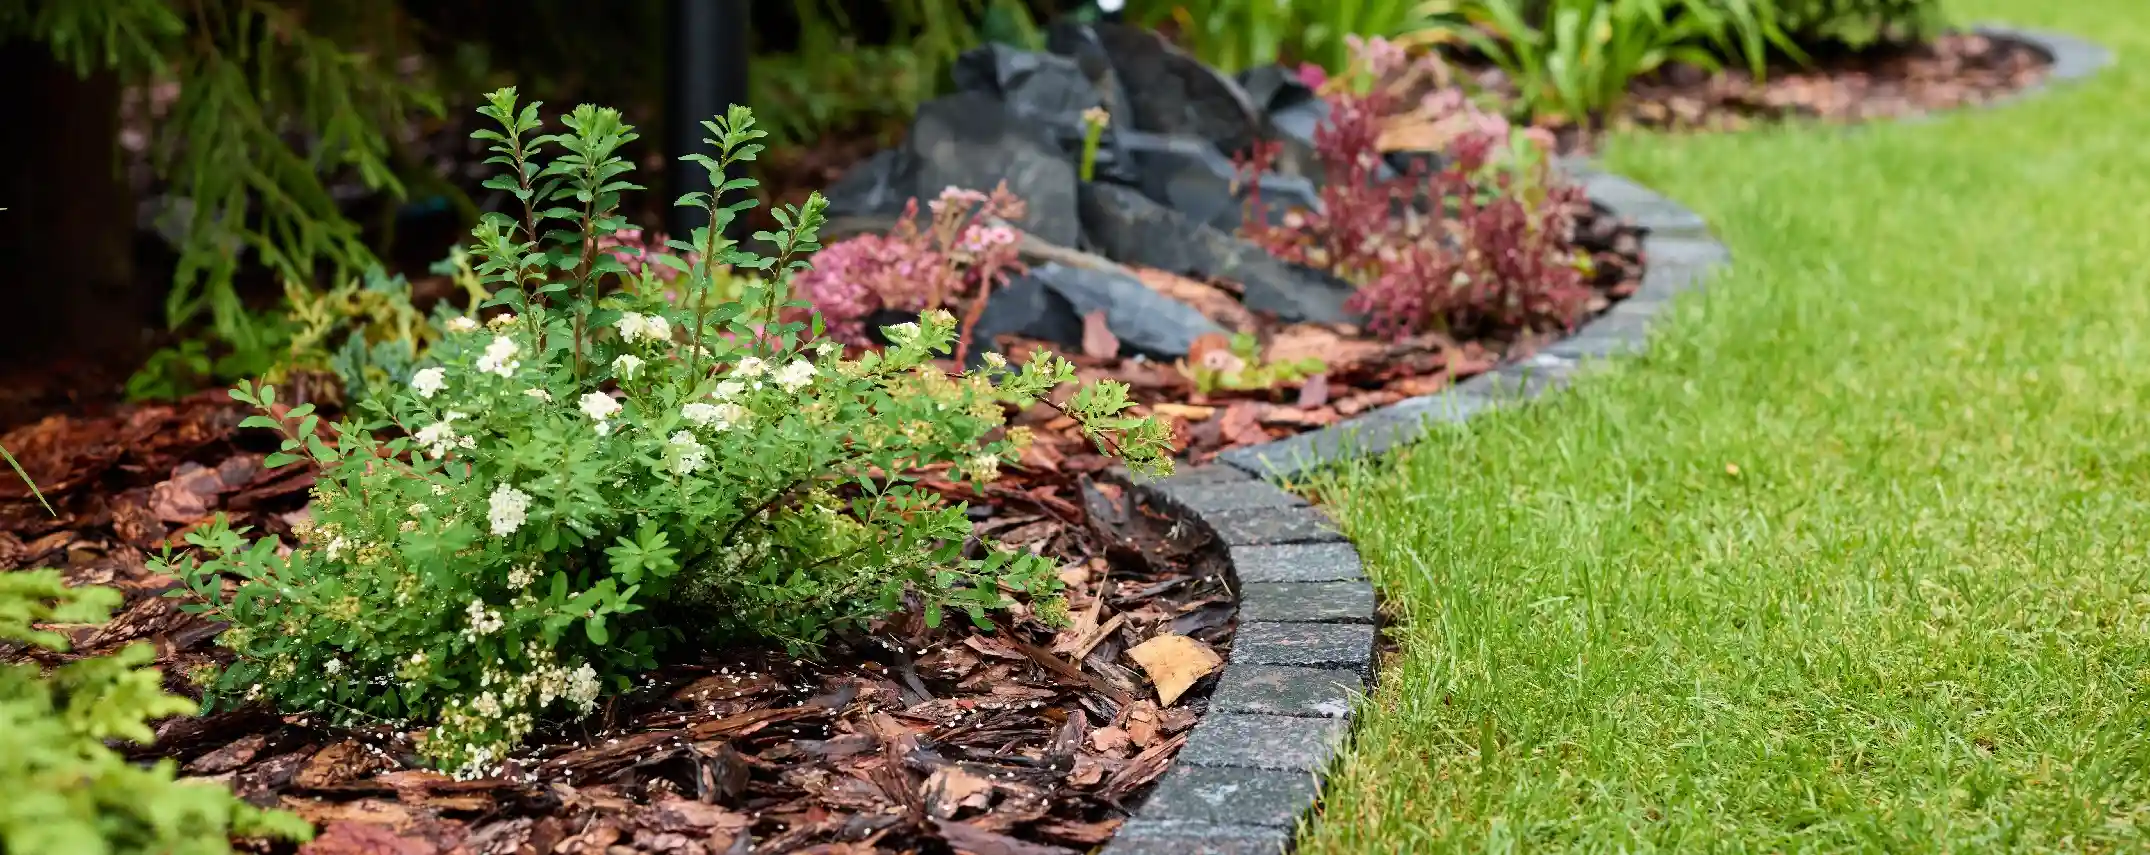
Why Use Edging Stones in Your Garden?
Before diving into the installation process, it’s important to understand the benefits of garden edging stones:
- Defines garden spaces: Creates a clear separation between lawn, flower beds, and pathways.
- Prevents soil and mulch spread: Keeps materials contained within designated areas.
- Controls weed growth: Reduces the spread of grass and weeds into garden beds.
- Improves curb appeal: Adds structure and a polished look to your landscape.
- Protects garden beds from damage: Shields plants from lawnmower and foot traffic.
Materials and Tools Needed for Laying Edging Stones
To ensure a smooth installation, gather the following materials and tools:
Materials:
- Edging stones (natural stone, concrete, brick, or pavers)
- Landscape fabric (optional, for weed control)
- Sand or gravel (for the base)
- Landscape adhesive or mortar (optional, for stability)
Tools:
- Measuring tape
- Garden spade or edging tool
- Rubber mallet
- Level
- Wheelbarrow
- Shovel
- Garden hose or string line (for marking)
- Gloves and safety glasses
Step-by-Step Process: How to Lay Edging Stones in Garden
1. Plan and Measure Your Garden Edging
- Define the border you want to edge by laying out a garden hose or string line along the desired path.
- Measure the total length to calculate how many stones you will need.
- Decide on the style and height of your edging stones to match your garden’s aesthetic.
2. Prepare the Ground
- Remove grass, weeds, and debris along the marked edge.
- Dig a trench about 4 to 6 inches deep and slightly wider than your stones.
- Ensure the trench has a slight slope away from the garden bed for proper drainage.
3. Add a Base Layer
- Pour 2 to 3 inches of crushed gravel or sand into the trench to create a stable base.
- Use a tamper or simply step on it firmly to compact the base.
- This layer prevents stones from shifting over time.
4. Lay the Edging Stones
- Begin placing stones at one end of the trench.
- Use a rubber mallet to tap each stone into place, ensuring stability.
- Check the level frequently; adjust the stones by adding or removing base material.
- For curved edges, use smaller stones or cut stones to fit the shape.
5. Secure the Stones
- For additional stability, especially with taller stones, apply landscape adhesive or mortar between stones.
- This step is optional but recommended for high-traffic areas or uneven soil.
6. Backfill and Finish
- Fill the trench around the stones with soil or mulch to secure them.
- Tamp down the soil to eliminate gaps.
- Water the area to help settle the soil and base.
Expert Tips for Long-Lasting Garden Edging
- Choose durable stones like granite or concrete for weather resistance.
- Use landscape fabric beneath the base layer to minimize weed growth.
- Regularly inspect your edging and reset any shifted stones promptly.
- Combine edging stones with lighting for enhanced nighttime appeal.
- For DIY beginners, consider precast edging kits for easier installation.
Common Questions About Laying Edging Stones
How deep should I dig for garden edging stones?
A trench depth of 4 to 6 inches is optimal to ensure the stones are stable and partly buried for a natural look.
Can I lay edging stones on a slope?
Yes, but you must ensure proper drainage by slightly sloping the trench away from the garden bed. Use smaller stones or cut edges for curves and slopes.
How do I prevent stones from shifting?
Use a compacted gravel or sand base, and consider using landscape adhesive or mortar for added security.
Conclusion
Laying edging stones in your garden is a practical and decorative way to enhance your outdoor space. By carefully planning, preparing the ground, and following the step-by-step installation process, you can create clean, durable borders that boost your garden’s beauty and functionality. Remember, the key to success lies in selecting the right materials and taking your time during installation.
Ready to transform your garden edges? Gather your materials, follow this guide, and enjoy the satisfaction of professionally finished garden borders. For ongoing garden care, revisit your edging annually to maintain its pristine condition and keep your landscape looking sharp year-round.
