Green beans are a popular and nutritious vegetable that many gardeners love to grow. However, harvesting green beans from your garden is just the beginning. Knowing how to fix green beans properly ensures you enjoy their full flavor, texture, and health benefits. This guide will walk you through everything you need to know—from harvesting to cooking—to turn your garden-fresh green beans into tasty dishes everyone will love.
Whether you’re a seasoned gardener or a beginner, this article will help you understand the best ways to prepare green beans, troubleshoot common problems, and make the most of your harvest. We’ll cover simple cooking methods, tips for preserving freshness, and some expert insights to elevate your green bean dishes.
Why Properly Fixing Green Beans Matters
Green beans are rich in vitamins A, C, and K, fiber, and antioxidants. When fixed correctly, they retain their vibrant color, crisp texture, and nutritional value. Improper handling or cooking can lead to soggy, dull, or flavorless beans, wasting your hard work in the garden.
Fixing green beans encompasses washing, trimming, cooking, and sometimes preserving. Each step affects the final taste and texture. By mastering these steps, you can create delicious meals that highlight the natural sweetness and crunch of freshly picked green beans.
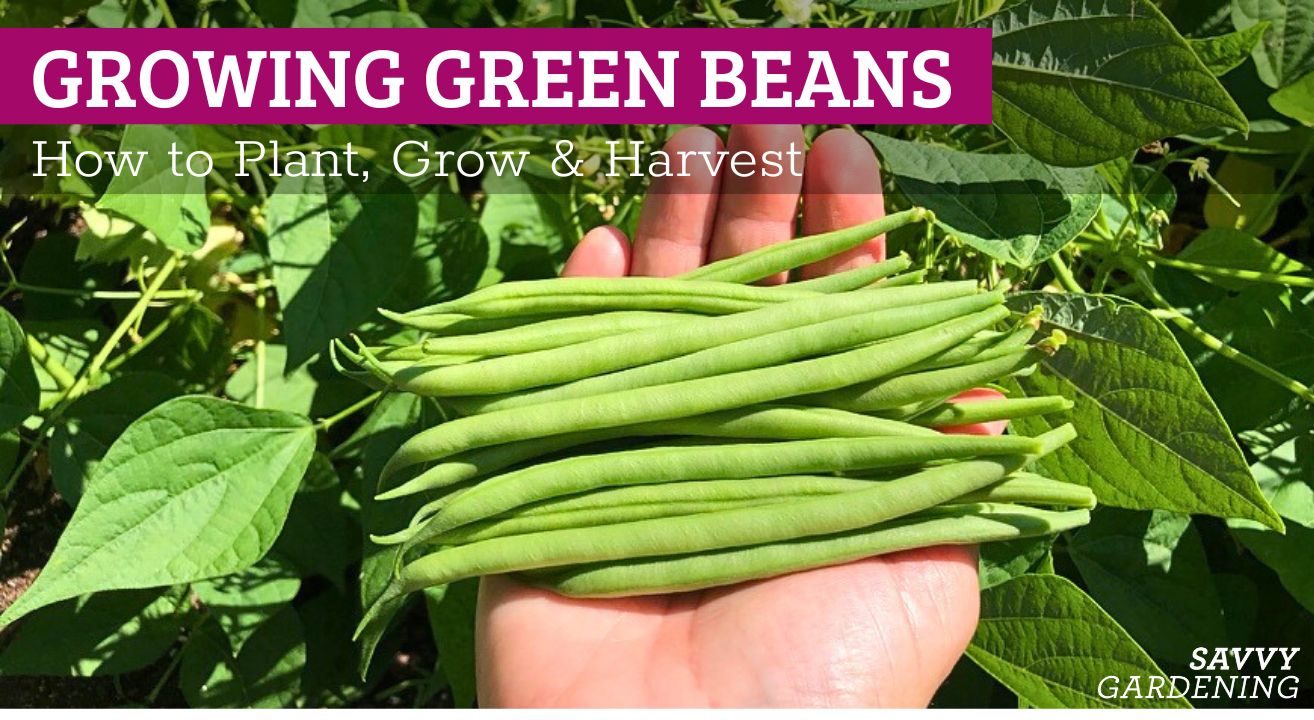
When to Harvest Green Beans from Your Garden
Before fixing green beans, you need to pick them at the right time.
- Pick young and tender beans: Harvest when pods are firm, crisp, and about 4-6 inches long.
- Avoid overripe beans: Large, bulging pods indicate mature seeds inside, leading to tough and stringy beans.
- Harvest regularly: Check plants every 2-3 days to encourage continuous production.
Preparing Green Beans for Cooking: Step-by-Step Guide
1. Washing
- Rinse green beans under cool running water to remove dirt, bugs, and residues.
- Use a vegetable brush if necessary, especially for beans grown in soil-rich environments.
2. Trimming
- Snap or cut off the stem ends.
- Remove any strings if your green beans are of a stringy variety (though most modern types are stringless).
- Inspect for blemishes or damaged spots and discard those parts.
3. Optional: Cutting
- Depending on your recipe, cut beans into bite-sized pieces or leave them whole.
Best Ways to Cook Green Beans from the Garden
Boiling
- Bring a pot of salted water to a boil.
- Add green beans and cook for 4-5 minutes until crisp-tender.
- Drain and immediately plunge into ice water to stop cooking and preserve color (called blanching).
- Drain again before serving or using in recipes.
Steaming
- Place green beans in a steamer basket over boiling water.
- Cover and steam for 5-7 minutes until tender but still crisp.
- Steaming retains more nutrients than boiling.
Sautéing
- Heat olive oil or butter in a skillet.
- Add green beans and season with salt, pepper, and garlic if desired.
- Cook for 6-8 minutes, stirring frequently until beans are tender and slightly caramelized.
Roasting
- Toss green beans with olive oil, salt, and pepper.
- Spread on a baking sheet and roast at 425°F (220°C) for 15-20 minutes.
- Roasting enhances sweetness and adds a smoky flavor.
How to Fix Common Green Bean Issues from the Garden
Wilted or Limp Beans
- Soak in ice water for 15-30 minutes to revive crispness.
- Use immediately after soaking, as revived beans have a shorter shelf life.
Beans with Bitter Taste
- Bitter beans may be due to over-maturity or pest damage.
- Trim out any blemished areas.
- Cooking with acidic ingredients (lemon juice or vinegar) can help balance bitterness.
Stringy Beans
- Choose stringless varieties at planting to avoid this problem.
- If strings are present, snap the ends and peel away strings before cooking.
Preserving Green Beans: Tips for Long-Term Storage
Freezing
- Blanch green beans in boiling water for 2-3 minutes.
- Immediately cool in ice water.
- Dry and freeze in airtight bags or containers.
- Properly frozen green beans retain taste and nutrients for up to 12 months.
Canning
- Use a pressure canner for safety.
- Follow USDA guidelines for green bean canning.
- Home-canned beans can last up to one year when stored in a cool, dark place.
Drying
- String beans and slice thinly.
- Use a dehydrator or oven at low temperature.
- Store dried beans in airtight containers.
Expert Tips for Enhancing Green Bean Flavor
- Add aromatics like garlic, shallots, or herbs during cooking.
- Finish with a squeeze of lemon juice or sprinkle of toasted nuts.
- Combine with other fresh garden vegetables for vibrant salads.
- Avoid overcooking to maintain crunch and nutrients.
Frequently Asked Questions About Fixing Garden Green Beans
Q: Can I eat green beans raw?
A: Yes, fresh green beans can be eaten raw in salads or as snacks, but they are easier to digest and more flavorful when cooked lightly.
Q: How do I know when green beans are done cooking?
A: They should be tender but still crisp, not mushy. Test by tasting a bean about halfway through cooking time.
Q: What is the best way to store fresh green beans?
A: Keep them in a perforated plastic bag in the refrigerator’s crisper drawer. Use within 3-5 days for best quality.
Conclusion
Fixing green beans from your garden is a rewarding process that transforms fresh harvests into delicious meals. By harvesting at the right time, properly preparing, and using suitable cooking methods, you can enjoy vibrant, tasty green beans that preserve their nutrients and texture.
Experiment with boiling, steaming, sautéing, or roasting to find your favorite method. Don’t forget to use preservation techniques like freezing or canning to extend your green bean bounty beyond the growing season. With these expert tips, you’re ready to make the most of your garden’s green beans—turning them into healthy, flavorful dishes your family will love.
Ready to enjoy your garden-fresh green beans? Start fixing them today and savor the difference!
