Drying herbs from your garden is a timeless method to preserve their flavors, aromas, and medicinal properties. Whether you grow basil, thyme, rosemary, or mint, drying herbs allows you to enjoy your garden’s bounty long after the growing season ends. In this guide, you’ll learn expert techniques to dry herbs efficiently, maintain their quality, and maximize their shelf life.
Why Drying Herbs From Your Garden Matters
Fresh herbs add vibrant flavors to meals, but they are perishable. Drying herbs preserves their essence, making them available year-round. Properly dried herbs retain essential oils, which means better taste and aroma when cooking or brewing teas. This article covers step-by-step drying methods, tips for storing dried herbs, and common mistakes to avoid.
How to Dry Herbs From the Garden: Step-by-Step Methods
1. Harvesting Herbs at the Right Time
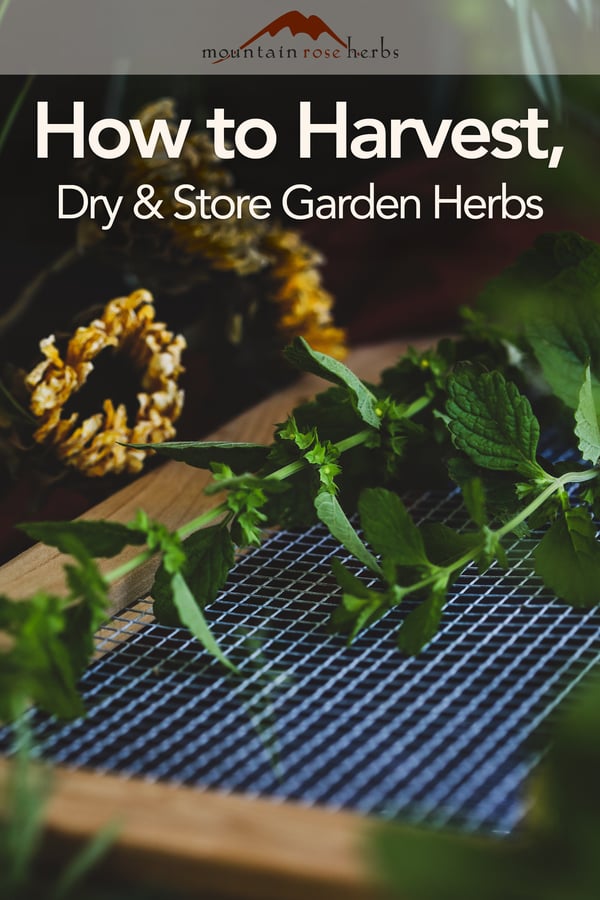
- Pick in the morning after dew evaporates but before the sun gets too hot.
- Choose healthy, pesticide-free plants for the best quality.
- Harvest just before the plant flowers; this is when flavor peaks.
- Use clean, sharp scissors or garden shears to cut sprigs about 6-8 inches long.
2. Preparing Herbs for Drying
- Rinse herbs gently under cool water to remove dirt and insects.
- Shake off excess moisture and pat dry with a clean towel.
- Remove any damaged or yellow leaves to ensure quality.
Effective Drying Techniques for Garden Herbs
Air Drying: The Classic Method
Best for: Rosemary, thyme, oregano, sage, and lavender.
Steps:
- Bundle small bunches of herbs (5-10 stems).
- Tie the stems with string or rubber bands.
- Hang bundles upside down in a warm, dry, and well-ventilated area away from direct sunlight.
- Allow drying for 7-14 days or until leaves crumble easily.
Pros: Inexpensive, preserves flavor well.
Cons: Time-consuming and requires space.
Oven Drying: Quick and Convenient
Best for: Basil, parsley, and delicate herbs.
Steps:
- Preheat oven to the lowest temperature (95°F to 115°F / 35°C to 46°C).
- Spread herbs in a single layer on a baking sheet lined with parchment paper.
- Leave the oven door slightly open for ventilation.
- Dry for 1-4 hours, checking every 15-20 minutes to prevent burning.
- Remove when leaves crumble easily.
Pros: Fast drying.
Cons: Risk of flavor loss if overheated.
Dehydrator Drying: Controlled and Efficient
Best for: All types of herbs, especially large batches.
Steps:
- Arrange herbs on dehydrator trays without overlap.
- Set temperature to 95°F to 115°F (35°C to 46°C).
- Dry for 1-4 hours, checking for crispness.
- Store when brittle.
Pros: Consistent results and preserves essential oils.
Cons: Requires equipment purchase.
Microwave Drying: For Small Quantities
Best for: Quick drying of small herb amounts.
Steps:
- Place herbs between two paper towels.
- Microwave on high for 30 seconds.
- Check and repeat in 15-second intervals until dry.
- Let cool before storing.
Pros: Very fast.
Cons: Uneven drying and possible flavor loss.
How to Store Dried Herbs for Maximum Freshness
- Use airtight containers such as glass jars with tight lids.
- Store in a cool, dark place away from heat and sunlight.
- Label containers with the herb name and drying date.
- For best flavor, use dried herbs within 6-12 months.
- Avoid grinding herbs until ready to use to preserve essential oils.
Common Mistakes When Drying Herbs and How to Avoid Them
| Mistake | Consequence | How to Avoid It |
|——————————-|———————————|————————————|
| Harvesting wet herbs | Mold growth | Harvest on dry days, pat herbs dry |
| Drying in direct sunlight | Faded color and flavor loss | Dry in shaded, ventilated areas |
| Overheating during drying | Bitter taste and aroma loss | Use low temperatures and check often|
| Storing in humid containers | Herbs reabsorb moisture | Use airtight, dry containers |
| Crushing herbs before drying | Loss of essential oils | Dry whole leaves, crush before use |
Expert Tips for Drying Herbs From the Garden
- Rotate your herb bundles during air drying to ensure even drying.
- For herbs with thick stems like rosemary, strip leaves off lower stems before drying.
- Combine drying methods: air dry first, then finish in the oven or dehydrator for crispness.
- Freeze delicate herbs like basil if you want to retain more fresh flavor instead of drying.
- Use dried herbs in cooking by crushing between your fingers to release oils just before adding.
Frequently Asked Questions About Drying Garden Herbs
How long does it take to dry herbs from the garden?
Drying time depends on the method and herb type. Air drying takes 7-14 days, oven or dehydrator drying takes 1-4 hours, and microwave drying takes just a few minutes.
Can I dry herbs with flowers?
Yes, but flowers often dry faster than leaves. Harvest herbs before peak flowering for best flavor.
Are dried herbs as flavorful as fresh herbs?
Dried herbs have a more concentrated flavor but differ from fresh in aroma and texture. Use less dried herb than fresh in recipes (typically 1/3 the amount).
Conclusion
Drying herbs from your garden is a rewarding way to extend your harvest and enjoy natural flavors year-round. Whether you choose air drying, oven drying, or a dehydrator, the key lies in proper harvesting, drying at low temperatures, and storing herbs correctly. Avoid common mistakes like drying in direct sunlight or harvesting wet herbs to maintain quality.
By mastering these drying techniques, you can savor your garden’s best herbs in soups, teas, and meals long after the growing season ends. Start drying your herbs today and transform your garden’s fresh bounty into lasting culinary treasures!
Ready to dry your garden herbs? Follow these expert tips and methods to preserve your herbs’ vibrant flavor and aroma. Share your favorite drying technique below or explore more gardening tips to make the most of your harvest!
