Drawing your garden is a rewarding way to visualize your outdoor space, plan improvements, and capture the beauty of your personal haven. Whether you’re a beginner or an experienced artist, learning how to draw your garden combines creativity with practical planning. This guide will walk you through the essential steps to create an accurate and inspiring garden sketch.
Introduction
Have you ever wished to put your garden ideas on paper or create a visual record of your outdoor space? Drawing your garden offers a unique way to engage with your environment, plan landscaping projects, or simply enjoy an artistic hobby. Not only does it help you organize plants and features, but it also enhances your understanding of spatial relationships and design aesthetics.
In this article, you will learn how to draw your garden from scratch, including tips for measuring your space, choosing materials, and adding artistic details. We will cover practical techniques and creative advice to help you bring your garden to life on paper. Whether you want a simple sketch or a detailed drawing, this guide ensures your garden drawing is both accurate and beautiful.
Why Draw Your Garden?
Before diving into the drawing process, it’s important to understand the benefits:
- Visual Planning: See how plants, paths, and structures fit together.
- Project Management: Plan landscaping or renovation projects effectively.
- Memory Keeping: Preserve the seasonal beauty of your garden.
- Creative Expression: Combine art with nature for personal enjoyment.
How to Draw My Garden: Step-by-Step Instructions
1. Gather Your Tools
Start with basic drawing supplies:
- Graph paper or plain sketchbook
- Pencil and eraser (preferably HB or 2B for shading)
- Ruler or measuring tape
- Colored pencils or markers (optional for adding color)
- Camera or smartphone (to capture reference photos)
Pro Tip: Using graph paper helps maintain scale and proportion.
2. Measure Your Garden Space
Accurate measurements are essential to a realistic drawing.
- Use a measuring tape to record the length and width of your garden.
- Note the position and size of major features like trees, flower beds, paths, fences, and furniture.
- Sketch a rough outline on paper, labeling each measurement.
- Take photos of your garden from multiple angles for reference.
3. Create a Scale Drawing
To translate real dimensions into your drawing:
- Decide on a scale (e.g., 1 square = 1 foot or 1 meter).
- Draw the garden’s outer boundaries lightly on your graph paper using the scale.
- Mark the locations of paths, beds, and structures inside the boundaries.
- Maintain consistent proportions for accuracy.
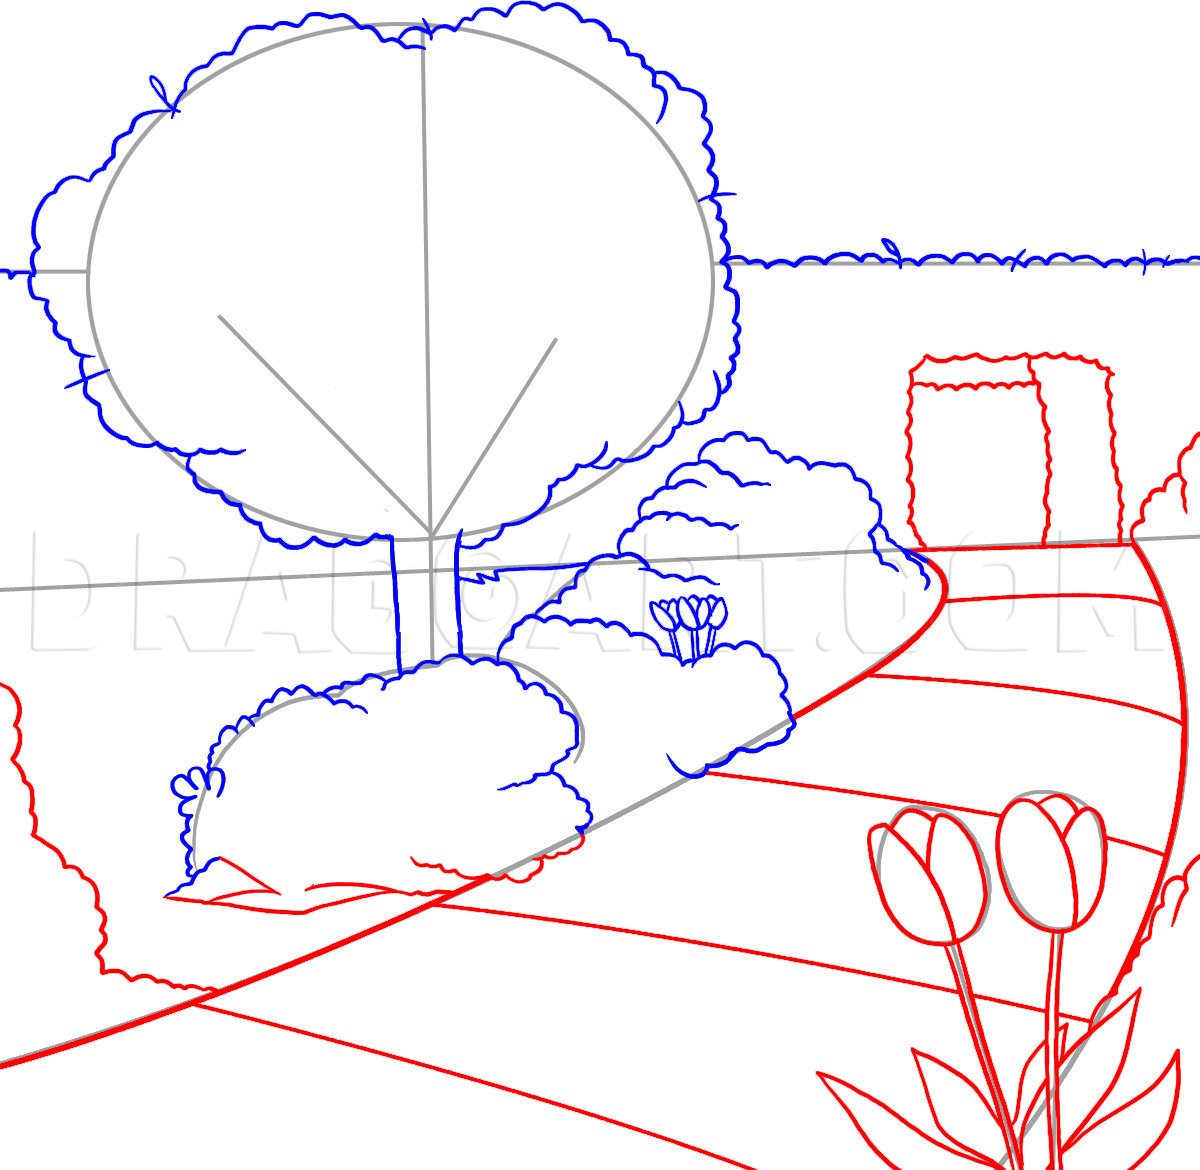
4. Sketch Major Features
Now that you have the layout:
- Draw major features such as trees, shrubs, flower beds, patios, and garden furniture.
- Use simple geometric shapes: circles for trees, rectangles for patios, irregular shapes for flower beds.
- Label each feature for clarity.
5. Add Details and Texture
Enhance your drawing with finer details:
- Use stippling or shading to differentiate plant types and textures.
- Draw individual leaves, flowers, or grass blades for a realistic look.
- Show shadows and light direction to add depth.
6. Incorporate Color (Optional)
Adding color can make your garden drawing vibrant and engaging:
- Use colored pencils or markers to fill in plants according to their natural hues.
- Highlight paths, water features, or garden decor with contrasting colors.
- Keep colors light and layered for a natural effect.
7. Label and Annotate
Including labels and notes helps communicate your garden’s features:
- Write plant names next to beds or trees.
- Indicate directions (north, south) for orientation.
- Add notes on plant height, blooming season, or maintenance tips.
Tips for Drawing a Garden Like a Pro
- Start Simple: Begin with a basic layout before adding complexity.
- Use Reference Images: Study photos of gardens or plants to improve accuracy.
- Practice Perspective: Experiment with bird’s-eye or eye-level views.
- Stay Patient: Garden drawing is a skill developed over time.
- Experiment with Styles: Try realistic, impressionistic, or schematic styles.
Common Questions About Drawing Gardens
What is the easiest way to draw a garden?
Begin with a scaled, top-down view using graph paper. This method simplifies proportions and layout planning.
Do I need to be an artist to draw my garden?
No! Basic shapes and clear labeling can create effective garden plans without advanced drawing skills.
Can I use digital tools to draw my garden?
Absolutely. Software like SketchUp, Garden Planner, or even simple drawing apps can help create precise digital garden sketches.
Real-World Example: Planning a Garden Renovation
Jane, a gardening enthusiast, wanted to add a seating area and more flower beds to her backyard. She measured her garden, drew a scaled layout on graph paper, and sketched in existing trees and paths. After adding proposed changes and coloring the drawing, Jane used it to communicate her ideas with a landscaper. The visual plan helped avoid costly mistakes and streamlined the renovation process.
Conclusion
Drawing your garden is both a practical tool and a creative outlet. By following simple steps like measuring accurately, creating a scaled sketch, and adding details, you can produce a drawing that reflects your garden’s unique character. Whether for planning or personal enjoyment, your garden sketch becomes a valuable asset that deepens your connection with your outdoor space.
Ready to bring your garden to life on paper? Grab your pencil, step outside, and start drawing—your perfect garden awaits!
Quick Recap: How to Draw My Garden
- Gather your materials and measure your garden space.
- Create a scaled layout on graph paper.
- Sketch major features using simple shapes.
- Add texture, color, and labels for detail.
- Use your drawing for planning or creative expression.
Drawing your garden is an inspiring journey that blends art with nature. With patience and practice, anyone can master this rewarding skill. Happy drawing!
