Solar powered garden lights are an eco-friendly and cost-effective way to illuminate your outdoor spaces. However, dirt, dust, and weather elements can reduce their efficiency over time. Proper cleaning and maintenance not only extend the lifespan of your solar lights but also ensure they provide optimal brightness every night. In this guide, we’ll walk you through how to clean solar powered garden lights effectively, helping you keep your garden glowing beautifully.
Why Cleaning Solar Powered Garden Lights Is Important
Solar garden lights rely on solar panels to absorb sunlight and convert it into energy. When the panels get dirty or covered with debris, their ability to capture sunlight diminishes, resulting in dim or non-functioning lights. Regular cleaning:
- Improves energy absorption and battery charging
- Enhances light brightness and performance
- Prevents corrosion and extends product life
- Maintains aesthetic appeal in your garden
How to Clean Solar Powered Garden Lights: Step-by-Step
1. Gather Your Cleaning Supplies
Before you start, prepare the following items:
- Soft microfiber cloth or sponge
- Mild dish soap or gentle detergent
- Warm water
- Soft toothbrush or small brush
- Cotton swabs (for tight spots)
- Dry towel
- Optional: white vinegar (for stubborn stains)
2. Turn Off and Remove the Lights
Most solar lights come with an ON/OFF switch. Turn the lights off to avoid any electrical issues. If possible, remove the solar lights from the ground or their mounting location for easier cleaning.
3. Clean the Solar Panel Surface
The solar panel is the heart of your solar light. To clean it:
- Mix a few drops of mild dish soap with warm water.
- Dip the microfiber cloth or sponge in the soapy water.
- Gently wipe the solar panel surface to remove dirt, dust, and grime.
- Use a soft toothbrush or cotton swab to clean corners and edges.
- For stubborn spots like bird droppings or hard water stains, apply a 50/50 white vinegar and water solution, then wipe clean.
- Rinse with a clean damp cloth to remove soap residue.
- Dry the panel thoroughly with a soft towel.
4. Clean the Light Fixture and Lens
Dirt and debris can also accumulate on the light housing and lens, affecting light output.
- Wipe the exterior with the same mild soap solution.
- Use a soft brush to clean intricate designs or crevices.
- Rinse and dry completely to prevent moisture buildup inside the light.
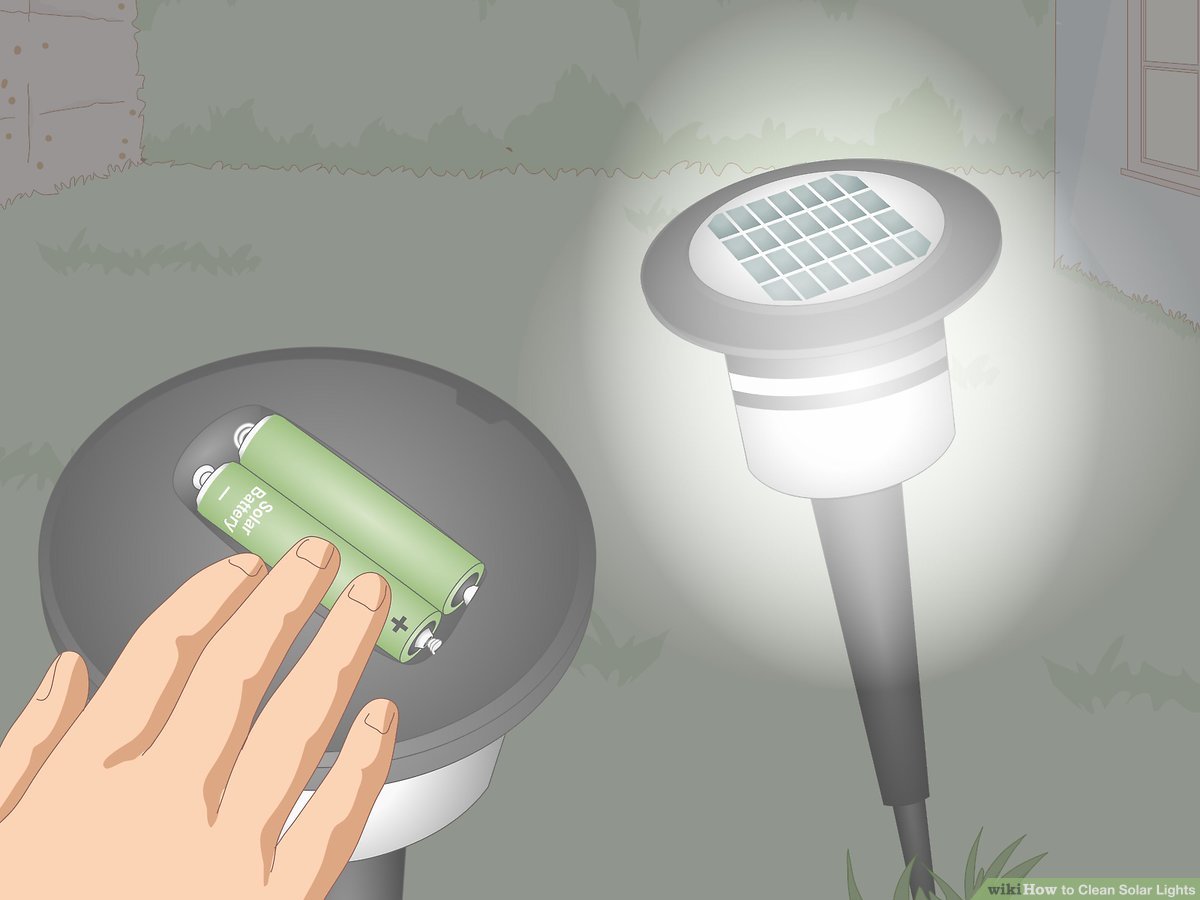
5. Check and Clean the Battery Compartment
Sometimes moisture or corrosion in the battery compartment can impair performance.
- Open the battery compartment carefully.
- Remove the batteries and inspect for corrosion or rust.
- If corrosion is present, gently clean with a cotton swab dipped in vinegar.
- Wipe dry before reinserting batteries or replacing with new ones.
6. Reassemble and Test
Once everything is clean and dry, reassemble the solar light, switch it on, and place it in a sunny spot to recharge. Monitor its performance over the next few days to ensure it’s working properly.
Tips for Maintaining Your Solar Powered Garden Lights
Regular Cleaning Schedule
- Clean solar lights every 2-3 months, or more often if you live in a dusty or rainy environment.
- After storms or heavy wind, inspect and clean any debris or dirt accumulation.
Proper Placement
- Position solar lights in areas with direct sunlight exposure for at least 6-8 hours daily.
- Avoid placing lights under dense tree canopies or shaded areas.
Battery Care
- Replace rechargeable batteries every 1-2 years for optimal performance.
- Use batteries recommended by the manufacturer to avoid damage.
Weather Protection
- In winter or harsh weather, consider storing solar lights indoors to protect from ice and snow damage.
- Use protective covers if available.
Common Problems and How Cleaning Helps
| Problem | Cause | Cleaning Solution |
|——————————–|—————————|—————————————|
| Dim or flickering lights | Dirty solar panel | Clean panel with mild soap and water |
| Light not turning on at night | Corroded battery contacts | Clean battery compartment; replace batteries if needed |
| Short battery life | Poor sunlight absorption | Remove dirt and relocate lights to sunnier spots |
| Water inside light fixture | Seals compromised | Dry thoroughly; check for cracks and reseal |
Expert Insights on Solar Light Maintenance
Dr. Emily Harper, an expert in renewable energy systems, emphasizes, “Regular cleaning of solar panels, even on small garden lights, can improve energy efficiency by up to 25%. Neglecting maintenance often leads to premature equipment failure, which can be avoided with simple, routine care.”
Conclusion: Keep Your Garden Lights Shining Bright
Cleaning your solar powered garden lights is a straightforward task that pays off in brighter, longer-lasting illumination. By following the steps outlined above and maintaining a regular cleaning schedule, you ensure your outdoor space remains inviting and well-lit, all while maximizing the eco-friendly benefits of solar technology.
Ready to brighten your garden efficiently? Start cleaning your solar lights today and enjoy the glow tomorrow!
FAQs: Quick Answers on Cleaning Solar Garden Lights
Q: How often should I clean solar garden lights?
A: Every 2-3 months, or more frequently in dusty or rainy conditions.
Q: Can I use harsh chemicals to clean the solar panels?
A: No, avoid abrasive cleaners; mild soap and water or diluted vinegar work best.
Q: Should I remove batteries before cleaning?
A: Yes, to prevent electrical shorts and inspect for corrosion.
Q: Will cleaning improve light brightness immediately?
A: Typically, yes, as clean panels absorb more sunlight for better energy conversion.
By keeping these tips in mind, your solar powered garden lights will continue to enhance your outdoor ambiance with sustainable, reliable illumination.
