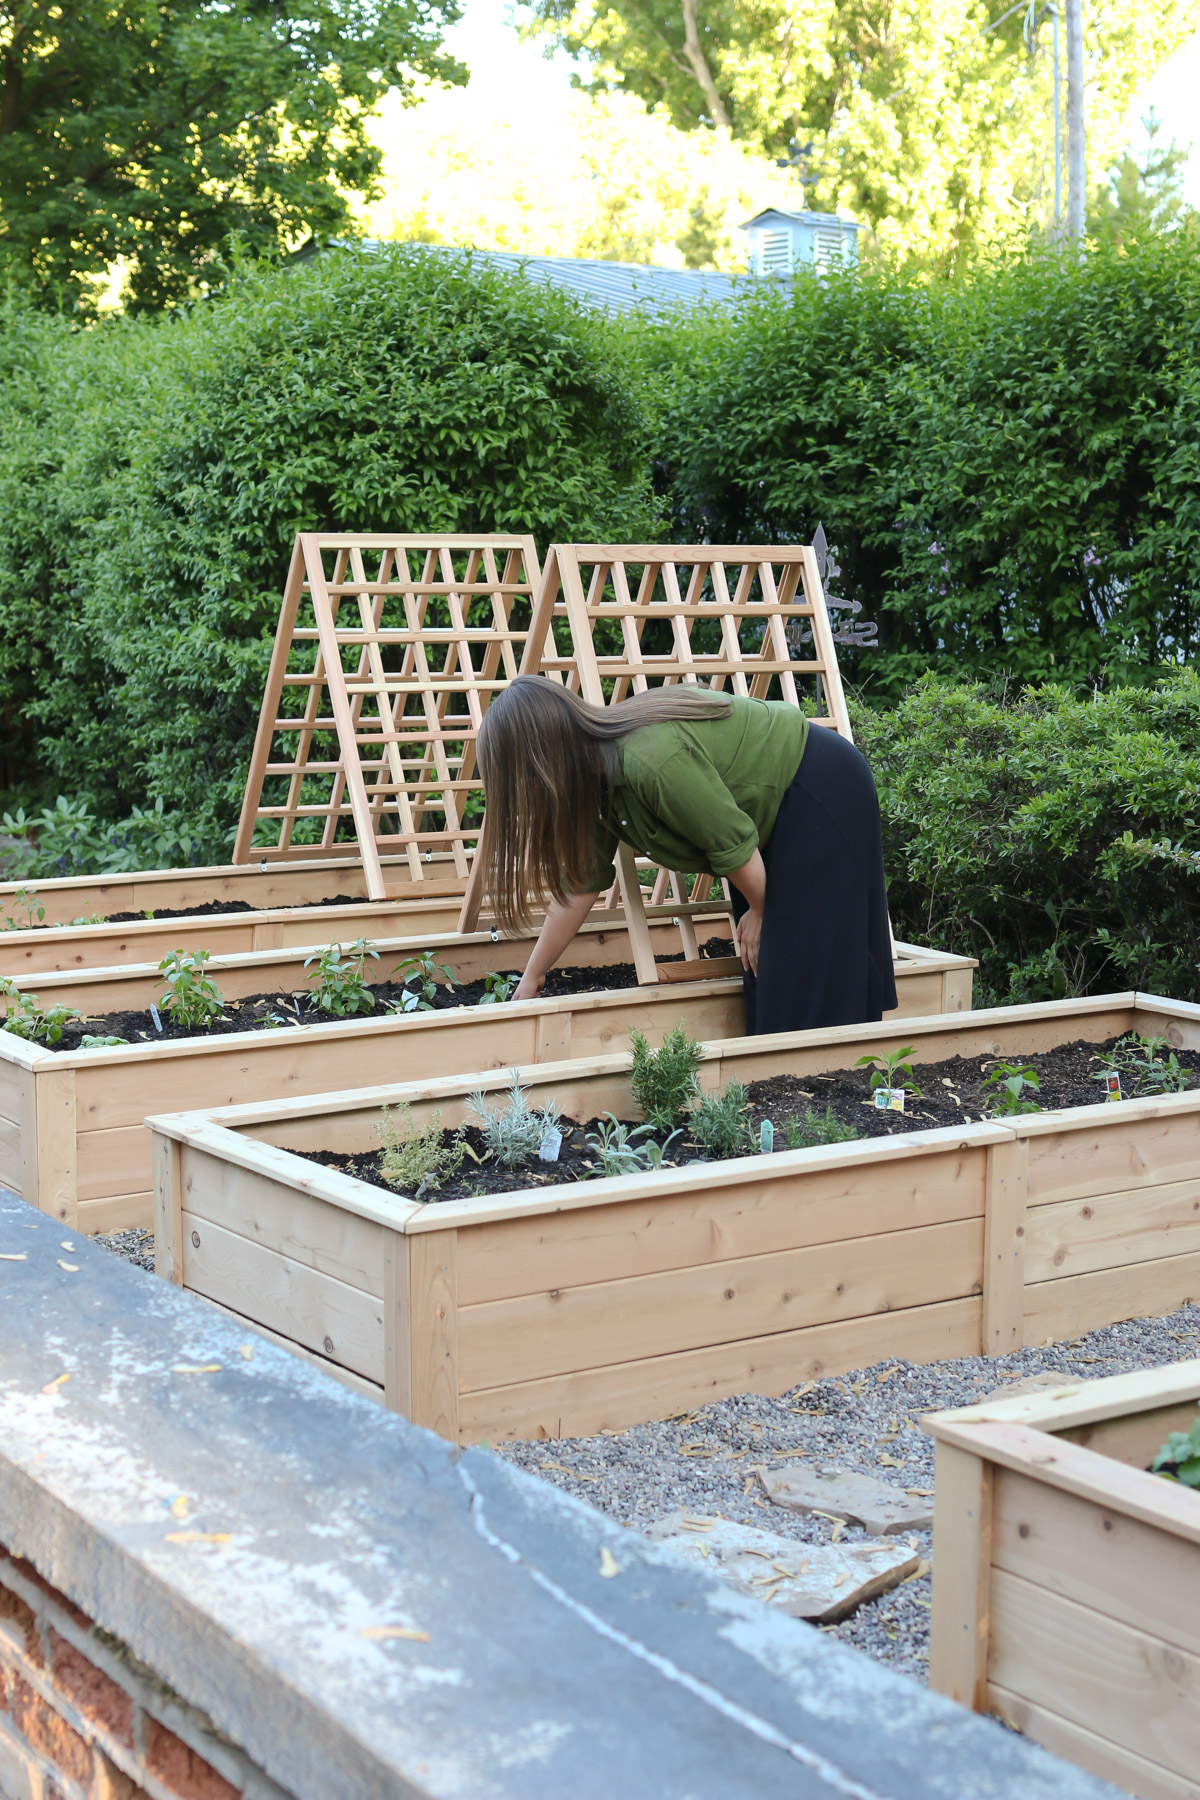
Creating cedar garden beds is a popular choice among gardeners who want durable, attractive, and chemical-free raised beds. Cedar wood naturally resists rot and insects, making it ideal for outdoor gardening projects. In this guide, you will learn how to build cedar garden beds efficiently, ensuring long-lasting structure and healthy plant growth.
Why Choose Cedar for Garden Beds?
Cedar is prized for its natural resistance to decay and pests. Unlike treated woods, cedar doesn’t leach harmful chemicals into the soil, making it safe for growing food. It also has a beautiful reddish hue that adds aesthetic value to your garden.
Key benefits of cedar garden beds include:
- Longevity: Cedar beds can last 10-15 years or more without significant decay.
- Sustainability: Cedar is a renewable wood source.
- Low maintenance: Requires minimal treatment or upkeep.
- Natural pest resistance: Repels insects that damage garden beds.
Materials and Tools Needed
Before starting, gather the following:
Materials:
- Cedar boards (1”x6” or 2”x6” recommended)
- Cedar posts (4”x4” for corners and supports)
- Galvanized screws or deck screws (rust-resistant)
- Landscape fabric (optional, for weed control)
- Soil and compost mix
Tools:
- Measuring tape
- Power drill with screwdriver bits
- Saw (circular or miter saw)
- Level
- Carpenter’s square
- Pencil or marker
- Safety gloves and goggles
Step-by-Step Instructions to Build Cedar Garden Beds
Step 1: Plan and Measure Your Garden Bed
Decide on the size and location of your garden bed. A common size is 4 feet by 8 feet, which allows easy access to the center without stepping into the bed. The depth should be at least 12 inches to accommodate most plants.
- Tip: Ensure your chosen area receives adequate sunlight and has good drainage.
Step 2: Cut Cedar Boards and Posts
Cut the cedar boards to the desired lengths. For a 4’x8’ bed, you’ll cut two boards at 8 feet and two at 4 feet for the sides.
Cut the 4”x4” posts into 12- to 16-inch lengths to act as corner supports and optional mid-span supports for added stability.
Step 3: Assemble the Frame
- Attach the corner posts by screwing the cedar boards into the posts at each corner.
- Use a carpenter’s square to ensure the corners are perfectly square.
- Add mid-span posts every 4 feet on longer sides for extra strength.
- Use a level to keep the frame even and flat.
Step 4: Prepare the Site
- Clear the ground of grass and debris.
- Optionally, lay down landscape fabric to suppress weeds.
- Level the soil surface where you will place the bed.
Step 5: Position and Secure the Bed
- Place the frame on the prepared site.
- Check level again and adjust as needed.
- Drive stakes or rebar through the posts into the ground if extra stability is needed.
Step 6: Fill the Bed with Soil
Fill the bed with a mix of quality topsoil, compost, and organic matter. A good ratio is 60% topsoil and 40% compost to promote healthy plant roots.
Tips for Maintaining Cedar Garden Beds
- Avoid soil contact with untreated wood: Cedar is naturally resistant but prolong life by avoiding constant moisture exposure.
- Use mulch: Mulching helps retain moisture and reduce weeds.
- Inspect annually: Check for loose screws or any signs of wear.
- Reapply natural wood oil: Optional, to maintain cedar’s vibrant color and enhance water resistance.
Frequently Asked Questions (FAQs)
Q1: How long do cedar garden beds last?
Cedar garden beds typically last 10 to 15 years or more with proper care.
Q2: Can I build garden beds without posts?
While possible, posts add essential stability and prevent warping.
Q3: Is cedar safe for growing vegetables?
Yes, cedar is naturally non-toxic and safe for edible plants.
Real-World Example: Sustainable Gardening with Cedar Beds
A community garden in Portland, Oregon, switched from treated wood to cedar beds. The result was a 40% increase in bed longevity and improved aesthetics, attracting more volunteers and donations. Gardeners appreciated the chemical-free environment for their produce.
Conclusion
Building cedar garden beds is a smart investment for any gardener looking for durability, safety, and beauty. By following these clear steps—from planning and cutting to assembly and soil filling—you can create raised beds that boost your garden’s productivity for years. Remember to maintain your beds annually for best results.
Ready to start your cedar garden bed project? Gather your materials today and enjoy the benefits of sustainable, chemical-free gardening with cedar!
Optimize your garden space with cedar beds—durable, eco-friendly, and easy to build!
