Creating a garden obelisk trellis is an excellent way to add vertical interest and support to your garden plants. Not only does it serve a functional purpose by helping climbing plants grow upward, but it also adds a striking architectural element that enhances the overall garden aesthetics. Whether you’re a seasoned gardener or a DIY enthusiast, building your own garden obelisk trellis is a rewarding project that combines creativity and practicality.
In this article, we will explore how to build a garden obelisk trellis from start to finish. You’ll learn about the materials needed, the step-by-step construction process, tips for installation, and how to maintain your obelisk for years to come. By the end, you’ll be equipped with the knowledge to craft a durable, attractive trellis tailored to your garden’s needs.
What Is a Garden Obelisk Trellis and Why Use One?
Before diving into the construction, it’s important to understand what a garden obelisk trellis is and its benefits:
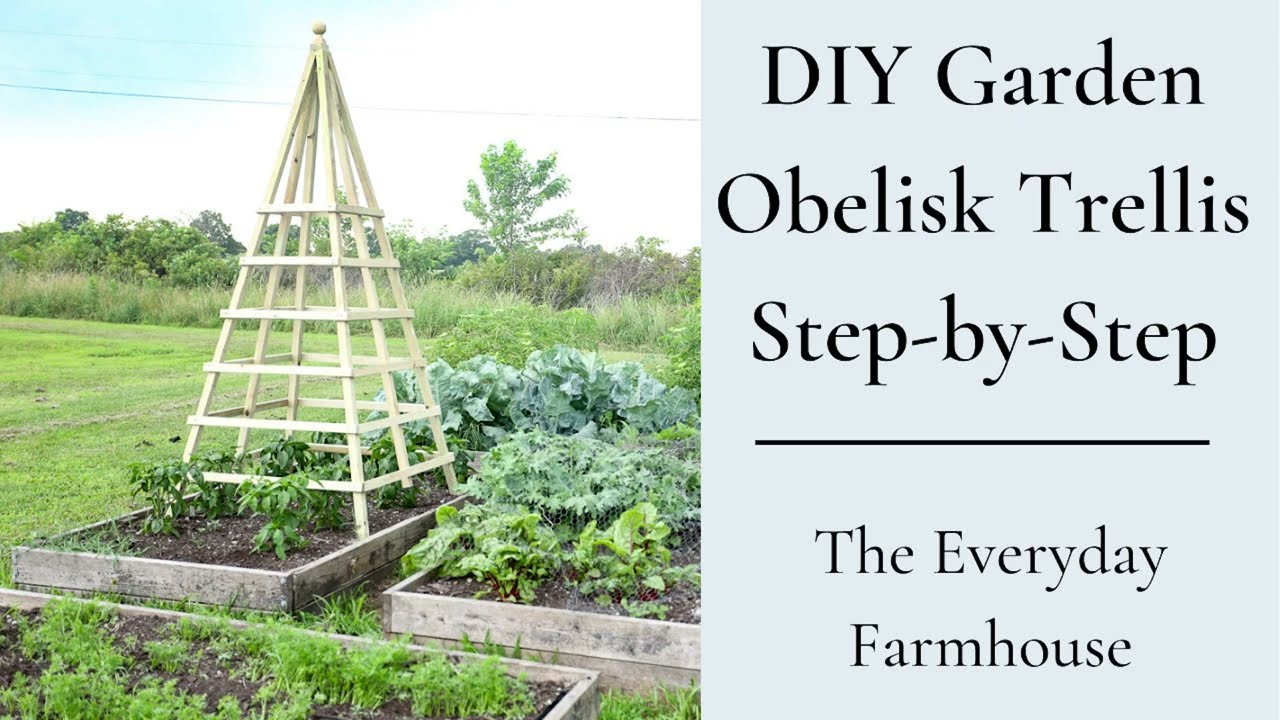
- Definition: A garden obelisk trellis is a tall, four-sided structure that tapers to a point at the top, resembling an Egyptian obelisk. It’s typically made from wood, metal, or PVC.
- Purpose: It supports climbing plants such as clematis, sweet peas, morning glories, and climbing roses.
- Benefits:
- Maximizes vertical growing space, ideal for small gardens.
- Improves air circulation around plants, reducing disease.
- Adds a focal point and enhances garden design.
Materials and Tools Needed to Build a Garden Obelisk Trellis
To build a sturdy and attractive garden obelisk trellis, gather the following materials and tools:
Materials:
- Wooden dowels or cedar stakes (1-inch diameter, about 6-8 feet long)
- Wood screws or galvanized nails (to prevent rust)
- Outdoor wood glue (optional, for extra stability)
- Sandpaper (medium grit)
- Wood sealer or exterior paint (to protect from weather)
- Metal brackets or corner braces (optional, for added reinforcement)
Tools:
- Measuring tape
- Saw (hand or power saw)
- Drill with screwdriver bit
- Pencil and square (for marking)
- Safety goggles and gloves
- Paintbrush (for sealing or painting)
Step-by-Step Instructions to Build Your Obelisk Trellis
Step 1: Plan and Measure Your Design
- Decide the height and width of your obelisk, generally 6-8 feet tall and 18-24 inches wide at the base.
- Sketch a simple design with four vertical legs tapering to a point at the top.
- Mark your wood pieces according to these measurements.
Step 2: Cut the Wood Pieces
- Cut four wooden dowels or stakes to the desired height.
- Cut additional horizontal crosspieces (3-4 pieces) to connect the legs and maintain stability. These will be shorter than the base width, tapering upward.
Step 3: Sand the Edges
- Smooth all cut edges with sandpaper to prevent splinters and prepare for finishing.
Step 4: Assemble the Frame
- Arrange four vertical legs in a square base.
- Attach the first horizontal crosspiece approximately 1 foot from the bottom using wood screws or nails.
- Attach subsequent crosspieces evenly spaced, tapering inward as you move up.
- At the top, join the four legs together tightly. You can drill pilot holes and screw them together or use a metal bracket.
Step 5: Reinforce and Secure
- For added strength, use wood glue on joints before screwing.
- Attach metal corner braces at each joint if desired.
- Ensure the structure is square and stable.
Step 6: Finish Your Obelisk Trellis
- Apply a coat of outdoor wood sealer or paint to protect against the elements.
- Allow it to dry completely before placing it in the garden.
Installing and Using Your Garden Obelisk Trellis
Placement Tips:
- Position the obelisk where climbing plants naturally grow and receive adequate sunlight.
- Insert the legs firmly into the soil, about 6-12 inches deep, for stability.
- Consider anchoring with stakes if in a windy area.
Planting Suggestions:
- Plant climbing vines such as clematis, morning glories, sweet peas, or climbing roses at the base.
- Train the plants to grow by gently tying them to the trellis with soft garden ties.
Maintenance and Longevity Tips
- Inspect your obelisk trellis annually for loose screws or damage.
- Reapply wood sealer or paint every 1-2 years to maintain weather resistance.
- Clean off any dirt or mildew with mild soap and water.
- Replace any broken parts promptly to avoid structural failure.
Expert Insights on Garden Obelisk Trellises
Garden designer and horticulturist Emma Green notes, “A well-built obelisk trellis not only supports plants but becomes a vertical canvas that adds dimension and charm to any garden space.” She emphasizes using rot-resistant wood like cedar or treated lumber to maximize durability.
Conclusion
Building a garden obelisk trellis is a practical, enjoyable project that enhances your garden’s beauty and functionality. By following this guide, you can create a durable and attractive structure that supports your climbing plants and adds vertical interest. Remember to choose quality materials, assemble carefully, and maintain your trellis to enjoy years of flourishing greenery.
Ready to transform your garden? Gather your materials and start building your garden obelisk trellis today—your plants and garden aesthetics will thank you!
Key Takeaways:
– Garden obelisks provide vertical support and design interest.
– Use rot-resistant wood and secure joints for durability.
– Position obelisks in sunny spots and train plants carefully.
– Maintain with sealing and periodic inspections.
Building your own garden obelisk trellis is more than a DIY task; it’s an investment in your garden’s future beauty and productivity. Happy gardening!
