Garden netting is an essential tool for gardeners looking to protect their plants from pests, birds, and harsh weather. Whether you want to safeguard your vegetable patch, fruit trees, or delicate flowers, attaching garden netting correctly ensures optimal protection and longevity. This guide will walk you through the best practices for attaching garden netting efficiently and securely, helping you achieve a thriving, pest-free garden.
In this article, you will learn why garden netting is vital, the different types available, and practical, step-by-step instructions to attach it properly. We’ll also discuss helpful tips and common mistakes to avoid, ensuring your garden stays safe and your netting lasts through the seasons.
Why Use Garden Netting?
Garden netting acts as a physical barrier against various threats that can damage plants:
- Birds and small animals: Netting prevents birds from pecking fruits and vegetables.
- Insects and pests: Fine mesh netting can reduce insect infestations.
- Weather protection: It shields plants from hail or heavy rain.
- Reduced chemical use: Using netting decreases the need for pesticides, promoting eco-friendly gardening.
Understanding these benefits highlights the importance of correctly attaching garden netting for maximum effectiveness.
Types of Garden Netting and Their Uses
Before attaching garden netting, it’s essential to select the right type based on your garden’s needs:
| Type of Netting | Mesh Size | Best For |
|—————————|———————-|———————————-|
| Bird Netting | 1-2 inch mesh | Protecting fruits and vegetables |
| Insect Netting | Fine mesh (less than 1/4 inch) | Preventing insect damage |
| Shade Netting | Varies (typically 30-50%) | Reducing sun exposure |
| Deer and Animal Netting | Larger, strong mesh | Keeping out larger animals |
Choosing the right netting ensures easier attachment and better protection.
How to Attach Garden Netting: Step-by-Step Instructions
1. Prepare Your Garden Area
- Clear the area: Remove debris, weeds, and any obstacles around the plants.
- Measure the space: Accurately measure the width and length of the area to determine how much netting you need.
- Select support structures: Use stakes, poles, or existing garden frames as anchor points.
2. Choose the Attachment Method
Depending on your garden setup and netting type, you can attach garden netting using:
- Garden staples or U-pins: Ideal for securing netting to the soil in smaller areas.
- Twist ties or cable ties: Useful for fastening netting to poles or frames.
- Clips or hooks: Quick-release options for easy removal and reattachment.
- Nails or staples: For permanent attachment to wooden frames.
3. Install Support Structures (If Needed)
If your garden lacks natural support, install stakes or poles:
- Place stakes evenly around the garden bed (typically every 2-3 feet).
- Ensure stakes are sturdy and tall enough to hold the netting above plants.
- Use string or wire between stakes to create a frame for the netting.
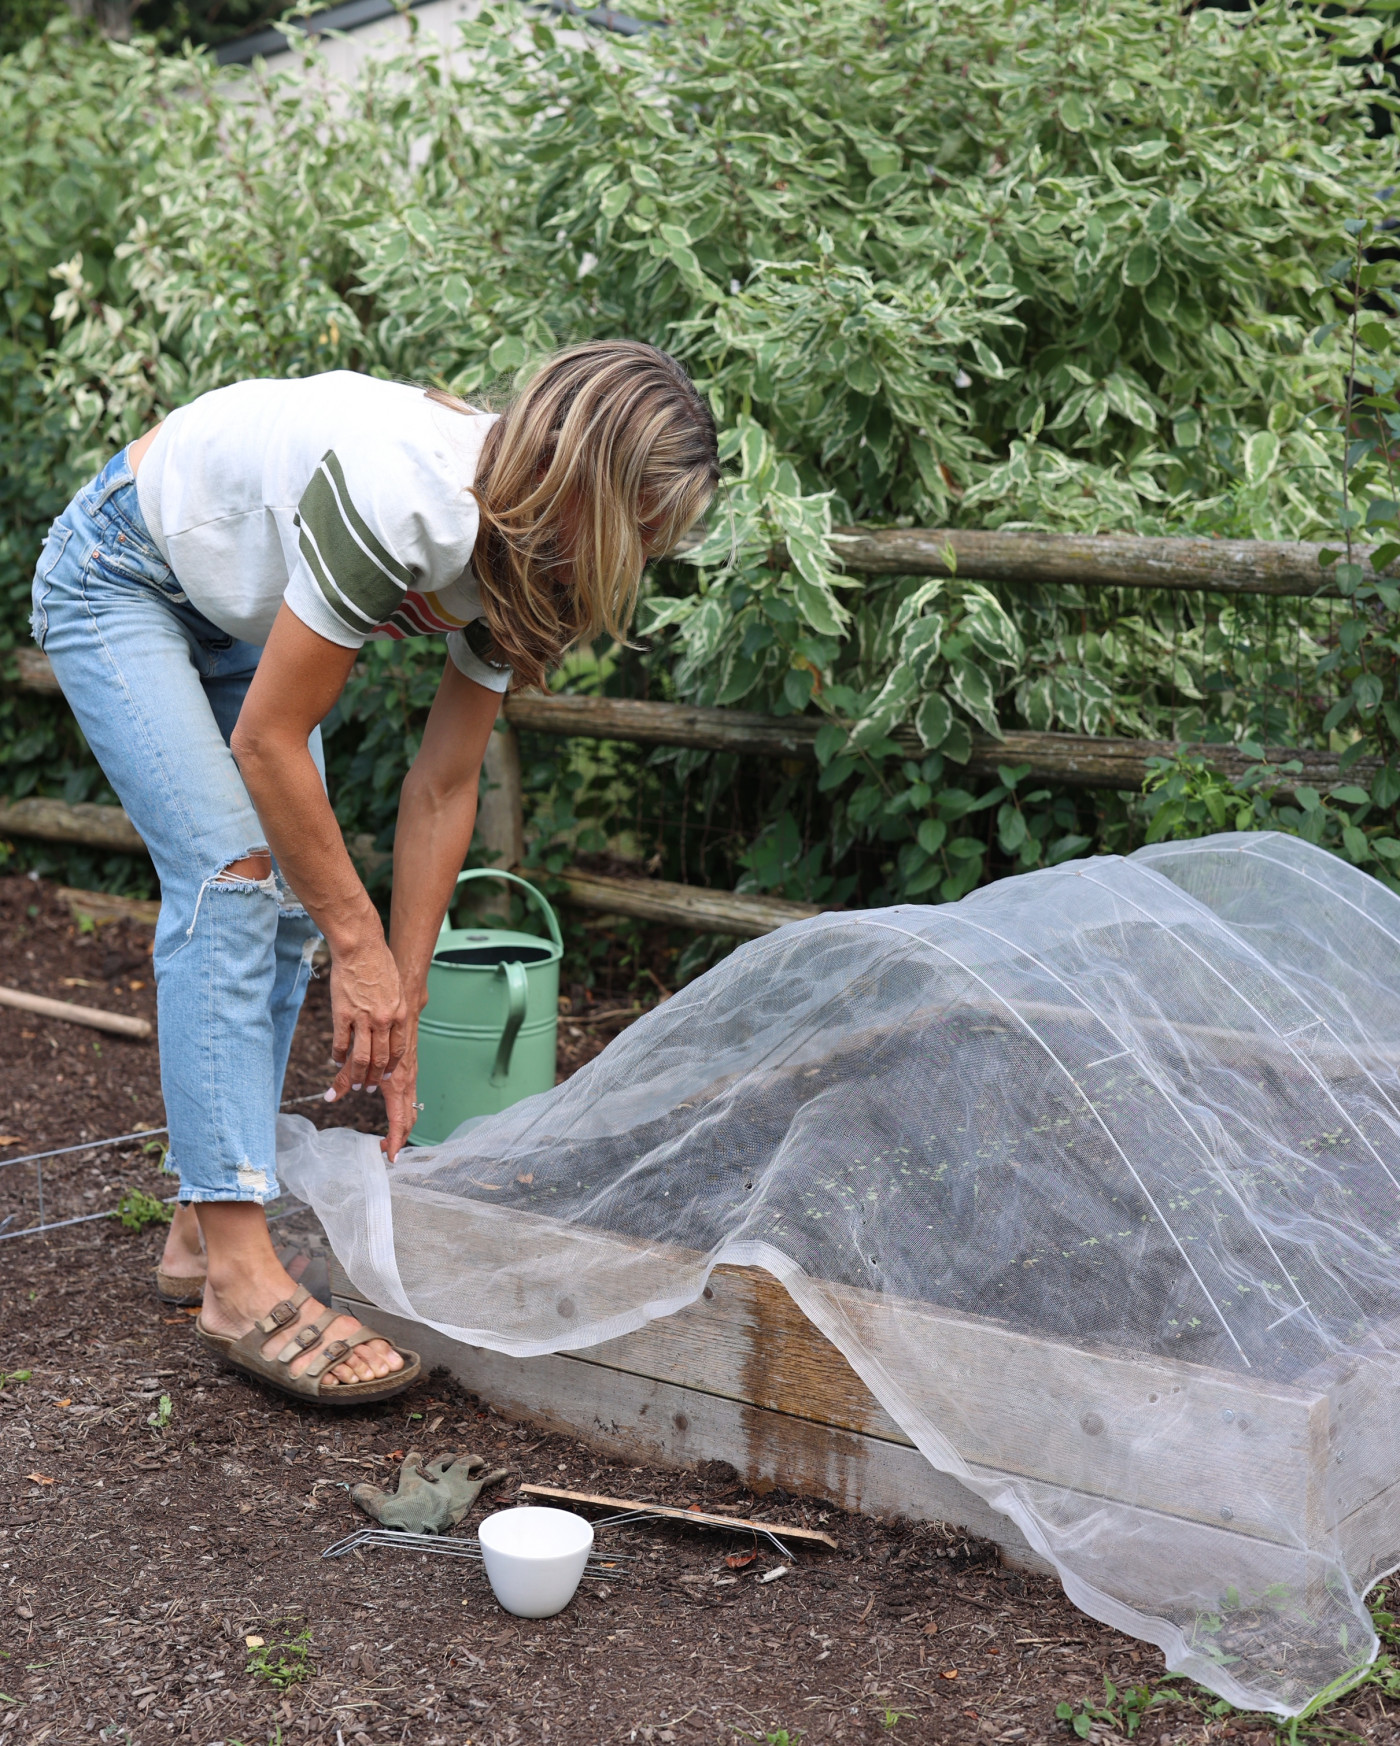
4. Lay Out the Netting
- Spread the netting over the plants gently to avoid damage.
- Leave extra netting at the edges to ensure full coverage.
- Avoid tight stretching, which can tear the netting or harm plants.
5. Secure the Netting
- Attach the netting to stakes or frames using ties or clips.
- Fix the edges of the netting to the ground with garden staples or U-pins.
- Overlap netting seams by at least 6 inches to prevent gaps.
- Check for any holes or loose spots and repair immediately.
6. Regular Maintenance
- Inspect the netting weekly for damage or sagging.
- Remove debris like fallen leaves or branches from the netting.
- Adjust tension or re-secure edges as plants grow.
Tips for Effective Garden Netting Attachment
- Use UV-resistant netting: Prolongs lifespan under sunlight exposure.
- Avoid sharp edges: Trim any frayed netting edges to prevent tearing.
- Consider plant growth: Attach netting loosely to allow plants to grow without restriction.
- Label your netting: Choose colored or patterned netting for easy identification.
- Store netting properly: Clean and dry before folding to avoid mold and damage during off-season.
Common Mistakes to Avoid
- Not securing edges properly: This allows pests to enter and netting to blow away.
- Stretching netting too tight: Can damage plants and reduce netting durability.
- Using wrong mesh size: Larger mesh won’t protect against small pests; too fine mesh can reduce airflow.
- Neglecting maintenance: Damaged netting loses effectiveness quickly.
Real-World Example: Protecting a Vegetable Garden
Jane, an experienced gardener from Oregon, used bird netting to protect her tomato plants from local birds. She attached netting using wooden stakes spaced 2 feet apart with cable ties securing the netting overhead. The edges were pinned down with garden staples to prevent birds from entering underneath. As a result, Jane saw a 40% increase in tomato harvest compared to previous years without netting, highlighting the effectiveness of proper attachment.
Conclusion
Attaching garden netting correctly is crucial for protecting your plants from pests and environmental damage. By preparing your garden, selecting the right netting, and using appropriate attachment methods, you can create a secure barrier that promotes healthy plant growth and reduces the need for chemicals. Remember to maintain and inspect your netting regularly to ensure long-lasting protection.
Start today by measuring your garden space and choosing the best netting type. With the right approach, you’ll enjoy a flourishing garden free from unwanted intruders. Protect your plants smartly and watch your garden thrive!
Call to Action:
Ready to safeguard your garden? Gather your materials and try these steps to attach garden netting effectively. Share your experiences and tips to help fellow gardeners grow healthier and happier plants!
