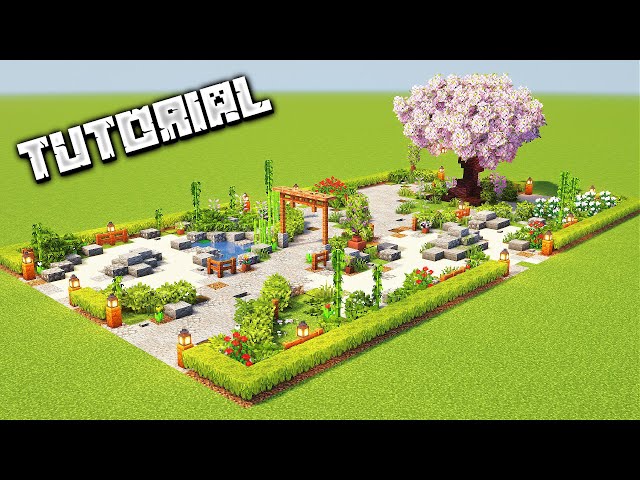
Planting a garden in Minecraft is an essential skill for players seeking a sustainable food source and a beautiful outdoor space. Whether you’re a new player or an experienced builder, knowing how to plant and manage a garden can significantly enhance your in-game survival and creativity. This guide will walk you through the process of planting a garden in Minecraft—from preparing the soil to harvesting crops—so you can cultivate your own thriving green space.
In this article, you’ll learn how to prepare farmland, select the right seeds, grow various crops, and optimize your garden for maximum yield. We’ll also cover tips on irrigation, lighting, and protection against mobs, ensuring your garden flourishes. By the end, you’ll have a comprehensive understanding of garden planting mechanics that align with Minecraft’s gameplay.
Understanding the Basics: What You Need to Plant a Garden in Minecraft
Before planting, it’s important to gather the right materials and understand the core mechanics behind Minecraft gardening. Here are the essentials:
- Hoe: Used to till dirt or grass blocks into farmland.
- Seeds or saplings: These include wheat seeds, carrot, potato, beetroot seeds, and saplings for trees.
- Water source: Hydrates farmland to speed up crop growth.
- Light source: Ensures plants grow even during nighttime or in enclosed spaces.
Step 1: Preparing Your Garden Area
Choose the Location
- Find a flat, open area near your base for easy access.
- Ensure the area receives enough light (natural or artificial) for crops to grow.
Till the Soil
- Equip a hoe (wooden, stone, iron, gold, or diamond).
- Right-click (Java Edition) or tap the farmland block (Bedrock) on dirt or grass blocks to till them into farmland.
- Farmland blocks will turn darker when hydrated, indicating they are ready for planting.
Pro Tip: Farmland can be hydrated from a water source block up to four blocks away in every direction.
Step 2: Choosing and Planting Seeds
Types of Seeds and Plants
- Wheat seeds: Obtained by breaking tall grass.
- Carrot and potato: Found in village farms or dropped by zombies.
- Beetroot seeds: Found in village farms or shipwreck chests.
- Melon and pumpkin seeds: Crafted from melons and pumpkins.
- Sugar cane and cactus: Require special planting conditions near water or sand.
- Saplings: For growing trees, planted on dirt or grass.
How to Plant Seeds
- Select the seeds in your hotbar.
- Right-click or tap the tilled farmland to plant.
- Maintain a one-block spacing for most crops to ensure proper growth.
Step 3: Watering and Lighting Your Garden
Hydrating Farmland
- Place water sources near the garden (e.g., water blocks or buckets).
- Hydrated farmland appears darker and increases crop growth speed.
- Without water, crops will grow more slowly, and farmland may revert to dirt if not used.
Lighting Requirements
- Crops need a light level of 9 or higher.
- Use torches, glowstone, or lanterns for nighttime or indoor gardens.
- Proper lighting prevents mobs from spawning and helps crops grow consistently.
Step 4: Growing and Harvesting Crops
Crop Growth Stages
- Crops progress through 7 growth stages.
- Growth depends on hydration, light, and time (random ticks in-game).
- Bone meal can accelerate growth instantly.
Harvesting Tips
- Wait until crops are fully grown (e.g., wheat changes color to golden brown).
- Right-click or break the mature crop to collect produce and seeds for replanting.
- Replant seeds immediately to maintain continuous production.
Step 5: Protecting and Expanding Your Garden
Protecting Your Garden
- Use fences or walls to keep mobs like zombies and animals away.
- Light up the area thoroughly to prevent hostile mob spawns.
- Consider using scarecrow-like armor stands or cats to deter certain mobs.
Expanding Your Garden
- Create rows of different crops to diversify food sources.
- Use composters to convert excess plant material into bone meal.
- Experiment with vertical farms or greenhouse builds for efficient space use.
Real-World Minecraft Garden Example: Village Farms
Villages in Minecraft naturally generate farms with crops like wheat, carrots, and potatoes. These farms serve as excellent inspiration for your garden layout:
- Rows of crops irrigated by water channels.
- Fences surrounding the farm to protect crops.
- Villagers tending the land, which can be mimicked by iron golems for protection.
Studying village farms helps you design efficient, aesthetically pleasing gardens.
Frequently Asked Questions (FAQs)
Can I plant any seed on any soil?
No. Seeds generally require hydrated farmland for planting. Some plants like sugar cane and cactus have specific requirements (water-adjacent blocks or sand).
How often should I water my garden?
Minecraft farmland stays hydrated if water is within four blocks horizontally. There’s no need to water repeatedly, but ensure water sources are nearby.
Does lighting affect crop growth speed?
Yes. Crops need a light level of 9 or higher to grow efficiently, especially at night or indoors.
Conclusion
Planting a garden in Minecraft is straightforward but requires attention to detail to maximize crop yield. By preparing your soil, selecting appropriate seeds, maintaining hydration and lighting, and protecting your crops, you can create a sustainable and visually appealing garden. Gardens not only provide essential food resources but also enhance your Minecraft world’s beauty and functionality.
Start small, experiment with different crops, and expand your garden as you gather more resources. With these steps, you’ll master Minecraft gardening and enjoy a steady supply of food and materials. Happy planting!
Ready to grow your Minecraft garden? Grab your hoe, gather some seeds, and start cultivating your virtual paradise today!
