Gardening in Minecraft is more than just planting a few seeds—it’s an immersive way to cultivate resources, beautify your world, and enhance gameplay. Whether you’re a beginner or looking to optimize your garden, understanding how to garden effectively in Minecraft can significantly improve your survival and creative experiences. This guide will walk you through the essentials of gardening, from soil preparation to advanced crop management, helping you build a thriving virtual garden that supports your adventures.
In this article, you’ll learn the step-by-step process of gardening in Minecraft, including how to plant and grow various crops, maintain soil health, use water efficiently, and incorporate decorative elements. We’ll also explore tips for automating your garden, leveraging Minecraft mechanics, and avoiding common pitfalls. By the end, you’ll have expert insights and practical advice to make your Minecraft garden both functional and beautiful.
What Is Gardening in Minecraft and Why Is It Important?
Gardening in Minecraft involves cultivating plants and crops to gather food, materials, and decorative items. Unlike real-life gardening, Minecraft gardening combines resource management and creativity, offering players ways to sustain themselves and enhance their builds.
Key reasons to garden in Minecraft include:
- Food supply: Growing crops like wheat, carrots, and potatoes ensures a steady food source.
- Resource gathering: Some plants drop items necessary for crafting.
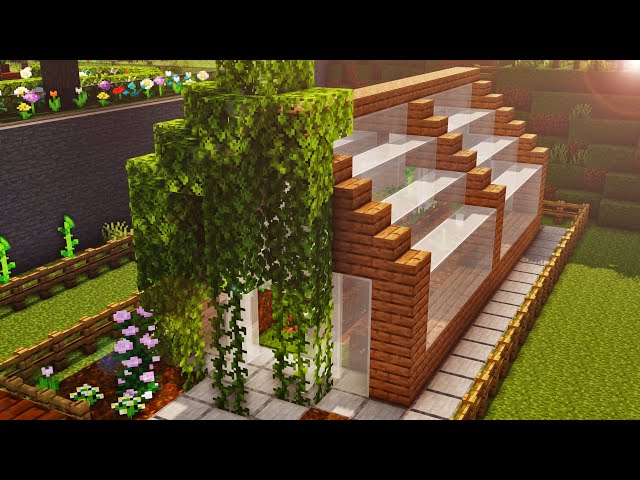
- Aesthetic appeal: Gardens add visual beauty to your base or village.
- Experience points: Harvesting crops grants XP, aiding your progression.
Understanding these benefits highlights why gardening is a fundamental skill for all players.
How to Start Gardening in Minecraft: Step-by-Step
1. Prepare Your Soil: Finding and Tilling Farmland
Before planting, you need to create farmland by tilling dirt or grass blocks with a hoe.
- Craft a hoe using two sticks and two materials (wood, stone, iron, etc.).
- Right-click (or tap) on dirt or grass blocks to till them into farmland.
- Note: Farmland needs water within 4 blocks to stay hydrated and maintain crop growth.
2. Water Your Farmland Correctly
Hydrated farmland increases crop growth speed.
- Place water blocks adjacent to or near your farmland.
- Water can hydrate farmland up to 4 blocks away horizontally.
- Use water canals or waterlogged blocks to efficiently hydrate large areas.
3. Choose the Right Crops to Plant
Minecraft offers a variety of crops, each with unique growth requirements and uses:
| Crop | How to Obtain Seeds/Plants | Use |
|————|———————————–|——————————–|
| Wheat | Break tall grass to get seeds | Food (bread), breeding animals |
| Carrots | Found in villages or dropped by zombies | Food, breeding pigs |
| Potatoes | Found in villages or dropped by zombies | Food, crafting baked potatoes |
| Beetroots | Found in villages | Food, dye |
| Melons | Melon seeds from jungle temples or chests | Food, crafting glistering melon |
| Pumpkins | Found in the wild or villages | Food, crafting jack-o’-lanterns, golems |
4. Planting Seeds and Crops
- Select your seeds in the hotbar.
- Right-click on hydrated farmland to plant.
- Ensure the farmland stays hydrated and receives enough light.
5. Provide Adequate Lighting
Crops need light to grow, especially underground or in enclosed spaces.
- Place torches or glowstone near your garden.
- A light level of 9 or higher is optimal for crop growth.
How to Speed Up Crop Growth in Minecraft
Crop growth in Minecraft depends on random tick updates, but you can optimize conditions:
- Hydrated farmland: Always keep soil wet.
- Light levels: Maintain a light level of 9+.
- Crop spacing: Plant crops with at least one block between rows to maximize growth.
- Bone meal: Use bone meal (crafted from bones or dropped by skeletons) to instantly grow crops.
- Avoid trampling: Don’t walk on farmland blocks or crops will break.
How to Automate Your Minecraft Garden
Automation saves time and effort, especially for large farms.
Basic Automation Techniques:
- Water harvesting: Use dispensers filled with water buckets to flood farmland and collect crops.
- Hopper systems: Place hoppers under farmland or collection points to gather harvested items automatically.
- Redstone mechanics: Combine pistons and redstone circuits to create crop harvesters or seed planters.
Example: Simple Water Harvester
- Build a flat farm with farmland.
- Place dispensers at one end filled with water buckets.
- Use a redstone switch to activate dispensers, flooding the farm.
- Water pushes crops into a collection area with hoppers.
Common Gardening Mistakes and How to Avoid Them
- Not hydrating farmland: Dry soil drastically slows crop growth.
- Walking on farmland: Tramples and destroys your crops.
- Planting in darkness: Crops won’t grow without sufficient light.
- Ignoring crop spacing: Overcrowding can reduce growth rates.
- Forgetting to replant seeds: Always replant after harvesting to maintain production.
How to Incorporate Decorative Elements in Your Minecraft Garden
Gardens aren’t just functional—they can be works of art.
- Flower beds: Plant flowers like tulips, roses, and dandelions alongside crops.
- Fences and paths: Use wooden fences and gravel or stone paths to organize your garden.
- Water features: Add ponds or fountains to create a peaceful atmosphere.
- Garden furniture: Place benches or lanterns for realism.
Expert Tips for Advanced Gardeners
- Use composter blocks to recycle plant materials into bone meal.
- Plant nether wart in soul sand for potion ingredients.
- Combine villager trading with farming by creating farmer villagers who buy crops.
- Experiment with crop mutation by planting different crops adjacent to each other for aesthetic variety.
Frequently Asked Questions About Minecraft Gardening
How long does it take for crops to grow?
Growth time varies, usually between 5-30 minutes in real-time, depending on hydration, light, and random ticks.
Can you garden underground?
Yes, but you need artificial light sources like torches or glowstone.
Do crops grow in the rain?
Rain helps hydrate farmland but does not directly speed up crop growth.
Conclusion: Mastering Gardening in Minecraft for Survival and Creativity
Gardening in Minecraft is a vital skill that blends resource management, strategy, and creativity. By preparing your soil properly, selecting the right crops, maintaining hydration and light, and exploring automation, you can create a flourishing garden that supports your gameplay and beautifies your world. Remember to avoid common mistakes and experiment with decorative elements to make your garden truly unique. Start planting today and watch your Minecraft oasis grow!
Ready to turn your dirt patch into a thriving garden? Grab your hoe, gather seeds, and start cultivating your Minecraft paradise now!
