Creating a raised bed garden is one of the most effective ways to grow healthy plants, improve soil quality, and maximize your gardening space. Whether you’re a seasoned gardener or just starting out, raised beds offer numerous benefits, including better drainage, easier weed control, and reduced soil compaction. In this comprehensive guide, we’ll walk you through how to build a raised bed garden from scratch, covering materials, design options, soil preparation, and planting tips to help your garden thrive.
Building a raised bed garden not only enhances your garden’s productivity but also makes gardening more accessible and enjoyable. By the end of this article, you’ll know exactly how to plan, construct, and maintain a raised bed that suits your space and gardening goals.
What Is a Raised Bed Garden and Why Build One?
A raised bed garden is a planting area elevated above the surrounding soil. Typically enclosed by walls made of wood, stone, or other materials, raised beds provide a controlled environment for growing vegetables, herbs, and flowers.
Benefits of Raised Bed Gardens:
- Improved Soil Drainage: Elevated soil drains faster, preventing waterlogging.
- Enhanced Soil Quality: You control the soil mix, improving fertility and structure.
- Weed and Pest Control: Raised beds reduce weed growth and limit pest access.
- Extended Growing Season: Soil warms faster in spring, allowing earlier planting.
- Accessibility: Easier on the back and knees, especially with taller beds.
These advantages make raised beds ideal for urban gardeners, small spaces, and anyone looking to optimize their garden’s productivity.
Step 1: Planning Your Raised Bed Garden
Before buying materials or digging, proper planning is essential. Consider these factors:
1.1 Location
- Sunlight: Choose a spot that receives at least 6-8 hours of sunlight daily.
- Accessibility: Place beds near water sources and paths for easy maintenance.
- Level Ground: Ensure the site is flat or gently sloped to avoid erosion issues.
1.2 Size and Shape
- Width: Typically 3 to 4 feet wide to allow easy reach from all sides.
- Length: Can vary from 4 to 12 feet or more, depending on space.
- Height: Commonly 6 to 12 inches, but 18 to 24 inches is better for deep-rooted plants and reducing bending.
1.3 Materials
- Wood: Cedar and redwood resist rot and are popular choices.
- Composite: Durable and low-maintenance but costlier.
- Stone or Brick: Long-lasting and decorative.
- Recycled Materials: Pallets or reclaimed wood can be eco-friendly options.
Step 2: Gathering Materials and Tools
Here’s a basic list of what you’ll need to build a simple wooden raised bed:
Materials:
- Untreated cedar or redwood planks (1”x6” or 2”x6”)
- Galvanized screws or nails (to prevent rusting)
- Landscape fabric (optional, for weed barrier)
- Soil and compost mix
Tools:
- Measuring tape
- Saw (hand or power)
- Drill or hammer
- Level
- Shovel and rake
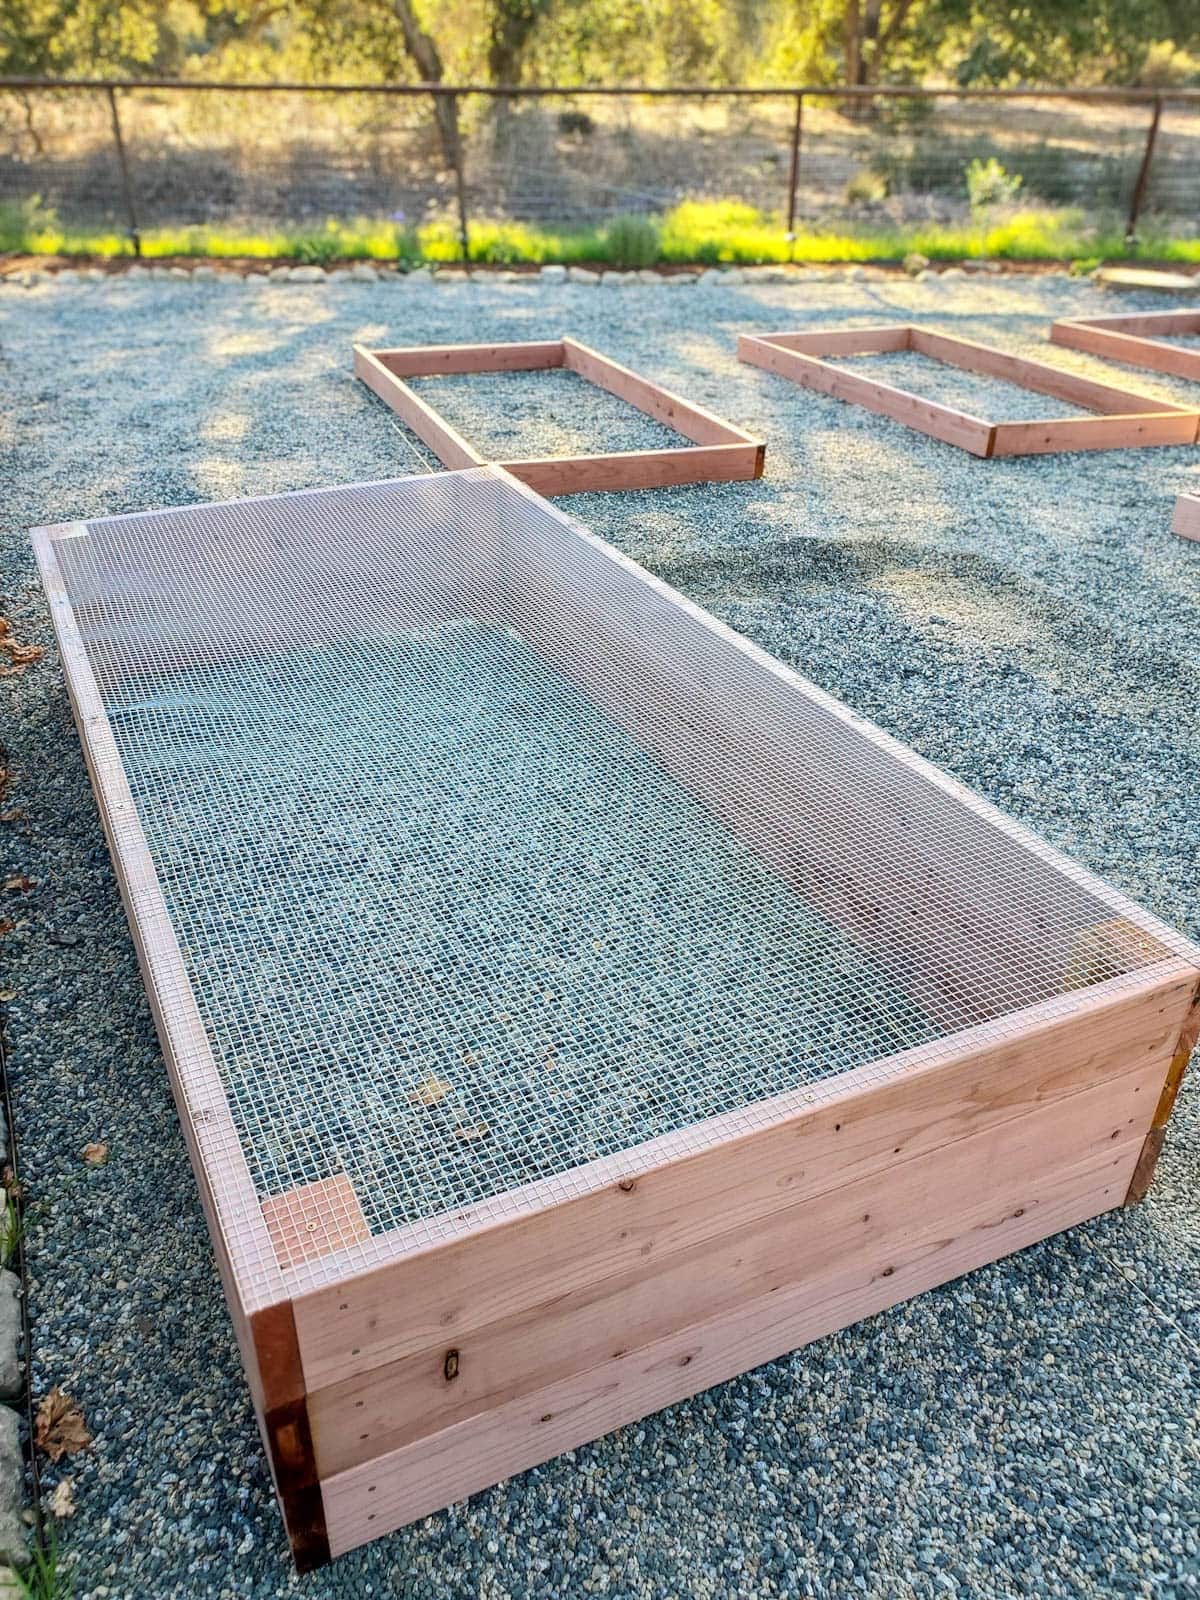
Step 3: Building Your Raised Bed Frame
Follow these steps to construct your raised bed frame:
3.1 Measure and Cut Wood
- Measure the desired length and width.
- Cut four pieces: two for length and two for width.
3.2 Assemble the Frame
- Arrange the cut wood pieces into a rectangle.
- Use galvanized screws or nails to join the corners securely.
- Use a level to ensure the frame is even.
3.3 Prepare the Site
- Clear the area of grass, weeds, and debris.
- Optionally, lay landscape fabric to suppress weeds.
3.4 Place the Frame
- Position the frame in your chosen spot.
- Press it firmly into the ground for stability.
Step 4: Filling the Raised Bed with Soil
The right soil mix is crucial for a thriving garden.
4.1 Recommended Soil Mix
- 40% topsoil
- 40% compost
- 20% coarse sand or perlite (for drainage)
4.2 Layering Technique
- Place a layer of coarse organic material (e.g., straw, wood chips) at the bottom for aeration.
- Add your soil mix on top and level it.
Tip: Avoid using garden soil alone, as it may compact and drain poorly.
Step 5: Planting and Maintaining Your Raised Bed Garden
Once filled, your raised bed is ready for planting.
5.1 Choosing Plants
- Select crops suited to your climate and season.
- Companion planting can improve growth and reduce pests.
5.2 Planting Tips
- Follow spacing guidelines to avoid overcrowding.
- Mulch the surface to retain moisture and suppress weeds.
5.3 Watering and Fertilizing
- Raised beds dry out faster—water deeply and regularly.
- Use organic fertilizers or compost tea to nourish plants.
5.4 Pest and Disease Management
- Inspect plants frequently.
- Use natural pest controls like neem oil or beneficial insects.
Frequently Asked Questions About Raised Bed Gardening
How deep should a raised bed be?
Aim for at least 12 inches for most vegetables. For root crops like carrots, 18-24 inches is ideal.
Can I build raised beds on concrete?
Yes, raised beds can be placed on concrete or patios, but ensure proper drainage holes or a layer of gravel at the bottom.
How often should I replace the soil?
Top up with compost annually and replace or refresh the soil every 3-4 years to maintain fertility.
Is treated wood safe for raised beds?
Avoid treated wood in vegetable gardens due to potential chemical leaching. Use untreated, rot-resistant wood instead.
Conclusion
Building a raised bed garden is a rewarding project that enhances your gardening success by improving soil conditions, drainage, and accessibility. By carefully planning your garden’s location, size, and materials, and following the step-by-step construction and soil preparation guidance, you can create a thriving raised bed tailored to your needs. Raised beds not only boost yields but also make gardening easier and more enjoyable for people of all skill levels.
Ready to start your raised bed garden? Gather your materials, choose your plants, and watch your garden flourish with healthier, more productive plants.
Start building your raised bed garden today and transform your outdoor space into a vibrant, productive oasis!
