Introduction
Enclosing your garden with chicken wire is a cost-effective and practical solution for protecting your plants from common garden pests such as rabbits, squirrels, and deer. Chicken wire mesh offers an affordable garden fencing material that is easy to install, durable enough for most small animal intrusions, and flexible enough to accommodate various garden shapes. Whether you’re a seasoned home gardener or a DIY enthusiast, knowing how to install chicken wire fence properly can save your garden from unwanted damage and promote sustainable garden boundary protection.
In this comprehensive guide, we’ll explore the benefits of using chicken wire for garden enclosures, list all necessary materials and tools, and provide a detailed, step-by-step installation process. We’ll also discuss common challenges you might face, offer troubleshooting tips, and suggest maintenance practices to ensure your fence lasts. Additionally, you’ll learn about alternatives to chicken wire fencing and important local regulations to keep in mind. By the end, you’ll have the confidence and knowledge to protect your garden effectively and sustainably.
Benefits of Using Chicken Wire for Garden Enclosures
Chicken wire, also known as poultry netting, is a popular choice for garden fencing due to several advantages:
- Cost-effectiveness: Compared to metal or wooden fencing, chicken wire is significantly less expensive, making it ideal for budget-conscious gardeners.
- Flexibility and ease of installation: The mesh is lightweight and flexible, allowing it to conform to uneven terrain and custom garden shapes.
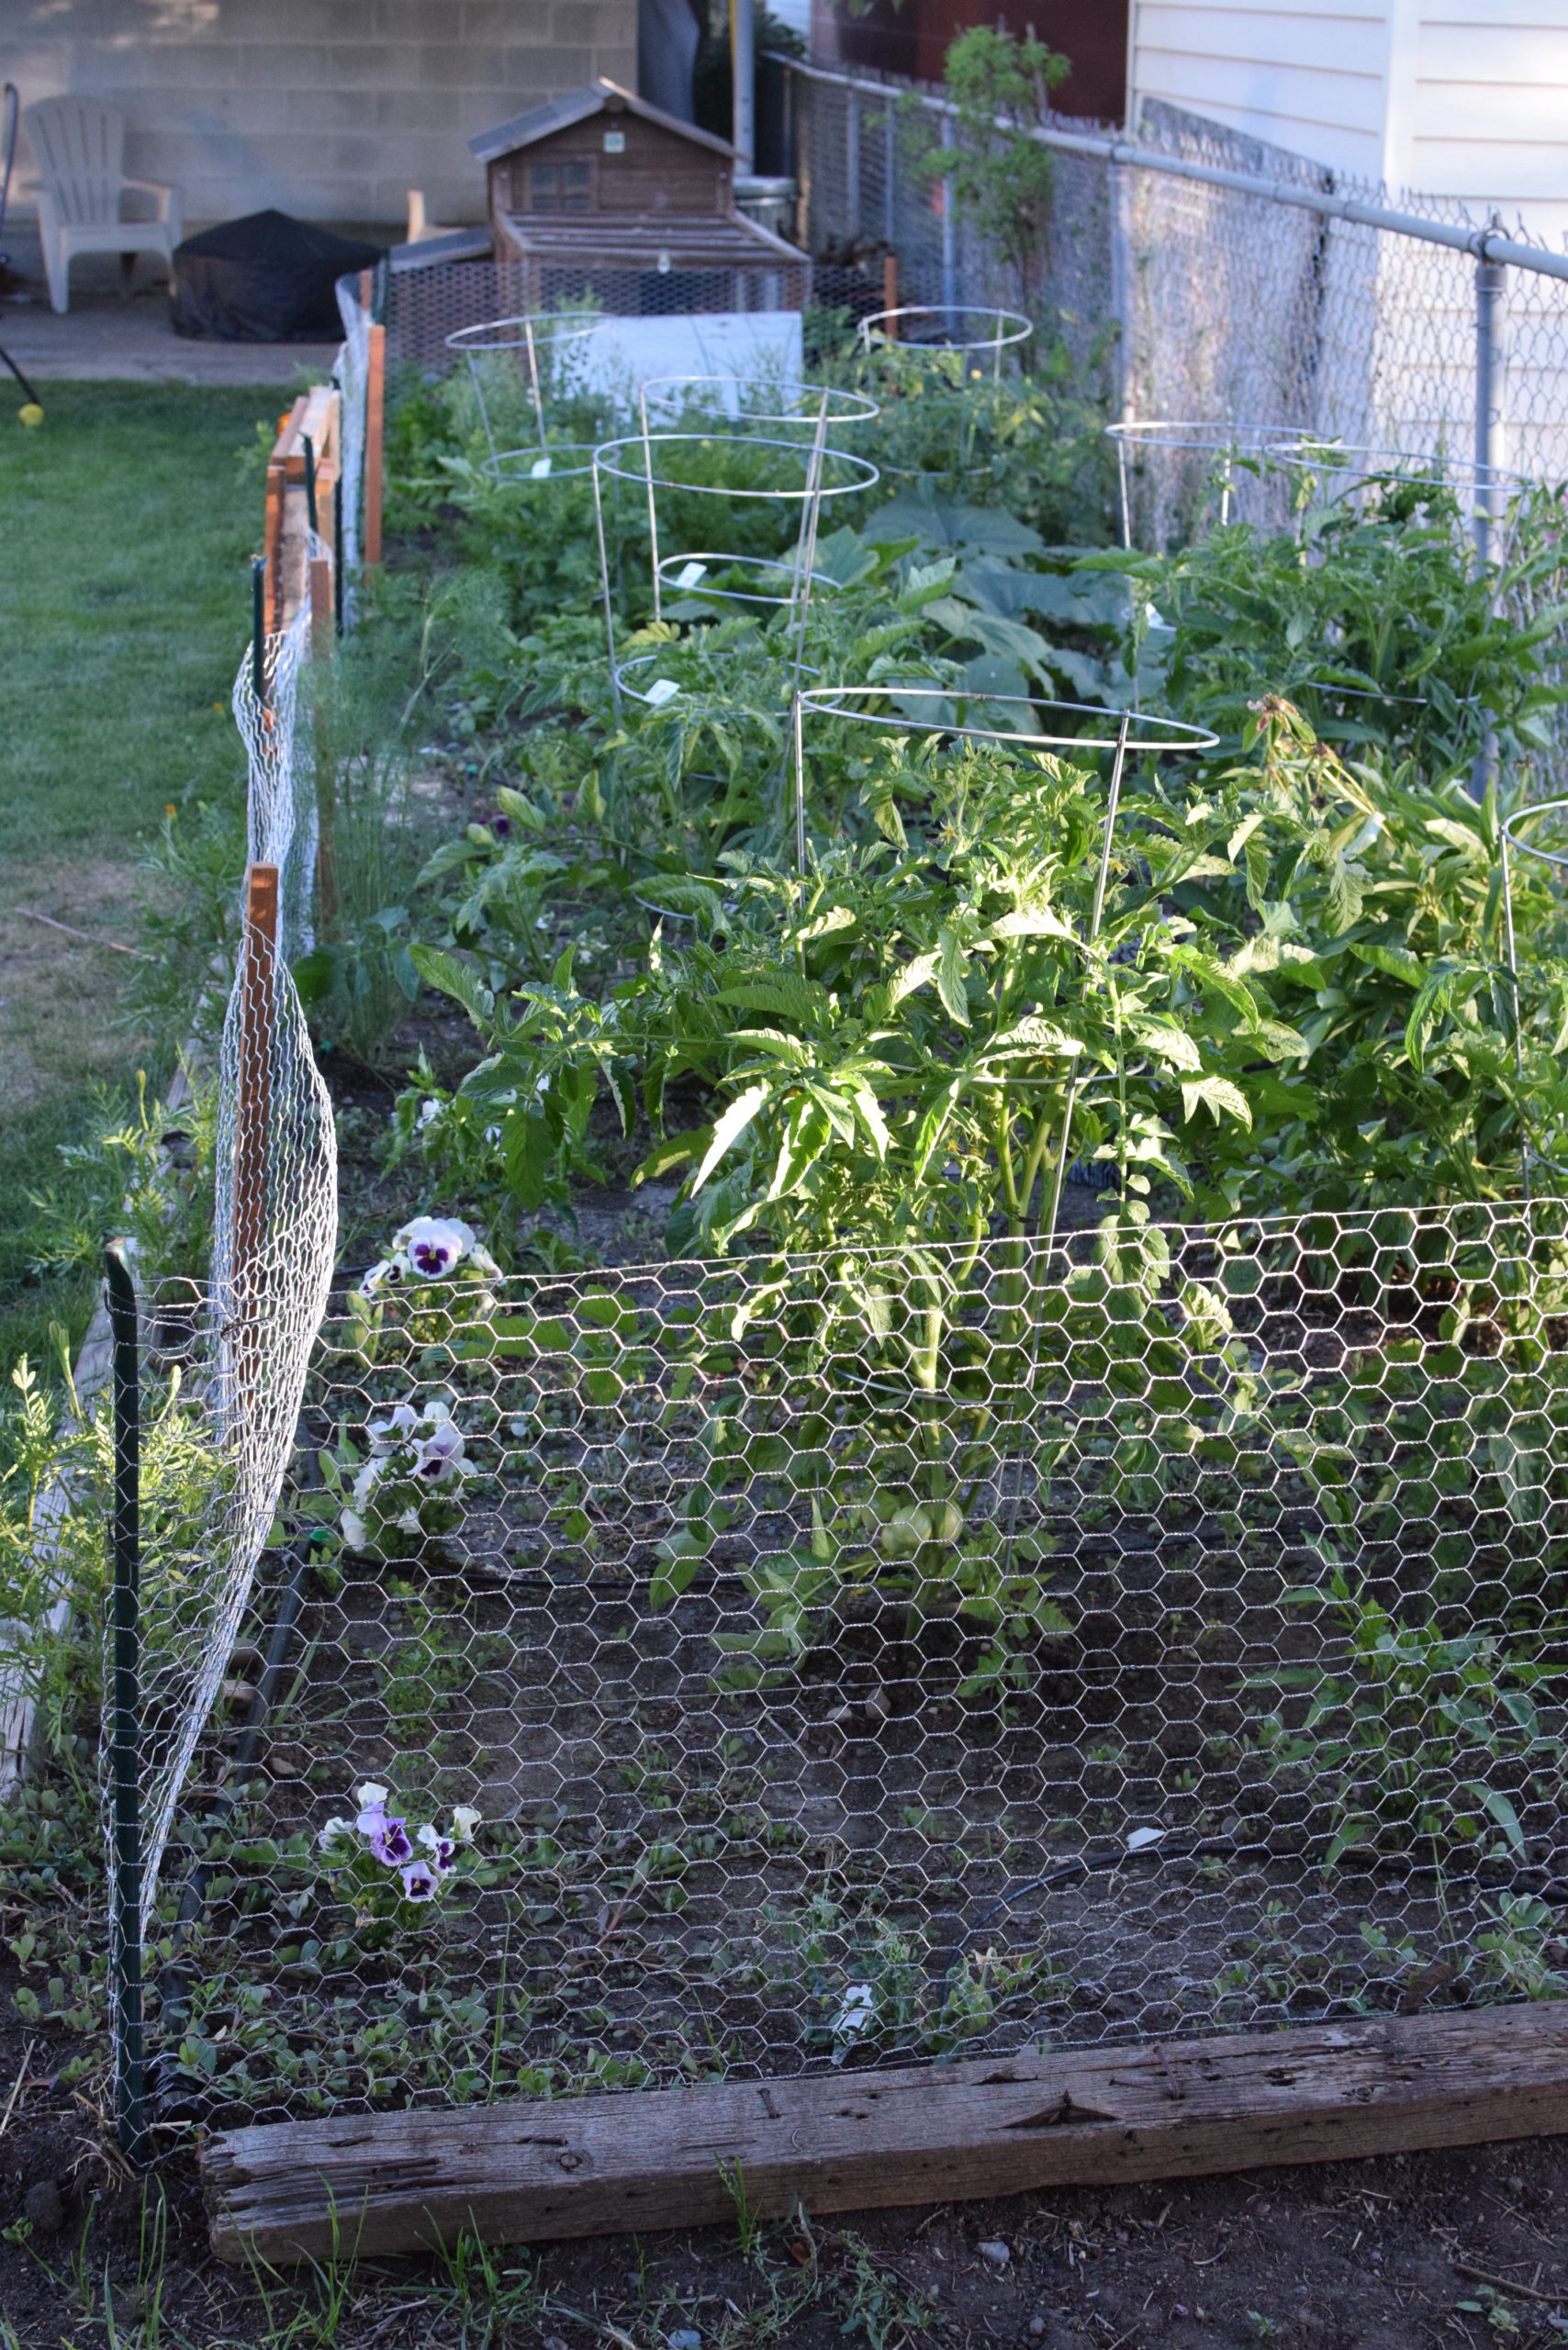
- Effective pest control: Chicken wire mesh has hexagonal openings (typically 1 inch) that prevent small animals like rabbits and squirrels from entering your garden.
- Visibility: Unlike solid fences, chicken wire maintains visibility, letting sunlight through and allowing you to monitor plant growth easily.
According to the University of California Agriculture and Natural Resources, chicken wire is recommended for protecting vegetable gardens from common wildlife pests. It’s also endorsed by the National Wildlife Federation for humane garden pest control when installed properly.
Key benefits at a glance:
- Affordable garden fencing material
- Easy DIY garden enclosure
- Lightweight yet durable mesh
- Allows air and sunlight penetration
- Versatile for different garden layouts
Materials and Tools Needed for Installation
Before you begin installing your chicken wire fence, gather these essential materials and tools to ensure a smooth process:
Materials:
- Chicken wire mesh: Choose galvanized chicken wire to resist rust and increase durability.
- Fence posts: Wooden or metal stakes, at least 4 to 6 feet tall depending on desired garden fence height.
- Staples, U-nails, or galvanized wire ties: For securing wire to wooden posts.
- Tension wire: Optional, to reinforce the top and bottom of the fence for added stability.
- Gate hardware: Hinges and latch if you plan to install an access point.
Tools:
- Wire cutters or heavy-duty garden scissors
- Hammer or staple gun
- Measuring tape
- Gloves (to protect your hands from sharp wire edges)
- Level (to ensure posts are straight)
- Post driver or shovel (for installing posts)
Pro Tips:
- Measure your garden area accurately to purchase the correct length of chicken wire mesh and posts.
- Opt for galvanized or PVC-coated chicken wire for longer-lasting protection.
Step-by-Step Guide to Installing Chicken Wire Fencing
Installing chicken wire fencing can be straightforward if you follow these steps carefully:
1. Plan and Measure
- Outline your garden perimeter clearly.
- Measure total length to determine how much chicken wire and how many posts you need.
2. Install Fence Posts
- Space posts approximately 6 to 8 feet apart.
- Use a post driver or dig holes about 12 inches deep.
- Ensure posts are upright and secure.
3. Attach Chicken Wire Mesh
- Starting at one corner post, unroll the chicken wire mesh along the fence line.
- Pull the wire taut to eliminate sagging.
- Secure the wire to each post using staples or wire ties.
- Overlap the ends of the mesh at corners or joints by at least 6 inches and fasten firmly.
4. Reinforce Top and Bottom Edges (Optional)
- Attach tension wire along the top and bottom for added rigidity.
- Bury the bottom edge of the mesh 4 to 6 inches underground or bend it outward to deter digging animals.
5. Install a Gate (If Needed)
- Frame a gate opening with sturdy posts.
- Attach chicken wire mesh to the gate frame.
- Install hinges and latch to allow easy access.
Safety Note:
Always wear protective gloves when handling chicken wire to avoid cuts from sharp edges.
Common Challenges and Troubleshooting Tips
Even the best-planned chicken wire fencing projects can encounter issues. Here are some common pitfalls and how to avoid them:
- Loose or sagging wire: Pull the wire taut during installation and use tension wire to maintain tightness.
- Gaps at ground level: Bury the bottom edge or bend it outward to prevent animals from squeezing underneath.
- Rust and corrosion: Use galvanized or PVC-coated wire to resist weathering.
- Inadequate fence height: For deer or larger animals, chicken wire alone may be insufficient; consider taller fences or alternative materials.
- Posts not stable: Ensure posts are firmly set in the ground and check alignment regularly.
Addressing these challenges early will extend the life of your fence and improve garden pest control effectiveness.
Maintenance and Durability Considerations
Regular maintenance is key to keeping your chicken wire garden fencing effective and durable:
- Inspect the fence monthly for holes, rust, or loose areas.
- Repair any damage promptly using wire patching or replacement sections.
- Clear surrounding vegetation that might push against or damage the wire.
- Re-tighten the wire if sagging occurs.
With proper upkeep, galvanized chicken wire can last several years, providing sustainable garden boundary protection.
Alternatives to Chicken Wire for Garden Fencing
While chicken wire is versatile, other garden fencing materials may better suit certain needs:
- Welded wire mesh: Stronger and more durable, ideal for larger pests.
- Hardware cloth: Finer mesh for excluding smaller rodents and insects.
- Wooden fences: Provide privacy and stronger barriers but are costlier.
- Electric fencing: Effective for large or aggressive animals but requires careful setup.
Choosing the right fencing depends on your local wildlife, budget, and garden size.
Local Regulations and Safety Considerations for Garden Fencing
Before installing any garden fence, check your local municipality’s regulations regarding:
- Maximum fence height (often between 4-6 feet for residential areas).
- Permits or homeowner association rules.
- Safety standards for fencing near sidewalks or roads.
Consulting resources like the USDA or your local extension office can provide guidelines tailored to your region.
How I’d Do It: A Personal Approach
Based on my experience, I recommend:
- Starting with a clear garden plan and marking the boundary.
- Investing in high-quality galvanized chicken wire mesh.
- Using sturdy wooden posts spaced no more than 6 feet apart.
- Installing tension wire along the top and bottom for stability.
- Burying the bottom edge at least 4 inches underground to prevent digging pests.
- Adding a simple wooden gate framed with chicken wire for easy access.
- Scheduling quarterly fence inspections to maintain integrity.
This approach balances cost, durability, and ease of installation for most home gardens.
Checklist: Materials and Steps
- [ ] Measure garden perimeter accurately
- [ ] Purchase galvanized chicken wire mesh
- [ ] Acquire fence posts (wood or metal)
- [ ] Gather staples, wire ties, hammer, wire cutters
- [ ] Wear protective gloves
- [ ] Install posts securely 6–8 feet apart
- [ ] Attach chicken wire tightly along posts
- [ ] Reinforce edges with tension wire or bury bottom edge
- [ ] Install gate if needed
- [ ] Inspect and maintain regularly
Tools and Metrics
- Measuring tape (to ensure precise fence length)
- Wire cutters (for trimming mesh)
- Hammer or staple gun (to secure wire)
- Protective gloves (for safety)
- Post driver or shovel (for installing posts)
- Level (to keep posts vertical)
Using these tools correctly will streamline your installation and improve fence durability.
Frequently Asked Questions
What height should my chicken wire garden fence be?
For most garden pests like rabbits and squirrels, a fence height of 3 to 4 feet is sufficient. However, if you aim to deter deer or larger animals, consider increasing the height to 6 feet or more and supplementing with stronger materials or electric deterrents.
Can chicken wire alone keep out all garden pests?
Chicken wire is effective against small to medium-sized animals such as rabbits and ground squirrels. However, larger or more determined pests like raccoons or deer may require reinforced fencing or combined methods. Additionally, chicken wire mesh is not a barrier against insects.
How long does chicken wire fencing typically last?
Galvanized chicken wire can last 3 to 5 years or longer with proper maintenance. Exposure to moisture and weather can cause rust over time, so choosing coated wire and conducting regular inspections will extend its lifespan.
Is it safe to install chicken wire myself?
Yes, installing chicken wire is a common DIY project. However, always wear protective gloves and eye protection to avoid cuts from sharp wire edges. Follow safety guidelines when using tools like hammers and post drivers.
Are there any local guidelines I should check before fencing?
Absolutely. Many cities and counties have regulations on fence height, style, and placement. Contact your local zoning office or USDA extension service for specific rules to ensure compliance and avoid fines.
Key Takeaways
- Chicken wire is a cost-effective, flexible, and practical garden fencing material ideal for small to medium pests.
- Proper installation requires sturdy posts, tight fastening, and measures to prevent digging.
- Regular maintenance and inspections prolong fence durability and effectiveness.
- Alternatives like welded wire mesh or hardware cloth may be necessary for larger or specialized pest control.
- Always check local regulations and take safety precautions during installation.
By following this guide, you can confidently protect your garden with a sustainable, DIY chicken wire enclosure.
References
- USDA National Agricultural Library: Garden Fencing
- University of California Agriculture and Natural Resources: Protecting Gardens from Wildlife
- National Wildlife Federation: Garden Fencing and Wildlife
This article was authored by Alex Morgan, a gardening expert with extensive DIY experience, and reviewed on 2024-06-15 to ensure accuracy and relevancy.
