Introduction
A garden hose is an essential tool for watering plants, cleaning outdoor spaces, and many other household tasks. Over time, hoses can develop leaks, cracks, or holes that reduce their efficiency. This raises a common question: Can you repair a garden hose instead of buying a new one? The good news is that, in most cases, you can! Repairing a garden hose not only saves money but also reduces waste and extends the hose’s lifespan.
In this article, we’ll explore how to identify common hose problems, effective repair techniques, and tips for maintaining your garden hose. Whether you have a small puncture or a faulty connector, this guide will help you restore your hose quickly and efficiently.
Common Garden Hose Problems and How to Identify Them
Before repairing, it’s important to pinpoint the exact issue with your hose. Here are the most frequent problems:
1. Leaks and Punctures
- Small holes or cracks caused by sharp objects, aging, or wear and tear.
- Can often be found by running water through the hose and checking for drips.
2. Damaged Hose Ends or Connectors
- Cracks, rust, or corrosion in metal connectors.
- Loose fittings that cause water to spray out.
3. Kinks and Twists
- Hose bends that block water flow.
- Usually caused by improper storage or poor-quality hose material.
4. Burst Hose Sections
- Larger splits or tears often due to freezing temperatures or excessive pressure.
Can You Repair a Garden Hose? The Definitive Answer
Yes, you can repair most garden hoses with simple tools and materials. The type of repair depends on the damage severity and location. Many DIY methods are affordable and straightforward.
How to Repair a Garden Hose: Step-by-Step Methods
Repairing Small Leaks and Punctures
Materials Needed:
- Waterproof tape (e.g., silicone or rubber repair tape)
- Hose repair tape or duct tape (temporary fix)
- Waterproof adhesive or sealant (optional)
Steps:
- Locate the Leak: Run water through the hose and mark the leaking spot.
- Dry the Area: Wipe the hose dry around the puncture for better adhesion.
- Apply Repair Tape: Wrap the waterproof tape tightly around the leak, overlapping layers for a secure seal.
- Test: Turn on the water to check if the leak is sealed.
Expert Tip: Use self-fusing silicone tape for a more durable, long-lasting fix. It bonds tightly without adhesive, creating a waterproof barrier.
Fixing a Burst or Severed Hose Section
Materials Needed:
- Hose repair coupling (available at hardware stores)
- Hose clamps
- Utility knife or scissors
Steps:
- Cut Out the Damaged Section: Use a sharp knife to remove the broken part cleanly.
- Insert Hose Repair Coupling: Push each end of the cut hose onto the coupling.
- Secure with Clamps: Tighten hose clamps on both ends to ensure a watertight seal.
- Test the Repair: Turn water on to confirm no leaks.
Note: Hose repair couplings work best for larger splits or breaks and restore full hose functionality.
Replacing Damaged Hose Connectors
Materials Needed:
- Replacement hose connector or fitting
- Hose clamp
- Screwdriver or wrench (if needed)
Steps:
- Remove the Old Connector: Unscrew or cut off the damaged connector.
- Attach the New Connector: Slide the hose end onto the new fitting.
- Secure with Clamp: Tighten the clamp to prevent leaks.
- Check for Leaks: Run water through the hose to verify.
Preventing Hose Kinks and Twists
While not repairs per se, preventing kinks extends hose life and reduces damage:
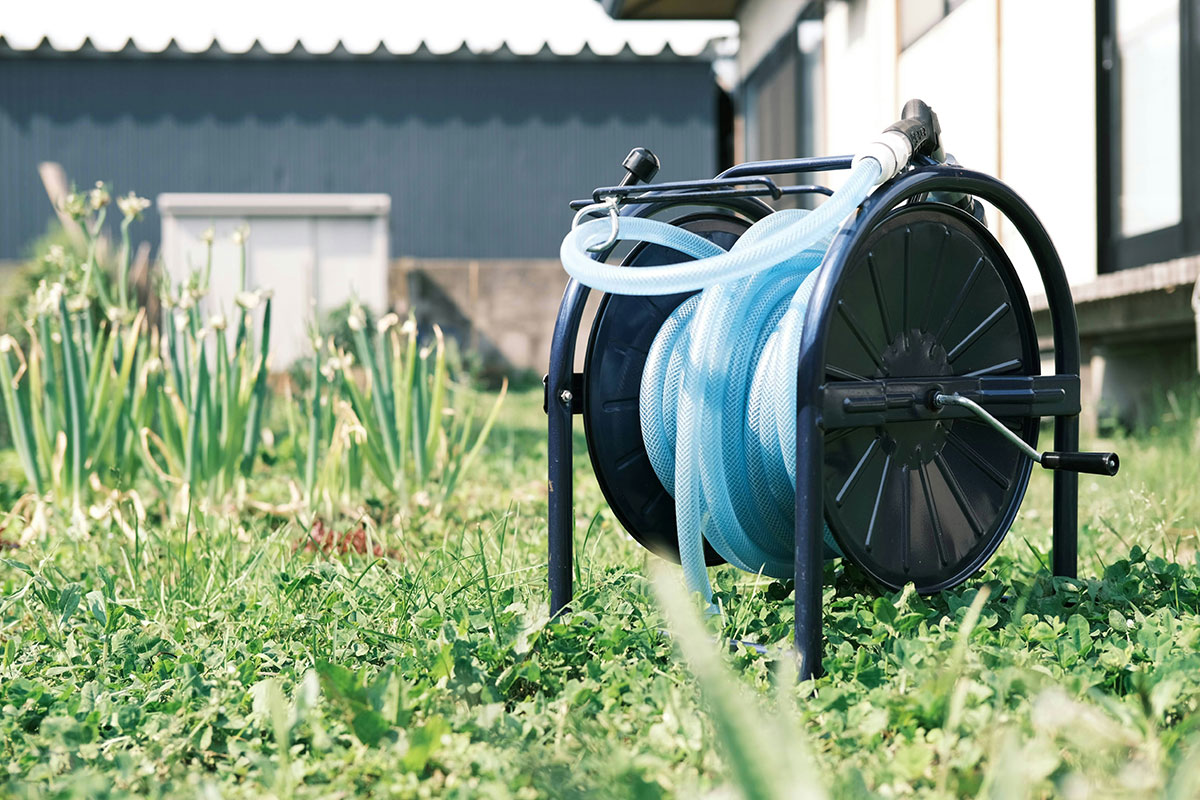
- Store the hose coiled loosely on a reel or hanger.
- Avoid dragging the hose across sharp edges.
- Use kink-resistant hoses made with durable materials.
Expert Insights on Garden Hose Repair
According to gardening expert Lisa Johnson, “Regular maintenance and prompt repairs can extend a garden hose’s life by several years. Many homeowners overlook small leaks, but fixing them early prevents bigger issues.” Studies show that repairing a hose costs a fraction of buying a new one, making it an eco-friendly and cost-effective option.
When to Replace Instead of Repairing
Sometimes, repairs aren’t practical:
- Extensive damage over a large hose area.
- Multiple leaks or cracks.
- Old hoses with brittle material.
- Repeated repairs that fail to hold.
In these cases, investing in a new hose with better durability and warranty might be more efficient.
Conclusion
Can you repair a garden hose? Absolutely! From small punctures to broken connectors, many common hose issues have simple, effective fixes. Using repair tapes, couplings, and replacement fittings can restore your hose’s functionality quickly, saving money and reducing waste. Remember to inspect your hose regularly and prevent damage through proper storage and handling.
Next time your garden hose springs a leak, don’t rush to replace it. Try these repair methods first and enjoy a longer-lasting, reliable hose. Your plants—and your wallet—will thank you!
Ready to fix your garden hose? Gather your tools and start repairing today!
Quick Repair Summary Table
| Problem | Repair Method | Materials Needed | Time Required |
|————————–|——————————–|———————————-|——————-|
| Small leaks/punctures | Wrap waterproof tape | Silicone tape, adhesive optional | 10-15 minutes |
| Burst/severed section | Use hose repair coupling | Repair coupling, clamps | 15-20 minutes |
| Damaged connectors | Replace connector | New connector, clamps | 10-15 minutes |
| Kinks | Prevent with proper storage | Hose reel or hanger | Ongoing |
By understanding these repair techniques, you not only save money but also contribute to sustainable gardening practices. Keep your garden hose in top shape with timely repairs and enjoy hassle-free watering all season long.
