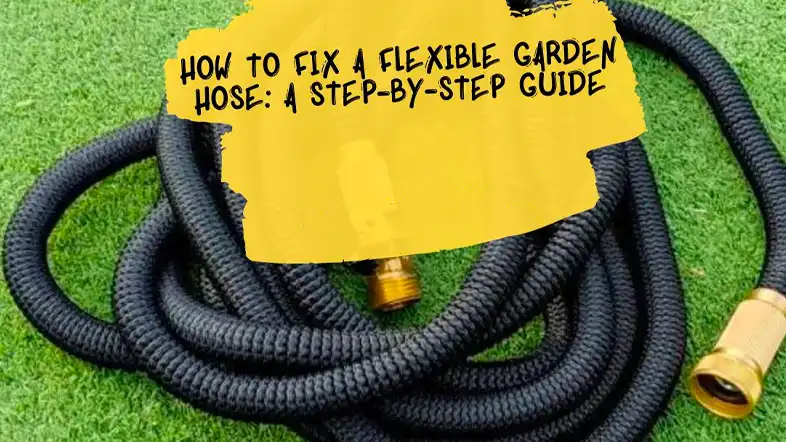
Garden hoses are essential tools for watering plants, washing cars, and many outdoor chores. But what happens when your trusty hose develops leaks, cracks, or other damages? Instead of rushing to buy a new one, you might wonder: Can a garden hose be repaired? The good news is yes—many common garden hose issues can be fixed effectively with simple tools and techniques. This guide will walk you through everything you need to know about repairing your garden hose and extending its lifespan.
In this article, we’ll explore the most frequent hose problems, step-by-step repair methods, and tips to prevent future damage. Whether you’re dealing with small leaks, split sections, or broken fittings, you’ll learn practical solutions that save money and reduce waste. By the end, you’ll have the confidence to handle hose repairs yourself and keep your garden flowing smoothly.
Why Repair a Garden Hose Instead of Replacing It?
Before diving into repairs, it’s worth understanding why fixing a hose is a smart choice:
- Cost-effective: Repair kits and DIY fixes are usually cheaper than buying a new hose.
- Environmentally friendly: Extending the life of your hose reduces plastic waste.
- Convenient: Quick repairs avoid downtime in watering or cleaning tasks.
- Sustainable maintenance: Learning to maintain and repair your hose promotes long-term savings.
With these benefits in mind, let’s explore how to identify problems and restore your garden hose to full function.
Common Garden Hose Problems and How to Identify Them
Knowing the type of damage helps you choose the right repair method. Here are the most frequent issues:
1. Leaks or Punctures
Leaks often occur due to sharp objects, aging, or wear and tear. You’ll notice water spraying out or damp patches along the hose.
2. Cracks or Splits
Cracks usually appear in older hoses exposed to sun and cold. These can cause water loss and weaken hose integrity.
3. Broken or Leaking Hose Fittings
Damage to connectors or couplings results in leaks at the ends, making it hard to attach the hose to faucets or sprayers.
4. Kinks and Twists
While not necessarily causing leaks, kinks restrict water flow and can lead to permanent hose damage if untreated.
How to Repair a Garden Hose: Step-by-Step Solutions
Repairing Leaks and Punctures
Materials needed:
- Garden hose repair kit (includes connectors, clamps, or couplings)
- Utility knife or scissors
- Screwdriver (if clamps are used)
- Waterproof tape (optional)
Steps:
- Locate the leak: Turn on the water and find the exact spot where water escapes.
- Drain the hose: Release water pressure and dry the area.
- Cut out the damaged section: Use a sharp knife to remove the leaking part cleanly.
- Attach the repair coupling: Insert the hose ends into the repair coupling and secure with clamps or screws.
- Test the repair: Turn on water slowly to check for leaks.
Pro Tip: For small punctures, waterproof tape or hose sealant can provide a temporary fix but isn’t recommended as a long-term solution.
Fixing Cracks and Splits
For larger cracks:
- Use a hose repair kit with couplings to cut out and replace the damaged section.
- Alternatively, for minor cracks, self-fusing silicone tape can be wrapped tightly around the crack to seal leaks temporarily.
Replacing or Repairing Hose Fittings
Damaged fittings can be replaced using these steps:
- Remove the old fitting by cutting the hose just behind it.
- Slide on a new fitting from a repair kit.
- Secure it tightly with clamps or crimp tools as per the kit instructions.
- Test for leaks and adjust clamps if necessary.
Note: Ensure the new fittings match your hose diameter for a proper seal.
Preventing Kinks and Twists
- Store the hose on a reel or hanger to avoid sharp bends.
- Use kink-resistant hoses made from durable materials.
- When watering, uncoil the hose fully and avoid pulling it tight at sharp angles.
Additional Tips to Extend Your Garden Hose Life
- Drain the hose after use, especially before storing in cold weather, to avoid freezing damage.
- Store the hose in shaded areas to minimize UV damage.
- Avoid dragging the hose over rough surfaces, which can cause abrasions.
- Inspect regularly for early signs of wear and repair promptly.
Real-World Examples of Successful Garden Hose Repairs
- A homeowner in California used a basic repair kit to fix multiple leaks in their 50-foot hose, saving over $30 compared to buying a new hose.
- A gardening enthusiast shared how silicone tape temporarily sealed a puncture during a weekend garden party, allowing uninterrupted watering.
- Professional landscapers recommend replacing fittings every 2-3 years to maintain optimal performance and prevent leaks.
Frequently Asked Questions (FAQs)
Q1: Can all garden hoses be repaired?
Most standard hoses can be repaired, but very old or extensively damaged hoses might need replacement.
Q2: How much does a garden hose repair kit cost?
Repair kits typically range from $5 to $15, making them affordable for most gardeners.
Q3: Is it better to repair or replace a hose?
If damage is localized and repairable, fixing is cost-effective. Replace if the hose has widespread damage or multiple leaks.
Conclusion
Yes, a garden hose can definitely be repaired, often quickly and affordably. By understanding common issues like leaks, cracks, and broken fittings, you can apply simple repair techniques to restore your hose’s functionality. Not only does repairing save money, but it also benefits the environment by reducing waste. Remember to maintain your hose properly by storing it well and inspecting regularly. Taking care of your garden hose ensures it serves you well through many gardening seasons.
Ready to fix that leaky hose? Gather your tools, follow these expert steps, and enjoy hassle-free watering with a hose that’s as good as new!
Take control of your garden maintenance today—repair your hose and keep your outdoor tasks flowing smoothly.
