Introduction
Separating plants in a dish garden is a vital maintenance practice that promotes healthy growth and prevents overcrowding. A dish garden—a shallow container arrangement featuring multiple complementary indoor plants—offers a beautiful, compact way to enjoy greenery inside your home. Over time, however, the plants may outgrow their space or compete for nutrients, making separation essential for their vitality. This comprehensive guide will walk you through what a dish garden is, common plant types, reasons for separating plants, the necessary tools, and a detailed step-by-step process to safely divide your indoor plants. We will also cover post-separation care, common pitfalls, and seasonal timing considerations to ensure your dish garden thrives.
By mastering these techniques, you can maintain a lush, balanced indoor garden that enhances your living space while supporting optimal plant health.
What Is a Dish Garden and Common Plant Types Used
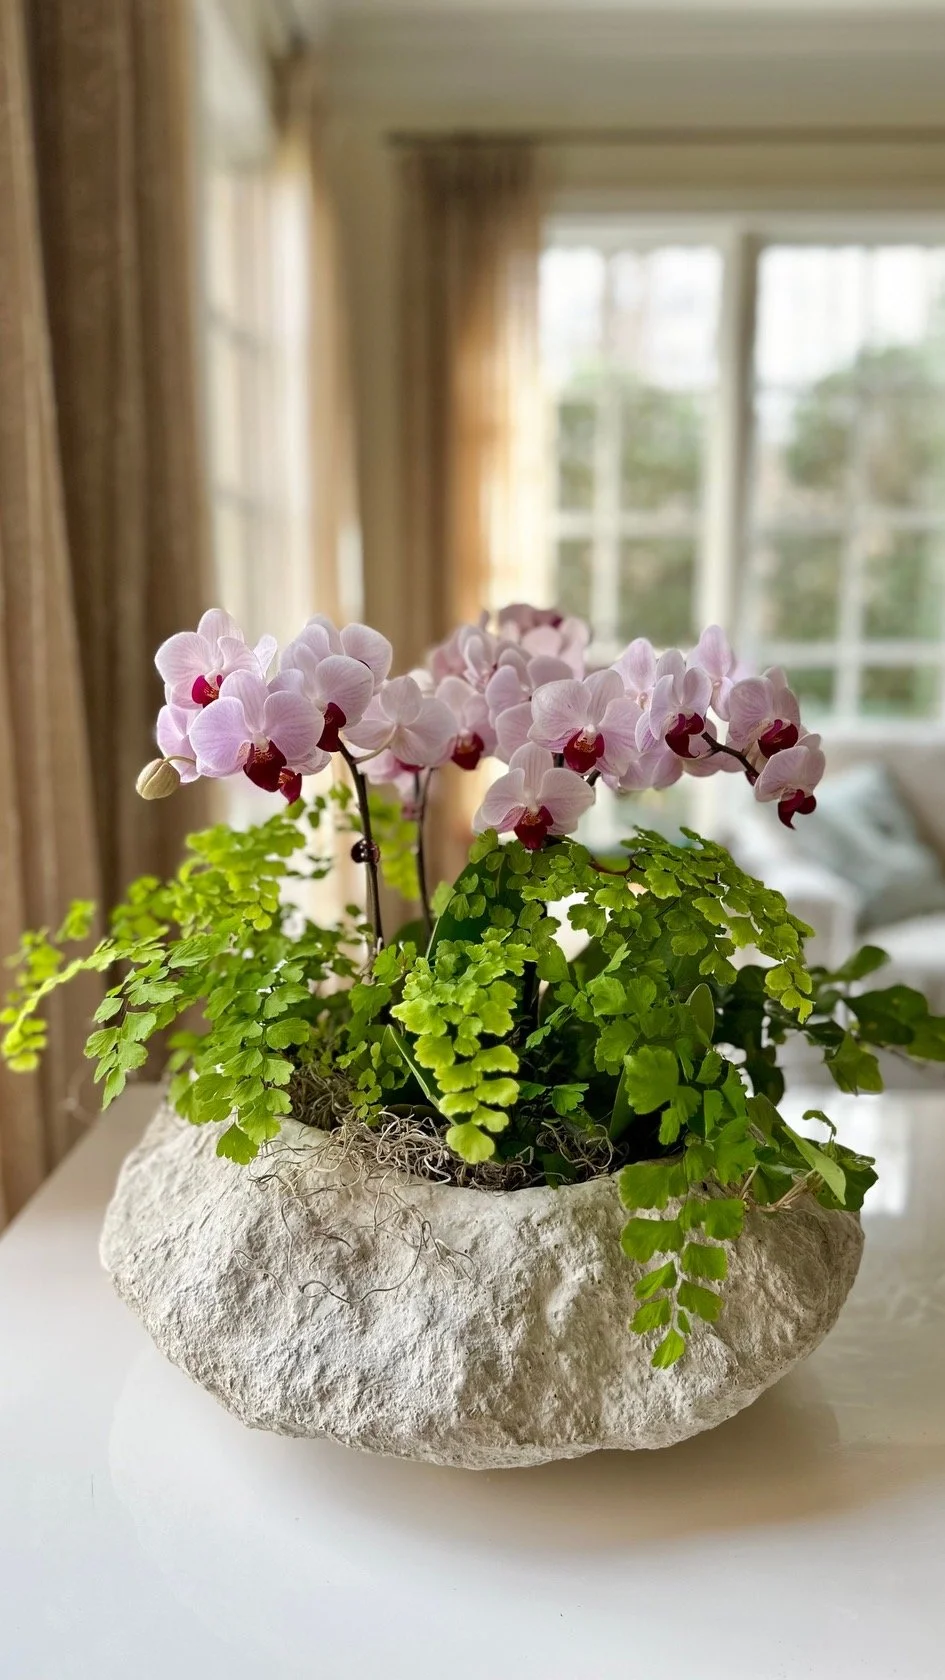
A dish garden is typically a shallow, open container filled with a combination of plants arranged aesthetically. Unlike traditional potted plants, dish gardens focus on groupings of plants that thrive together in similar conditions. Common plants include succulents like Echeveria, ferns such as Boston fern, small tropical foliage like Peperomia, and air plants (Tillandsia).
These plants are chosen for their compact growth habits and complementary care needs. The Missouri Botanical Garden highlights that dish gardens are ideal for indoor gardeners who want an attractive, low-maintenance focal point. Proper drainage and soil composition are crucial, as shallow containers can retain moisture unevenly.
Key Plant Types Often Found in Dish Gardens
- Succulents (Aloe, Haworthia)
- Ferns (Asplenium, Maidenhair)
- Tropical foliage (Fittonia, Pilea)
- Air plants (Tillandsia)
Understanding your plants’ water and light needs is essential before attempting separation to reduce stress and damage.
Reasons to Separate Plants in a Dish Garden
Indoor plants in dish gardens eventually crowd each other, leading to root entanglement, nutrient competition, and diminished aesthetics. Separating plants helps:
- Prevent root rot caused by overcrowded roots and poor drainage
- Encourage new growth by reducing competition
- Manage pest infestations that can spread quickly in confined spaces
- Rejuvenate aging plants by dividing root masses
The University of Florida IFAS Extension recommends separation when you notice slowed growth, root-bound plants, or overlapping foliage. Regular dish garden maintenance, including separation every 1–3 years, keeps plants healthy and visually balanced.
Tools and Materials Needed for Separating Plants
Using the right tools ensures a clean, stress-free separation process. Essential items include:
- Sterilized gardening tools: sharp scissors, pruning shears, or a clean knife to avoid disease transfer
- Small trowel or spoon for gentle root lifting
- Clean containers or pots for replanting
- Fresh potting soil appropriate for your plant types
- Watering can with a gentle spray nozzle
- Gloves for protection
Sterilizing tools with rubbing alcohol before use is a crucial step to prevent infections, especially in sensitive plant roots.
Step-by-Step Process to Safely Separate Plants
Separating plants requires patience and care to avoid damaging roots and causing undue stress.
- Choose the Right Time: Ideally, separate during early spring or when plants show active growth, avoiding times of stress or dormancy.
- Prepare Your Workspace: Lay down newspapers or a tray. Have all tools and materials within reach.
- Remove Plants Gently: Carefully take the dish garden out of its container. Loosen the soil around roots using a trowel.
- Inspect and Divide Roots: Identify natural divisions or clusters. Use sterilized scissors or a knife to cut roots if necessary, ensuring each division has healthy roots and shoots.
- Trim Damaged Roots: Remove any mushy or dead roots to prevent rot.
- Repot Separately: Plant divisions into appropriately sized pots with fresh soil, ensuring good drainage.
- Water Moderately: Moisten soil lightly to settle roots without waterlogging.
- Provide Ideal Conditions: Keep newly separated plants in indirect light and stable temperatures.
This root division technique minimizes shock and supports recovery.
How to Care for Plants After Separation
Post-separation care is critical for plant recovery and growth:
- Maintain consistent moisture without overwatering; use a moisture meter if unsure.
- Avoid fertilizing for 4–6 weeks to let roots establish.
- Provide bright, indirect light to reduce stress.
- Monitor for signs of transplant shock such as wilting or leaf yellowing.
- Gradually reintroduce plants to their regular environment.
Following these houseplant care tips ensures your plants thrive after separation.
Common Problems and Troubleshooting Tips
Separating plants can sometimes lead to challenges:
- Root Damage: Avoid tearing roots by using sharp, sterilized tools and working slowly.
- Transplant Shock: Signs include drooping leaves and slowed growth; mitigate by maintaining humidity and proper watering.
- Overcrowding After Separation: Resist placing too many plants back into one container; overcrowding reduces airflow and increases disease risk.
- Soil Drainage Issues: Use well-draining soil mixes designed for your plant types to prevent root rot.
If pests appear post-separation, treat promptly with insecticidal soap or neem oil.
Seasonal Considerations and Timing for Separation
Timing the separation of indoor plants according to seasonal growth cycles optimizes success. The USDA Plant Hardiness Zone map helps understand your regional indoor climate, but indoor plants generally benefit from separation in early spring when growth resumes.
Avoid separating plants during winter dormancy or periods of environmental stress such as drought or heatwaves. Plan dish garden maintenance sessions as part of your spring cleaning routine to prepare plants for vigorous growth.
How I’d Do It: Personal Approach to Separating Dish Garden Plants
From my experience, the key to successful separation is preparation and gentleness. I always sterilize my pruning shears with isopropyl alcohol before starting. I then carefully remove the dish garden and soak the soil lightly to ease root separation. Using a trowel and fingers, I tease apart the root balls, cutting only where necessary. Post-separation, I repot each plant in fresh, well-draining soil—often a succulent mix for drought-tolerant plants—and keep them in bright, indirect light for two weeks. Monitoring moisture with a soil moisture meter prevents overwatering, a common mistake I’ve encountered. This method has consistently produced thriving, healthy indoor plants.
Common Pitfalls When Separating Plants in a Dish Garden
- Separating Stressed or Unhealthy Plants: This can cause irreversible damage.
- Using Dirty Tools: Leads to disease transmission.
- Ignoring Soil Quality and Drainage: Results in root rot.
- Overcrowding After Separation: Defeats the purpose of dividing plants.
- Separating at the Wrong Time: Dormant or flowering plants are more vulnerable.
Avoiding these pitfalls improves plant survival and vigor.
Checklist for Separating Plants in a Dish Garden
- [ ] Select healthy, actively growing plants for separation
- [ ] Sterilize all tools before use
- [ ] Prepare fresh, appropriate potting soil
- [ ] Have clean pots or containers ready
- [ ] Work in a clean, well-lit area
- [ ] Handle roots gently to avoid tearing
- [ ] Trim damaged roots carefully
- [ ] Water moderately after potting
- [ ] Place plants in indirect light post-separation
- [ ] Monitor moisture and plant health regularly
Tools Needed for Separating Plants
- Sharp pruning shears or scissors (sterilized)
- Small trowel or spoon
- Clean containers/pots with drainage holes
- Fresh potting soil (type depending on plant species)
- Watering can with gentle spray
- Gloves
- Isopropyl alcohol or disinfectant wipes
Frequently Asked Questions
How often should I separate plants in a dish garden?
Plants generally benefit from separation every 1 to 3 years depending on growth rate and container size. Signs like slowed growth or root crowding indicate it’s time.
Can I separate plants in any season?
Early spring is ideal because plants enter active growth, which supports recovery. Avoid winter or periods of stress.
What if I damage roots during separation?
Minor root damage can be trimmed away with sterilized tools. Avoid excessive tearing. Keep plants in stable conditions to recover.
How do I prevent diseases when separating plants?
Always use sterilized tools and fresh potting soil. Avoid reusing old soil, which may harbor pathogens.
Should I fertilize plants right after separation?
No, wait 4–6 weeks to allow roots to establish before introducing fertilizer.
Key Takeaways
Separating plants in a dish garden is essential for maintaining plant health, preventing overcrowding, and encouraging new growth. Using sterilized tools and gentle root division techniques reduces stress and disease risk. Timing separation during early growth phases and providing attentive post-separation care supports recovery. Avoid common mistakes such as separating unhealthy plants or neglecting soil drainage. Proper maintenance of your dish garden ensures a vibrant, long-lasting indoor display.
References
- University of Florida IFAS Extension, Indoor Plant Care: https://gardeningsolutions.ifas.ufl.edu/plants/indoor-plants/
- Missouri Botanical Garden Plant Finder: https://www.missouribotanicalgarden.org/plantfinder/plantfindersearch.aspx
- USDA Plant Hardiness Zone Map: https://planthardiness.ars.usda.gov/
By following this guide, you can confidently separate plants in your dish garden, keeping your indoor greens thriving and your living space beautifully fresh.
