Introduction
Concrete garden borders are an effective and attractive solution for homeowners, gardeners, landscapers, and DIY enthusiasts aiming to enhance garden aesthetics and functionality. Offering durability, versatility, and a broad range of design options, concrete borders serve as a long-lasting garden edging material that defines flowerbeds, pathways, and lawn boundaries. This guide covers everything from the benefits of concrete garden borders to types and styles available, step-by-step installation instructions, maintenance tips, cost considerations, and comparisons with other materials. We will also explore how local climate and soil conditions influence the selection and longevity of concrete curbing. Backed by expertise from the National Concrete Masonry Association and research from the University of California Agriculture and Natural Resources, this comprehensive article provides practical, authoritative advice for creating beautiful and durable landscape design borders.
Benefits of Using Concrete Garden Borders
Concrete garden borders offer several advantages over alternative materials such as plastic, metal, or wood. Their strength and longevity make them ideal for resisting weather extremes and soil movement.
- Durability: Concrete curbing withstands erosion, pests, and rot, ensuring long-term performance.
- Versatility: Available in various shapes, textures, and colors, including decorative concrete borders that mimic stone or brick.
- Low Maintenance: Requires minimal upkeep compared to timber or metal edging.
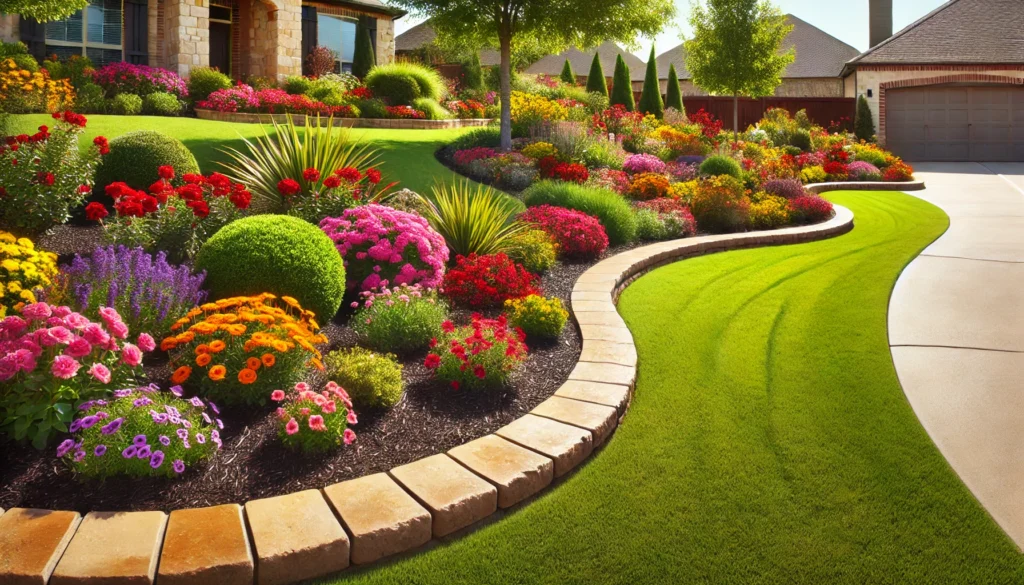
- Functional: Helps retain soil and mulch, prevents grass intrusion, and clearly delineates garden zones.
Incorporating concrete garden edging improves both the visual appeal and functionality of outdoor spaces, making them a smart investment.
Types and Styles of Concrete Garden Borders
Concrete borders come in multiple forms to suit different landscape styles and installation needs.
Precast Concrete Edging
Precast units are factory-made and delivered to the site, allowing rapid installation. These come in interlocking designs or straight segments, often featuring decorative textures.
Poured-in-Place Concrete Curbing
This custom method involves forming and pouring concrete on-site to create continuous, seamless borders. It offers flexibility in shape and contour, ideal for curved garden beds.
Decorative Concrete Borders
Using stains, stamps, or molds, decorative concrete can replicate natural stone, brick, or tile, adding an artistic touch to garden edges.
Modular Concrete Blocks
Stackable blocks provide a raised border option, often used for retaining walls or tiered garden beds.
Actionable Insight: When selecting a style, consider garden shape, desired aesthetics, and installation complexity. Curved beds often benefit from poured-in-place concrete, while straight edges can utilize precast units.
Step-by-Step Installation Process
Proper garden border installation is crucial for durability and appearance. Here is a detailed guide:
- Planning and Design: Measure the area and sketch the border layout considering garden border shapes and flow.
- Soil Preparation: Remove grass and debris, then level and compact the soil. The United States Department of Agriculture recommends soil preparation for stable edging.
- Form Setting: For poured concrete, install wooden or metal forms along the desired line. For precast, prepare a trench about 6 inches deep.
- Base Layer: Add a 2-3 inch layer of crushed stone to improve drainage and prevent shifting.
- Concrete Pouring or Placement: Pour concrete into forms or set precast edging tightly in place.
- Finishing: Smooth the surface or texture as desired. Allow curing as per manufacturer’s instructions.
- Backfilling and Mulching: Fill gaps behind the border with soil and add mulch to finish.
Tools Required:
– Shovel and spade
– Level and measuring tape
– Concrete mixer or wheelbarrow
– Trowel and float
– Rubber mallet (for precast units)
Maintenance and Durability Tips
Concrete borders are low maintenance but benefit from regular care to extend longevity.
- Inspect annually for cracks or shifting, especially after freeze-thaw cycles.
- Clean surfaces with mild detergent and water to prevent staining.
- Seal decorative concrete borders every 3-5 years to protect against moisture and UV damage.
- Control vegetation near edges to avoid root pressure and soil displacement.
Following these steps will keep your garden borders attractive and functional for decades.
Cost Considerations and Budgeting
The cost of concrete borders varies widely based on style, size, and installation method.
- Precast edging typically costs between $10-$20 per linear foot including installation.
- Poured-in-place concrete curbing can range from $15-$30 per linear foot due to labor intensity.
- Decorative finishes and custom shapes increase expenses.
Budgeting Tips:
– Plan and measure accurately to avoid waste.
– Consider DIY garden borders for cost savings if you have experience.
– Obtain multiple quotes from contractors.
Comparisons with Other Garden Border Materials
Concrete offers a unique balance of durability and design flexibility compared to other materials:
| Material | Durability | Cost | Maintenance | Aesthetic Options |
|---|---|---|---|---|
| Concrete | High | Moderate-High | Low | High (customizable) |
| Wood | Moderate | Low | High | Medium |
| Metal | High | High | Medium | Low-Medium |
| Plastic/Resin | Low | Low | Medium | Limited |
Concrete is best for lasting borders with minimal upkeep and wide design freedom.
Local Climate and Soil Considerations for Concrete Borders
The performance of concrete garden borders depends on local environmental factors.
- In freeze-thaw climates, use air-entrained concrete to resist cracking.
- Well-drained soil prevents water buildup that undermines borders.
- Heavy clay soils may require deeper footings to prevent shifting.
Consult guidelines from the National Concrete Masonry Association and local extension services like the University of California Agriculture and Natural Resources for region-specific recommendations.
How I’d Do It: Expert Installation Tips
From my experience as a landscape architect, preparation is key. I always start with a clear design, precise measurements, and thorough soil work. For DIYers, renting a concrete mixer and using precast edging simplifies the process. Take your time leveling the base and securing forms to avoid future repairs.
Common Pitfalls to Avoid
- Skipping soil compaction, leading to border settling.
- Ignoring drainage needs, causing water damage.
- Using inappropriate concrete mix for outdoor exposure.
- Poor alignment, resulting in uneven or unattractive edges.
Installation Checklist
- [ ] Design layout and measurements completed
- [ ] Soil cleared and compacted
- [ ] Forms or trench prepared
- [ ] Base layer installed
- [ ] Concrete poured or units placed
- [ ] Surface finished and cured
- [ ] Backfill and mulch applied
Essential Tools and Metrics
- Measuring tape for accurate layout
- Level to maintain straight or curved alignment
- Concrete mixer or wheelbarrow
- Trowel and finishing float
- Rubber mallet for precast units
Frequently Asked Questions
What is the difference between concrete garden borders and concrete curbing?
Concrete garden borders typically refer to all edging solutions made from concrete, including low-profile and decorative styles. Concrete curbing is a specific form designed as raised or continuous edges, often poured in place, providing both functional boundary and a landscape architectural element.
Can I install concrete garden borders myself?
Yes, DIY garden borders are feasible, especially with precast units. However, poured-in-place concrete requires some skill in mixing, forming, and finishing. Beginners should start with simple layouts and consider local workshops or guidance from the United States Department of Agriculture on landscaping best practices.
How long do concrete garden borders last?
With proper installation and maintenance, concrete borders can last 25 years or more. Climate and soil conditions influence lifespan, so using quality materials and following expert recommendations is essential.
Are decorative concrete borders more expensive?
Decorative concrete often costs more due to added labor for stamping, staining, or molding. However, the enhanced aesthetic and personalized style can increase garden value.
How do concrete borders compare environmentally to other materials?
Concrete production has a higher carbon footprint than wood or plastic. However, its durability and low maintenance reduce replacement frequency, mitigating long-term environmental impact. Sustainable practices include using recycled aggregates or eco-friendly concrete mixes.
Key Takeaways
- Concrete garden borders provide a durable, versatile, and low-maintenance solution for defining garden spaces.
- Multiple styles exist, from precast units to poured-in-place concrete and decorative finishes, allowing customization.
- Proper soil preparation, form setting, and curing are critical for long-lasting installation.
- Consider local climate and soil to select appropriate concrete mixes and installation techniques.
- Cost varies based on style and installation method; DIY options can reduce expenses.
- Regular maintenance, including inspection and sealing, extends border life.
References
- United States Department of Agriculture. Landscaping and Garden Borders. https://www.usda.gov/topics/landscaping
- University of California Agriculture and Natural Resources. Garden Web Resources. https://ucanr.edu/sites/gardenweb
- National Concrete Masonry Association. Concrete Curbing and Edging Guidelines. https://ncma.org
By following this guide, you can confidently select, install, and maintain concrete garden borders that enhance your landscape’s beauty and functionality for years to come.
