Removing garden cart wheels might seem straightforward, but doing it correctly can save you time, effort, and prevent damage to your cart. Whether you need to replace worn-out wheels, perform maintenance, or upgrade to better ones, understanding the right process is essential. This guide will walk you through how to remove garden cart wheels safely and efficiently, covering common wheel types, necessary tools, and troubleshooting tips.
Why Removing Garden Cart Wheels Matters
Garden carts are vital tools for transporting soil, plants, tools, and more. Over time, wheels can wear down, become clogged with debris, or seize up due to rust. Removing and maintaining these wheels ensures your cart remains functional and easy to maneuver. Proper removal extends the life of your cart and avoids costly replacements.
In this article, you will learn:
- The common types of garden cart wheels and their removal methods
- Step-by-step instructions for safe wheel removal
- Tools required for the job
- Tips to handle stuck or rusted wheels
- How to maintain your wheels after removal
By the end, you’ll be equipped to handle wheel removal confidently, keeping your garden cart in top shape.
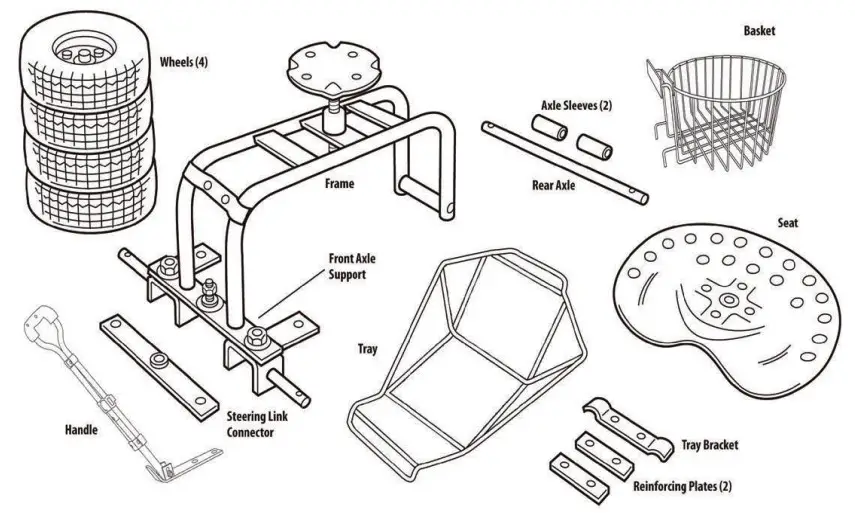
Understanding Garden Cart Wheel Types
Before starting, identify your wheel type, as removal methods vary:
1. Bolt-on Wheels
These wheels attach with bolts or nuts on an axle. They are common on heavier-duty carts.
2. Cotter Pin Wheels
Held by a pin that passes through the axle, secured by a cotter pin or clip. Common in lighter or older models.
3. Push-on Wheels
Simply pressed onto an axle without fasteners. Typical for lightweight carts or hand trucks.
Knowing your wheel type helps you gather the right tools and follow the correct removal steps.
Tools You’ll Need to Remove Garden Cart Wheels
Having the right tools makes the process smoother. Here are common tools required:
- Wrenches or socket set (usually 10mm to 19mm sizes) for bolts and nuts
- Pliers for removing cotter pins or clips
- Hammer and punch to tap out stubborn pins or axles
- WD-40 or penetrating oil to loosen rusted parts
- Work gloves to protect your hands
With tools ready, let’s dive into the removal steps.
Step-by-Step Guide to Removing Garden Cart Wheels
Step 1: Prepare Your Workspace
- Park the garden cart on a flat surface to prevent rolling.
- Engage any brakes or prop the cart to keep it steady.
- Wear gloves and eye protection for safety.
Step 2: Identify the Fastening Mechanism
- Examine the wheel hub to see if it’s held by bolts, pins, or simply pressed on.
- Locate nuts, cotter pins, or clips.
Step 3: Remove Fasteners
- For Bolt-on Wheels: Use the appropriate wrench or socket to loosen and remove the nuts or bolts on either side of the axle.
- For Cotter Pin Wheels: Use pliers to straighten and pull out the cotter pin or clip. Then, slide the pin or axle out.
- For Push-on Wheels: Wiggle the wheel firmly back and forth while pulling away from the axle. Use a rubber mallet to tap gently if needed.
Step 4: Remove the Wheel
- Once fasteners are off, slide the wheel off the axle.
- If stuck due to rust or debris, apply penetrating oil and wait 10-15 minutes before trying again.
- Use a hammer and punch to gently tap the axle if the wheel still won’t budge.
Step 5: Inspect and Clean
- Check the axle and wheel hub for rust or damage.
- Clean any dirt, grime, or rust from the axle with a wire brush or rag.
- Apply lubricant to prevent future seizing.
Troubleshooting Common Issues During Wheel Removal
- Stuck Wheel Due to Rust: Apply penetrating oil generously and let it soak. Tap gently with a hammer to break the rust bond. Avoid excessive force to prevent damage.
- Stripped or Rounded Nuts: Use locking pliers or a nut extractor tool to grip and turn stubborn nuts.
- Broken Cotter Pin: Cut away the damaged pin carefully with wire cutters and remove axle accordingly.
- Wheel Won’t Slide Off: Check for hidden clips or washers blocking removal.
Maintaining Garden Cart Wheels After Removal
Once wheels are off, consider these maintenance tips:
- Clean thoroughly: Remove dirt, mud, and debris from wheels and axles.
- Lubricate moving parts: Use grease or oil on axles to ensure smooth rotation.
- Inspect for wear: Replace wheels with cracked tires, bent rims, or damaged hubs.
- Store properly: Keep wheels and carts in dry areas to avoid rust.
Regular maintenance extends the lifespan of your wheels and keeps your garden cart working efficiently.
Expert Tips for Garden Cart Wheel Care
- Always tighten bolts and nuts firmly but avoid overtightening, which can damage components.
- Use rust-resistant hardware when replacing fasteners.
- Consider upgrading to pneumatic tires for smoother movement over rough terrains.
- Periodically check wheel alignment and balance for even wear.
Conclusion
Removing garden cart wheels is a manageable task with the right knowledge and tools. Whether bolted, pinned, or push-on, following the outlined steps ensures a smooth removal process without damaging your cart. Regular wheel maintenance after removal not only improves performance but also saves money by extending wheel life.
Next time your garden cart wheels need attention, use this guide to work confidently and efficiently. Proper care keeps your gardening tasks easier, letting you focus on what matters most—growing a beautiful garden.
Quick Recap: How to Remove Garden Cart Wheels
- Identify wheel type (bolt, cotter pin, push-on).
- Gather tools: wrenches, pliers, hammer, penetrating oil.
- Secure cart and remove fasteners.
- Slide or tap wheel off axle carefully.
- Clean, inspect, and lubricate before reassembly.
By following these steps, you maintain your garden cart’s mobility and reliability season after season.
