A leaky garden tub faucet can be more than just an annoyance—it can lead to water waste, higher utility bills, and potential water damage over time. Garden tubs, known for their large, luxurious designs, often feature unique faucet setups that require specific care and attention. Whether you’re noticing a constant drip or a slow leak, fixing the issue promptly is essential to maintain your bathroom’s functionality and efficiency.
In this guide, we’ll walk you through how to fix a leaky garden tub faucet, covering common causes, tools needed, and step-by-step repair instructions. By following these expert-backed tips, you can save money on costly plumber visits and enjoy a leak-free tub once again.
Why Is My Garden Tub Faucet Leaking?
Understanding the root cause of the leak is the first step toward a successful repair. Here are the most common reasons why garden tub faucets leak:
- Worn Out Washer or O-ring: These small rubber components create a seal inside the faucet. Over time, they can crack, shrink, or wear out.
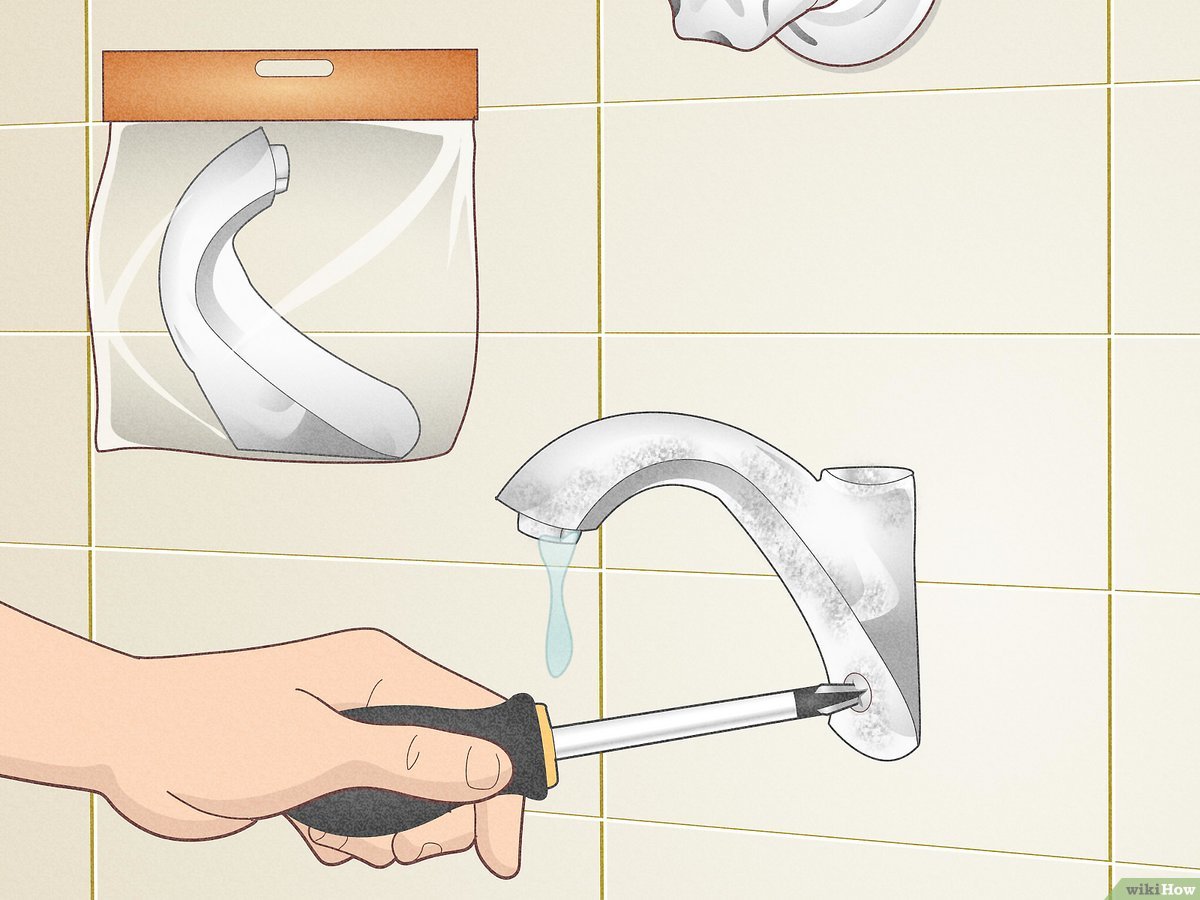
- Corroded Valve Seat: Mineral deposits can build up and corrode the valve seat, causing leaks.
- Loose or Damaged Parts: Connections and fittings can loosen with use, or internal parts may break.
- High Water Pressure: Excessive pressure can stress faucet components, leading to leaks.
Tools and Materials You’ll Need
Before starting your repair, gather these essential tools to ensure a smooth process:
- Adjustable wrench
- Screwdriver (Phillips and flathead)
- Replacement washers or O-rings (specific to your faucet model)
- Plumber’s grease
- Towels or rags
- Bucket (to catch drips)
- Vinegar (for cleaning mineral deposits)
- Faucet repair kit (optional)
Step-by-Step Guide to Fix a Leaky Garden Tub Faucet
1. Turn Off the Water Supply
Start by shutting off the water supply to your tub. This prevents water flow and potential flooding while you work. Usually, the shutoff valves are located near the tub or in the bathroom’s main water line.
2. Drain Remaining Water
Open the faucet to drain any remaining water from the pipes. Keep a bucket handy to catch drips and place towels around the area for extra protection.
3. Remove the Faucet Handle
- Use a screwdriver to remove the screw securing the handle.
- Gently pull the handle off; if it’s stuck, wiggle it carefully or apply a small amount of penetrating oil.
4. Inspect and Remove the Valve Stem
- Once the handle is off, use an adjustable wrench to loosen the packing nut.
- Pull out the valve stem to access the internal components.
- Examine the washer, O-ring, and valve seat for signs of wear or damage.
5. Replace Worn Parts
- Replace the washer or O-ring with an exact match from the repair kit or hardware store.
- If the valve seat is corroded, clean it with vinegar or replace it if necessary.
- Apply plumber’s grease to moving parts for smooth operation.
6. Reassemble the Faucet
- Insert the valve stem back into place.
- Tighten the packing nut securely but avoid overtightening.
- Reattach the handle and secure it with the screw.
7. Turn the Water Supply Back On and Test
Open the shutoff valves slowly and turn on the faucet to check for leaks. If the leak persists, the valve seat might require professional replacement.
Tips to Prevent Future Leaks in Garden Tub Faucets
- Regular Maintenance: Inspect faucets periodically and replace washers or O-rings before they wear out.
- Water Pressure Check: Use a pressure gauge to ensure water pressure is between 40-60 psi.
- Clean Mineral Deposits: Use vinegar to dissolve buildup around faucet parts.
- Professional Inspection: Have a plumber inspect your plumbing system every few years to catch hidden issues.
When to Call a Professional
While many leaks can be fixed with basic tools and replacement parts, certain scenarios warrant professional help:
- Persistent leaks after parts replacement
- Corroded or damaged valve seats that cannot be cleaned
- Complex multi-handle or thermostatic faucet systems
- Signs of water damage or mold around the tub area
Professional plumbers have the expertise and specialized tools to handle intricate repairs safely and efficiently.
Conclusion
Fixing a leaky garden tub faucet is a manageable DIY task that can save water, reduce bills, and prolong your faucet’s life. By identifying the cause, assembling the right tools, and carefully replacing worn parts, you can restore your tub’s functionality with confidence. Remember, regular maintenance and timely repairs are key to avoiding long-term plumbing issues.
If you encounter stubborn leaks or complex faucet designs, don’t hesitate to seek professional assistance. A properly functioning garden tub faucet not only enhances your bathing experience but also contributes to a sustainable and efficient home.
Take action today—stop that drip and enjoy a leak-free garden tub tomorrow!
