Creating a garden in Minecraft is one of the most rewarding ways to combine creativity, resource management, and survival skills. Whether you’re aiming to beautify your base, grow essential crops, or design a lush, decorative space, knowing how to make a garden in Minecraft can elevate your gameplay. This guide breaks down everything you need to know—from selecting the right location to planting, maintaining, and expanding your garden efficiently.
In this article, you’ll learn how to make a garden in Minecraft with practical steps, expert tips, and creative ideas. We’ll cover the essentials of soil preparation, water management, crop selection, and garden aesthetics. Whether you’re a beginner or an experienced player, this comprehensive guide will help you build a thriving Minecraft garden that suits your play style and needs.
Why Build a Garden in Minecraft?
Gardens serve multiple purposes in Minecraft:
- Food Supply: Grow wheat, carrots, potatoes, and beetroot to sustain your character.
- Aesthetic Appeal: Add beauty and ambiance to your world.
- Resource Farming: Harvest renewable resources like sugarcane and flowers.
- Trading: Use crops for trading with villagers.
Understanding these benefits helps you design a garden that fits your goals, whether survival or creative mode.
Step 1: Choose the Perfect Location for Your Garden
Selecting an ideal spot is crucial for your garden’s success.
- Near Your Base: For easy access and protection.
- Flat and Open Land: Simplifies planting and expansion.
- Close to Water Sources: Water hydrates soil and speeds up crop growth.
- Well Lit Area: Crops need light, so avoid shadowy spots or use torches.
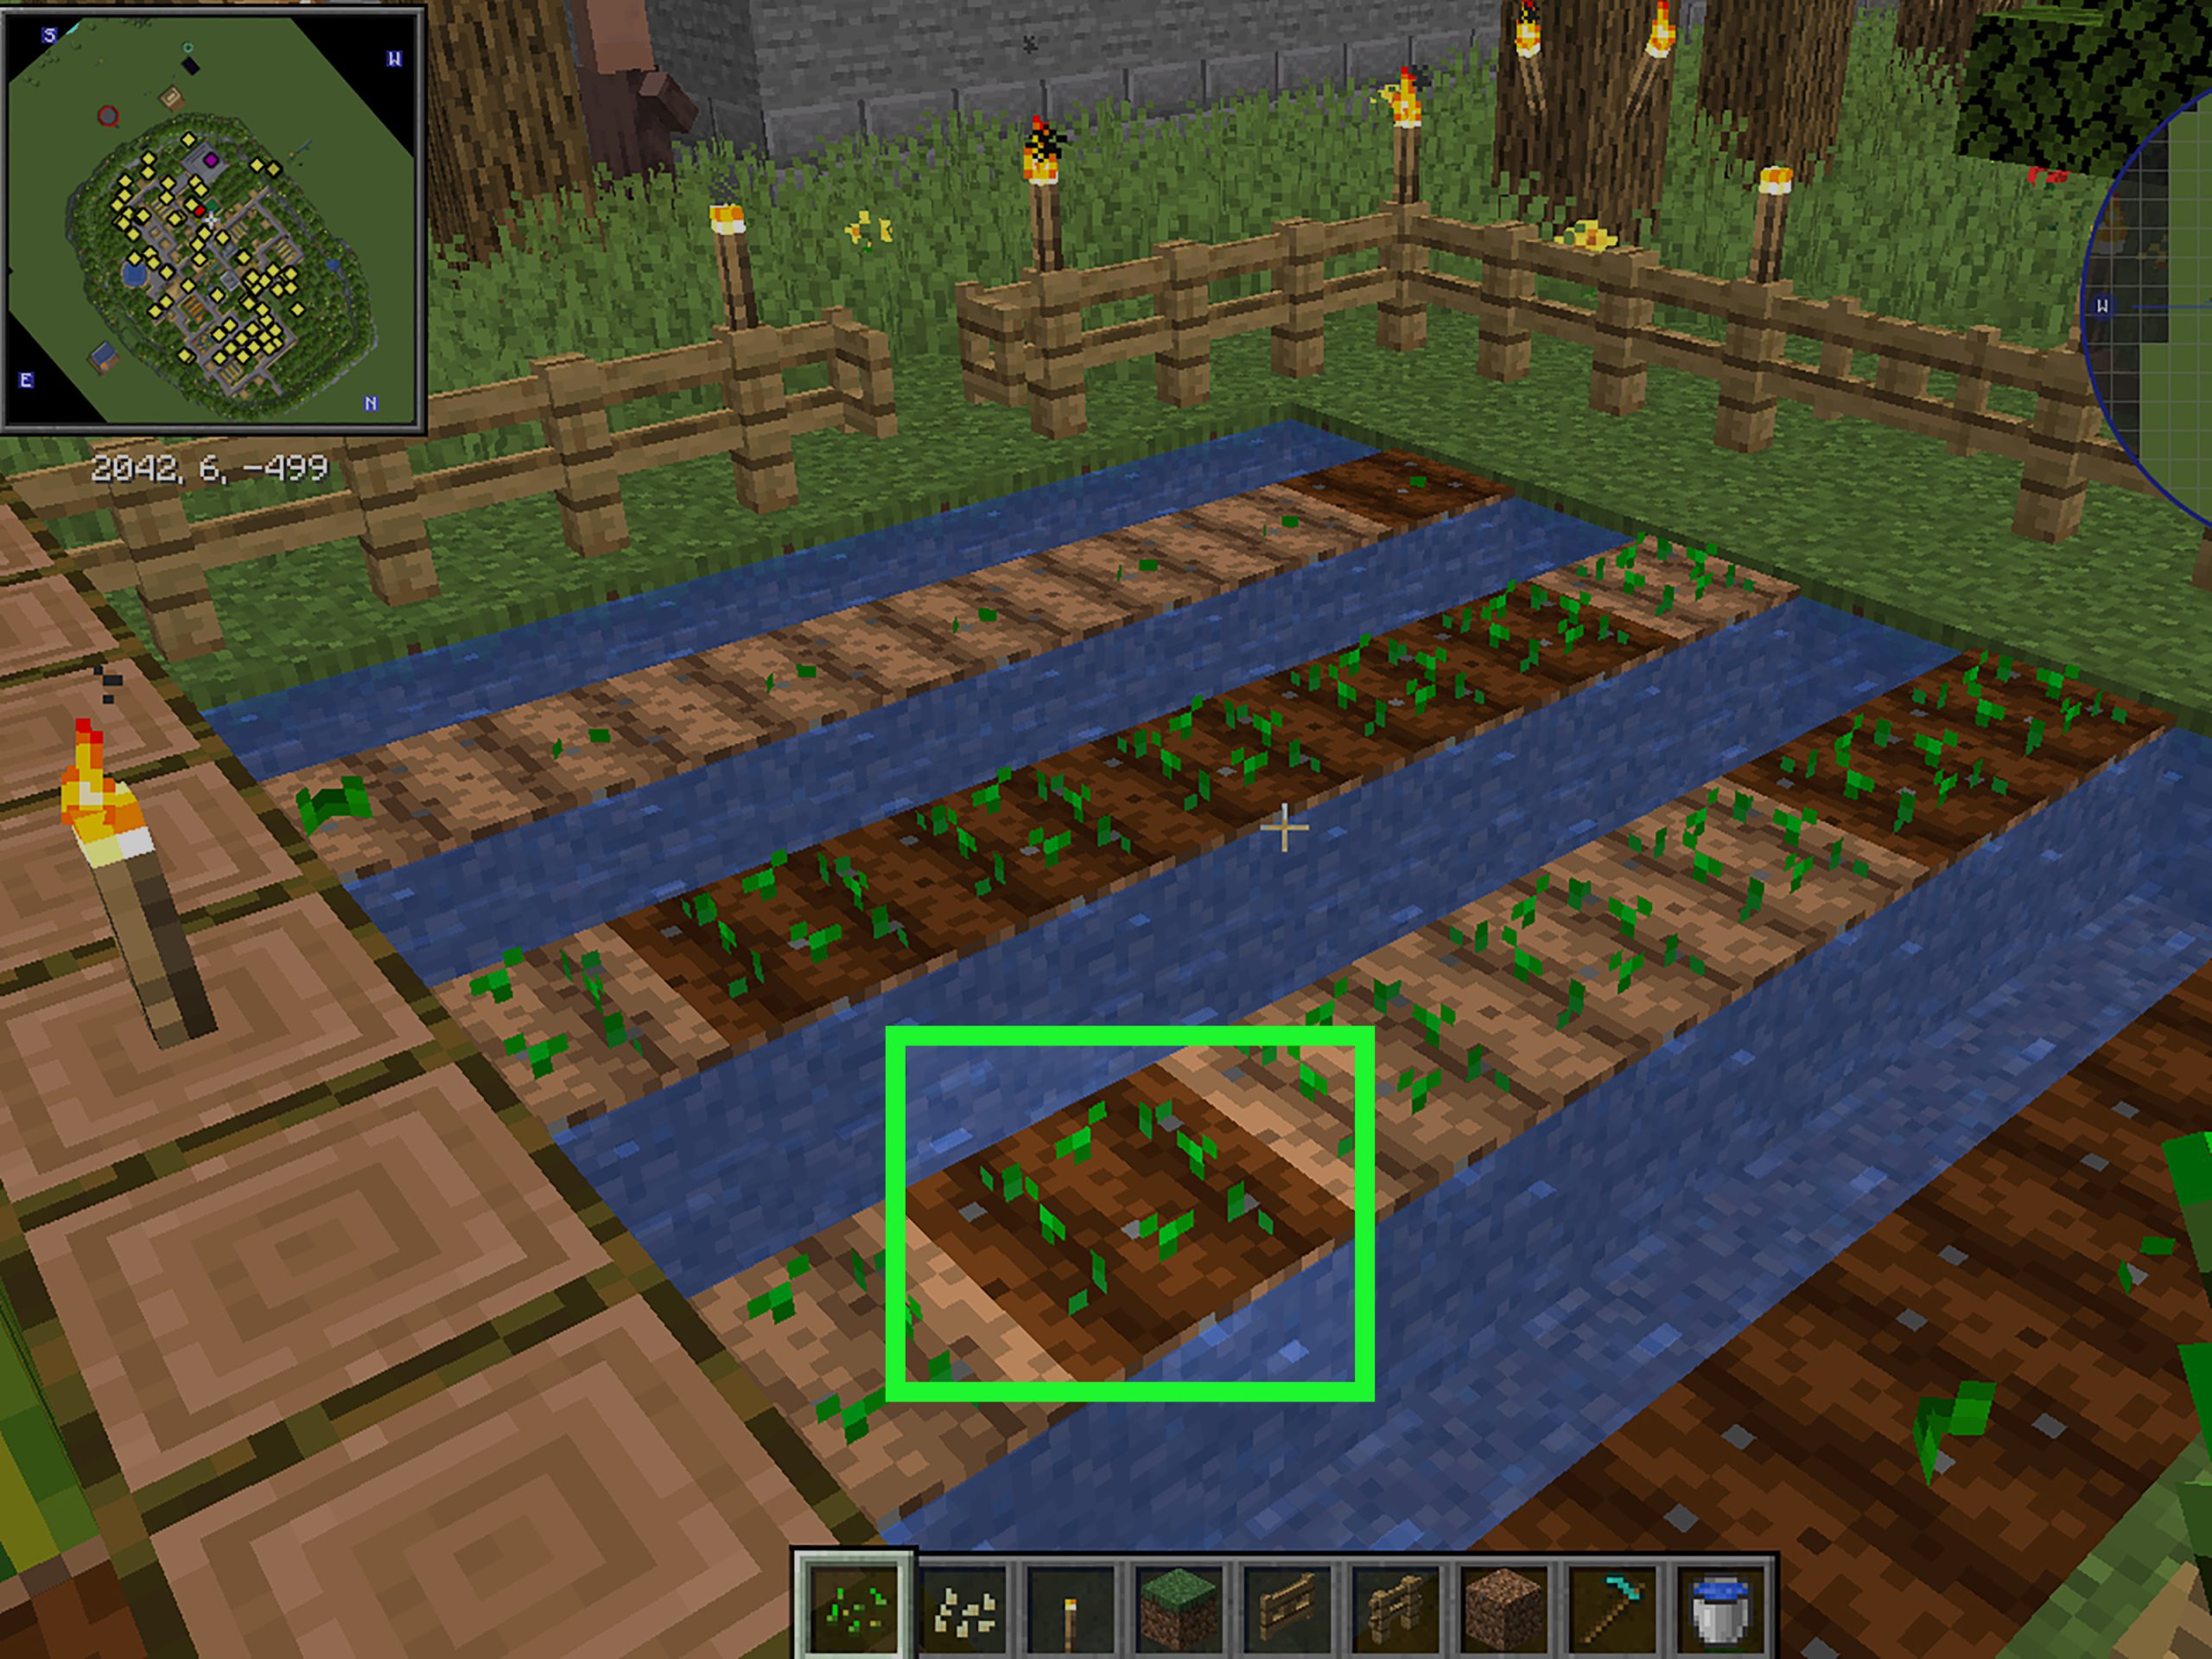
Step 2: Prepare the Soil and Water Your Garden
How to Prepare Soil in Minecraft
- Use a Hoe: Equip a hoe (wooden, stone, iron, etc.) to till dirt or grass blocks into farmland.
- Hydrate Farmland: Place water within 4 blocks of tilled soil to keep it hydrated. Hydrated soil appears darker and improves crop growth speed.
- Avoid Trampling: Prevent jumping or walking on farmland to avoid reverting it to dirt.
Watering Tips
- Water Blocks: One water block hydrates farmland up to 4 blocks away in all directions.
- Water Sources: Use buckets to create small water pools or trenches.
- Automatic Irrigation: Advanced players can build redstone-powered irrigation.
Step 3: Select and Plant Your Crops
Minecraft offers a variety of crops, each with unique uses:
| Crop | Use | Growth Time | Notes |
|————|——————————–|———————–|—————————–|
| Wheat | Food (bread), breeding animals | ~10-30 minutes | Requires planting seeds |
| Carrots | Food, breeding pigs and rabbits| ~10-30 minutes | Can be found in villages |
| Potatoes | Food, can be baked | ~10-30 minutes | Risk of becoming poisonous |
| Beetroot | Food, dye, stew ingredient | ~10-30 minutes | Less common, decorative use |
| Sugarcane | Paper and sugar production | Grows near water | Requires adjacent water block|
| Pumpkins | Food, decorations, golems | Needs space to grow | Plant seeds on tilled soil |
| Melons | Food, crafting | Spreads via melon stems| Requires adjacent air blocks |
Planting Process
- Right-click farmland with seeds or crops selected.
- Ensure adequate light (minimum light level 9).
- Wait for crops to mature, then harvest by breaking the plant.
Step 4: Enhance Your Garden with Decorative Elements
A garden isn’t just functional; it’s also a place to express creativity.
- Fencing: Protect crops from mobs and animals with fences or walls.
- Paths: Use gravel, cobblestone, or wood planks to create walkways.
- Flower Beds: Plant flowers like roses, tulips, and sunflowers for color.
- Lighting: Place torches, lanterns, or glowstone to keep the area lit and prevent hostile mob spawns.
- Water Features: Add small ponds or fountains for realism and charm.
- Benches and Structures: Build seating areas or gazebos for added ambiance.
Step 5: Maintain and Expand Your Garden
Maintenance Tips
- Regularly replant crops after harvesting.
- Keep soil hydrated; refill water if needed.
- Light the garden well to maximize growth and safety.
- Protect against mob trampling and creeper explosions.
Expansion Ideas
- Create multiple crop zones for different plants.
- Add automated farms using redstone and dispensers.
- Integrate animal pens nearby for a full agricultural setup.
- Experiment with vertical gardening or rooftop gardens.
Expert Tips for Successful Minecraft Gardening
- Use Bone Meal: Accelerate crop growth instantly by applying bone meal.
- Villager Farmers: Employ villagers to automatically harvest and replant crops.
- Crop Rotation: Plant different crops in stages to ensure continuous harvest.
- Light Levels: Use daylight sensors or redstone lamps to optimize light exposure.
- Protect Against Phantoms: Sleep regularly to prevent phantom attacks that can damage your garden.
Common Questions About Minecraft Gardens
Q: How much water do crops need in Minecraft?
A: One water block can hydrate farmland up to 4 blocks away in every direction.
Q: Can I plant crops on sand or gravel?
A: No, crops can only grow on tilled dirt or grass blocks.
Q: How do I protect my garden from mobs?
A: Use fences, walls, adequate lighting, and possibly iron golems to protect your garden.
Q: What’s the fastest-growing crop?
A: Sugarcane grows quickly near water, but bone meal can speed up most crops’ growth.
Conclusion
Building a garden in Minecraft is a blend of creativity and strategy. By carefully choosing your location, preparing hydrated soil, planting a variety of crops, and adding decorative touches, you can create a garden that is both beautiful and productive. Remember to maintain your garden regularly and consider expanding with automated systems as your skills grow.
Start your gardening journey today—transform your Minecraft world into a thriving oasis that feeds your character and delights your eyes. Happy farming!
By following these expert tips and structured steps, you’ll master how to make a garden in Minecraft that stands out for both functionality and design.
