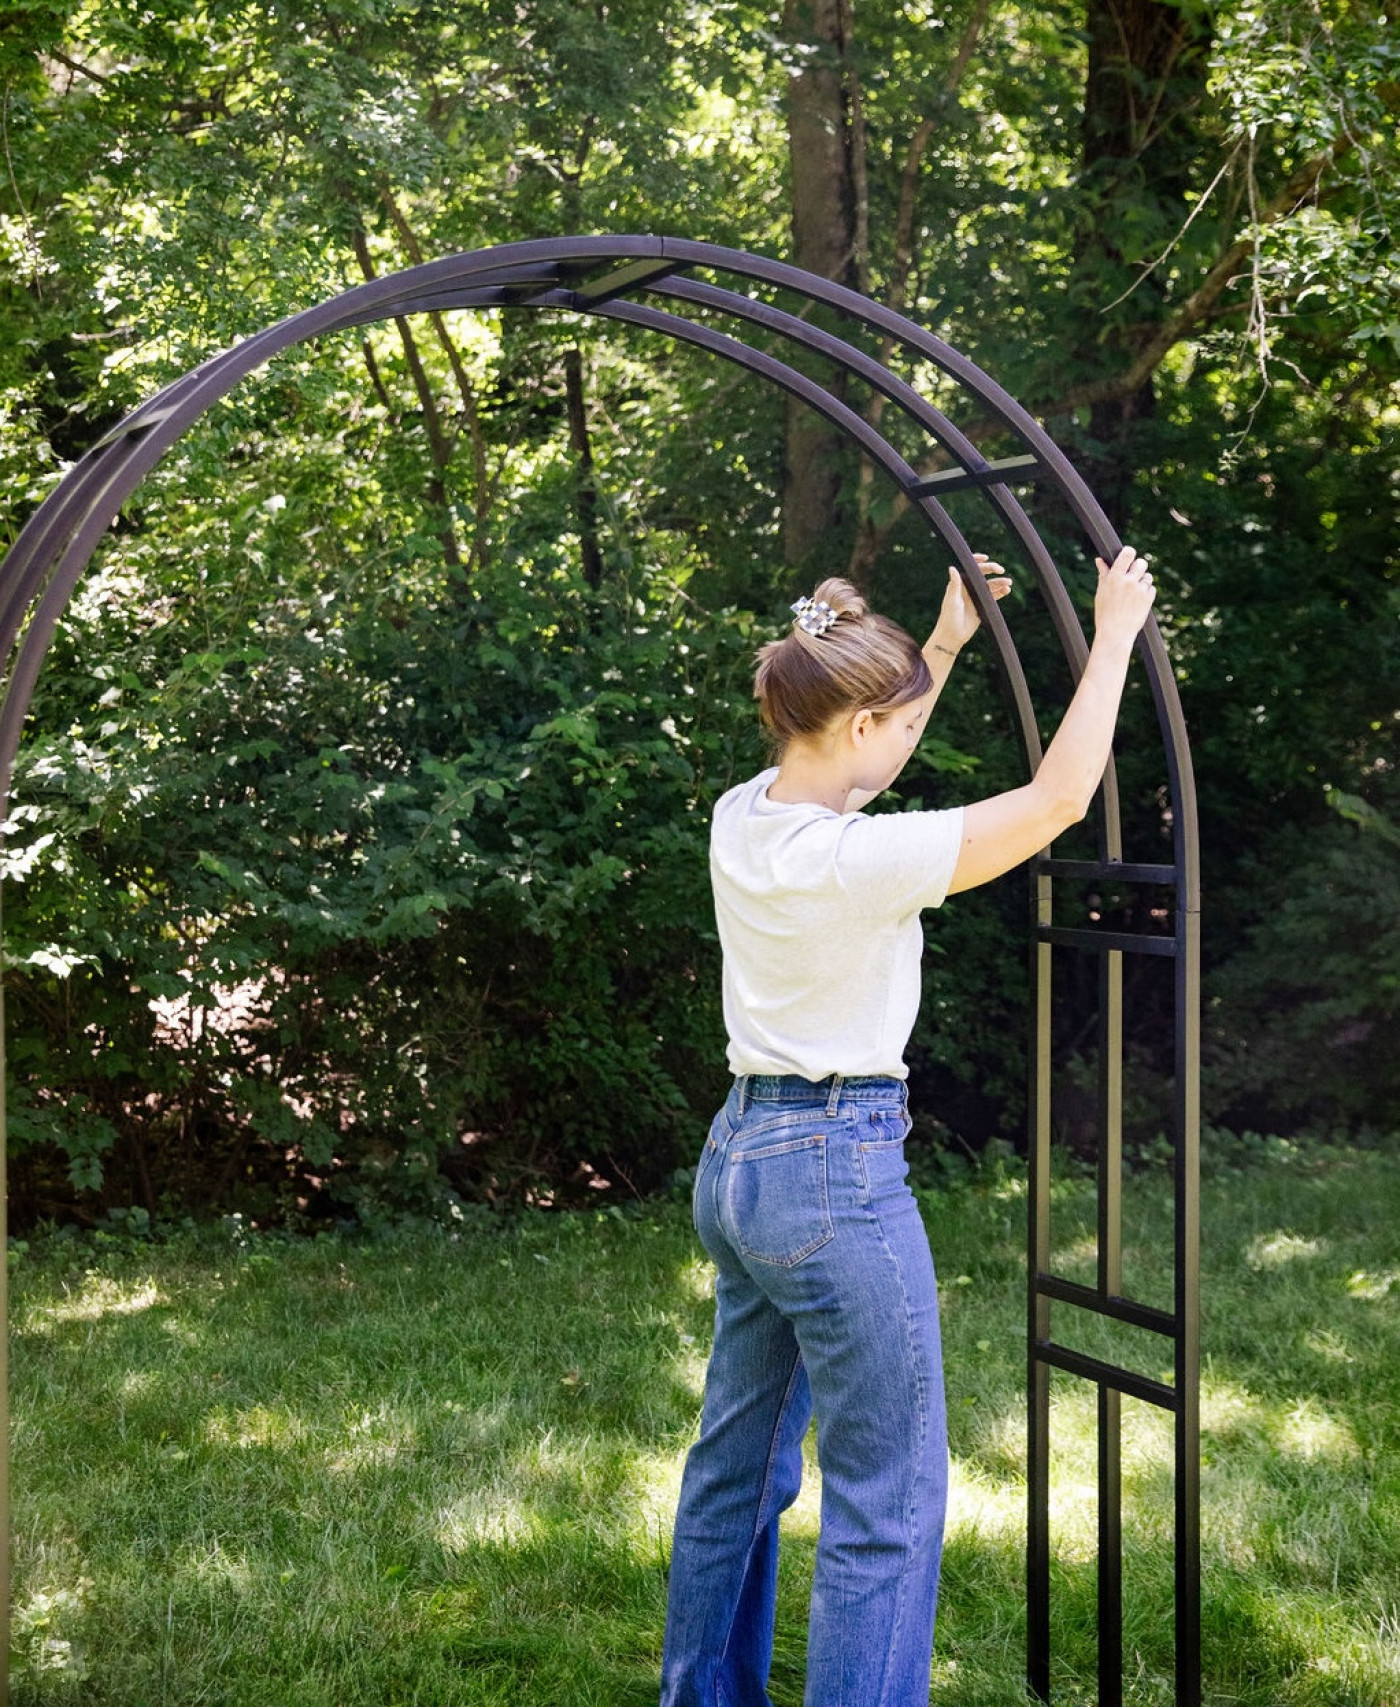
A metal garden arch can be a stunning focal point in any outdoor space, offering support for climbing plants and adding architectural charm. However, properly securing it in the ground is crucial to ensure stability, safety, and longevity. Without the right installation techniques, your garden arch could become unstable, lean, or even fall over during harsh weather conditions.
In this comprehensive guide, we’ll walk you through how to secure a metal garden arch in the ground effectively. From preparing the site to choosing the right anchoring methods, you’ll learn practical, expert-backed tips to keep your arch standing tall season after season. Whether you’re a gardening enthusiast or a DIY beginner, this article covers all you need to know for a secure and beautiful setup.
Why Properly Securing a Metal Garden Arch Matters
Before diving into installation steps, it’s important to understand why securing your metal arch matters:
- Safety: A loose arch can tip over, posing injury risks to people and pets.
- Durability: Proper anchoring prevents rust and damage caused by movement.
- Plant Support: A stable arch supports climbing plants effectively.
- Aesthetic Stability: Ensures your garden structure remains upright and visually appealing.
Step 1: Choose the Right Location
Choosing the right spot for your metal garden arch is the foundation of a successful installation.
- Check Soil Type: Loamy or clay soils offer good support; sandy soils may require deeper anchoring.
- Clear the Area: Remove rocks, roots, and debris to create a flat surface.
- Consider Sunlight & Plant Growth: Position near plants that will climb the arch.
Step 2: Gather Necessary Tools and Materials
Having the right tools on hand streamlines the process.
Essential items include:
- Metal garden arch
- Tape measure
- Shovel or post hole digger
- Level
- Concrete mix or gravel (optional but recommended)
- Steel ground stakes or rebar (if applicable)
- Drill with metal bits (for some arch designs)
- Protective gloves
Step 3: Prepare and Dig Holes for Anchoring
Most metal garden arches require anchoring poles or legs to be set firmly in the ground.
- Mark Hole Positions: Use the arch’s base dimensions to mark where holes will be dug.
- Dig to Proper Depth: Typically, holes should be 12-18 inches deep for stability.
- Width Matters: Make holes slightly wider than the arch legs for concrete or gravel backfill.
Step 4: Choose Your Anchoring Method
There are several effective ways to anchor your metal garden arch:
1. Concrete Footings (Most Secure)
- Mix concrete according to instructions.
- Place arch legs into the holes.
- Pour concrete around the legs, filling holes completely.
- Use a level to ensure the arch is perfectly vertical.
- Allow concrete to cure for at least 24-48 hours before applying pressure.
Pros: Strong, durable, ideal for windy areas.
Cons: More labor-intensive, permanent.
2. Using Gravel or Crushed Stone
- Fill holes partially with gravel.
- Insert arch legs and pack gravel tightly around them.
- Tamp down gravel for compaction.
Pros: Easier to adjust or remove later.
Cons: Less permanent, may shift in loose soil.
3. Ground Stakes or Rebar Anchors
- Drive steel stakes or rebar through holes or around arch legs.
- Use clamps or brackets to secure the arch to the stakes.
- Hammer stakes deep into the ground (at least 12 inches).
Pros: Flexible, less messy than concrete.
Cons: May not be as stable in soft soil.
Step 5: Secure and Level the Arch
After anchoring:
- Use a spirit level to check vertical alignment.
- Adjust as necessary before the concrete sets or the gravel is fully compacted.
- Tighten any bolts or screws if your arch design includes adjustable parts.
Step 6: Final Touches and Maintenance Tips
- Backfill with soil around concrete or gravel to blend with garden beds.
- Apply rust-resistant paint or sealant if your metal arch is uncoated.
- Inspect annually for stability and signs of corrosion.
- Tighten fasteners periodically to maintain structural integrity.
Expert Tips for Securing Metal Garden Arches
- Use galvanized or powder-coated metal arches to resist rust.
- For sandy or loose soil, opt for deeper footings or additional stakes.
- Consider anchoring kits sold by garden centers for easy installation.
- When installing in areas with frequent strong winds, double the footing depth for extra security.
Common Questions About Securing Metal Garden Arches
Q: Can I install a metal garden arch without concrete?
A: Yes, using gravel or ground stakes is possible but less stable. Concrete provides the strongest hold.
Q: How deep should I bury arch legs?
A: A minimum of 12 inches is recommended; deeper for softer soil or larger structures.
Q: Can I install a garden arch on a patio or hard surface?
A: Yes, but you’ll need heavy-duty anchors or base plates drilled into concrete.
Conclusion
Securing a metal garden arch in the ground is essential for safety, durability, and garden beauty. By carefully choosing your location, digging proper footing holes, and selecting the right anchoring method—whether concrete, gravel, or stakes—you ensure your arch remains a reliable support for plants and a charming garden feature.
Take your time during installation to level and stabilize the arch properly. Regular maintenance will extend its lifespan and keep your garden looking its best. Ready to add a metal garden arch? Follow these expert tips, and enjoy a stunning, secure addition to your outdoor space.
Start your garden transformation today by installing your metal arch the right way — strong, stable, and built to last!
