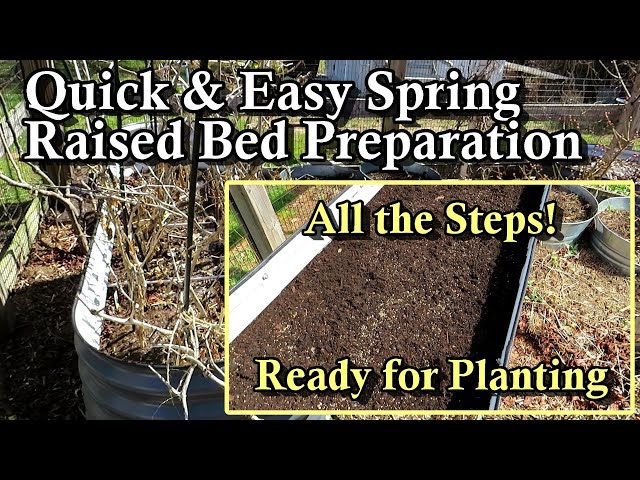
Spring signals the perfect time to revive your garden and get it ready for a productive growing season. Preparing your raised garden bed properly not only boosts plant health but also maximizes yields and minimizes pest problems. Whether you’re a seasoned gardener or a beginner, knowing how to prepare your raised garden bed for spring is essential to ensure vibrant growth and a flourishing garden.
In this article, we’ll walk you through step-by-step instructions to refresh your raised bed, including soil preparation, fertilization, weed control, and planting tips. By following expert advice and proven techniques, you can set the stage for a successful gardening season. Let’s dive into the best practices to transform your raised garden bed into a springtime oasis.
Why Preparing Your Raised Garden Bed in Spring Matters
Spring preparation is crucial because it:
- Restores soil health after winter dormancy
- Improves nutrient availability for new plants
- Prevents weed and pest issues before they start
- Enhances soil structure and drainage for optimal root growth
Raised beds have unique advantages, such as better drainage and soil control, but they also need yearly maintenance to keep those benefits intact.
Step 1: Clean Up Your Raised Garden Bed
Remove Debris and Old Plant Material
Start by clearing away any leftover plant debris, dead leaves, and weeds from the previous season. This helps:
- Prevent diseases carried over in plant residue
- Eliminate hiding spots for pests
- Provide a clean slate for new growth
Use garden gloves and hand tools to pull out weeds by the roots. Compost the healthy plant matter and discard any diseased material to avoid contamination.
Step 2: Loosen and Turn the Soil
Why Soil Aeration is Essential
Over time, soil in raised beds can become compacted, reducing airflow and water penetration. Loosening the soil encourages:
- Better root development
- Improved nutrient uptake
- Enhanced microbial activity
Use a garden fork or hand tiller to gently turn the soil to a depth of about 6-8 inches. Avoid over-tilling, which can disrupt soil structure and beneficial organisms.
Step 3: Test and Amend the Soil
Conduct a Soil Test
Testing your soil determines pH and nutrient levels, guiding you on what amendments are needed. You can buy DIY soil test kits or send samples to local extension services.
Amend Based on Results
- Adjust pH: Most vegetables prefer a pH between 6.0 and 7.0. Add lime to raise pH or sulfur to lower it.
- Add Organic Matter: Incorporate compost, aged manure, or leaf mold to enrich the soil with nutrients and improve texture.
- Fertilize Appropriately: Use balanced fertilizers with nitrogen (N), phosphorus (P), and potassium (K) based on your soil test recommendations.
Tip: Organic amendments improve long-term soil health better than synthetic fertilizers alone.
Step 4: Control Weeds Early
Weeds compete with your plants for nutrients, water, and light. Here’s how to keep them at bay:
- Apply a Mulch Layer: Use straw, shredded leaves, or wood chips to suppress weed growth and retain moisture.
- Consider Landscape Fabric: Laying fabric beneath mulch can provide extra weed control without suffocating soil life.
- Hand-Pull Emerging Weeds: Early removal prevents them from seeding and spreading.
Step 5: Plan and Plant Your Spring Crops
Choose Suitable Plants for Your Climate
Select crops that thrive in your local spring climate. Cool-season vegetables like lettuce, spinach, peas, and radishes often do well in early spring.
Start Seeds Indoors or Direct Sow
- Start Indoors: For longer-season crops like tomatoes and peppers, begin seeds indoors 6-8 weeks before the last frost.
- Direct Sow: Plant hardy seeds directly into the raised bed once soil temperatures reach the recommended level.
Space Plants Properly
Follow seed packet or plant tag instructions for spacing to avoid overcrowding, which can lead to disease and stunted growth.
Additional Tips for Raised Bed Spring Preparation
- Watering: Ensure consistent moisture but avoid waterlogging. Raised beds drain faster, so monitor soil moisture regularly.
- Rotate Crops: Avoid planting the same plant family in the same spot each year to reduce disease risk.
- Install Supports: Set up trellises or cages early for climbing plants to prevent root disturbance later.
Real-World Example: Successful Raised Bed Preparation
A study by the University of California found that raised beds amended with high-quality compost and properly mulched resulted in 30% higher yields and reduced weed pressure by 50% compared to unamended beds. This highlights the importance of organic matter addition and weed control in spring preparation.
Conclusion
Preparing your raised garden bed for spring is a vital step to ensure a thriving and productive garden. By cleaning up debris, loosening and amending the soil, controlling weeds early, and selecting the right plants, you give your garden the best chance to flourish. Remember, investing time in proper preparation pays off with healthier plants and bountiful harvests.
Ready to get your hands dirty? Start your spring garden preparation today and watch your raised bed come alive with vibrant growth!
