Introduction
Growing your own kitchen garden is a rewarding way to enjoy fresh, organic produce right at your doorstep. Whether you have a spacious backyard or a small balcony, planting a kitchen garden can boost your well-being, save money, and reduce your environmental footprint. This guide will walk you through how to plant a kitchen garden effectively, covering everything from choosing the right location to harvesting your first crops.
By following these practical steps, you’ll gain expert insights into selecting suitable plants, preparing soil, and maintaining your garden. Whether you’re a beginner or an experienced gardener, this article will help you create a flourishing kitchen garden that supplies fresh herbs, vegetables, and fruits all year round.
Why Start a Kitchen Garden?
A kitchen garden offers numerous benefits beyond fresh produce:
- Healthier eating: Grow pesticide-free, nutrient-rich food.
- Cost savings: Reduce grocery bills by harvesting your own vegetables and herbs.
- Sustainability: Lower carbon footprint by cutting down on food transportation.
- Stress relief: Gardening promotes mental health and physical activity.
Understanding these advantages underscores the value of investing time and effort into your kitchen garden.
Step 1: Choosing the Right Location for Your Kitchen Garden
What Makes an Ideal Spot?
Your kitchen garden’s success depends largely on where you plant it. Here’s what to consider:
- Sunlight: Most vegetables and herbs need at least 6-8 hours of direct sunlight daily.
- Soil drainage: Choose a spot with well-drained soil to prevent root rot.
- Accessibility: Position your garden close to the kitchen or water source for convenience.
- Protection from wind: Sheltered areas reduce plant stress.
Tips for Small Spaces
If you don’t have a traditional garden space:
- Use containers, raised beds, or vertical planters.
- Opt for windowsills or balconies with ample sunlight.
- Try hanging pots for herbs or small veggies.
Step 2: Selecting Plants for Your Kitchen Garden
Best Plants for Beginners
Start with easy-to-grow, fast-yielding plants such as:
- Herbs: Basil, mint, parsley, chives, and cilantro.
- Vegetables: Lettuce, spinach, radishes, cherry tomatoes, and bell peppers.
- Fruits: Strawberries and dwarf citrus trees.
Consider Your Climate and Season
- Research climate zones to select plants suited to your local weather.
- Plant cool-season crops (like lettuce) in early spring or fall.
- Choose warm-season crops (like tomatoes) for summer planting.
Companion Planting
Use companion planting to enhance growth and deter pests:
- Plant basil near tomatoes to improve flavor and repel insects.
- Pair carrots with onions to keep pests away.
Step 3: Preparing the Soil
Importance of Healthy Soil
Soil quality directly affects plant health and yield. Healthy soil should be:
- Rich in organic matter
- Well-draining but moisture-retentive
- Balanced in pH (usually 6.0 to 7.0 for most vegetables)
How to Prepare Your Soil
- Clear the area of weeds and debris.
- Loosen the soil using a garden fork or tiller to a depth of 8-12 inches.
- Add organic compost or well-rotted manure to enrich nutrients.
- Mix in balanced fertilizer if necessary, following package instructions.
Testing Soil pH
Use a simple soil testing kit to measure pH levels. Amend soil with lime (to raise pH) or sulfur (to lower pH) as needed.
Step 4: Planting Your Kitchen Garden
Seed vs. Seedlings
- Seeds are cost-effective but require more time and care.
- Seedlings or transplants offer a head start and quicker harvest.
Planting Techniques
- Follow spacing recommendations on seed packets or plant labels to avoid overcrowding.
- Plant seeds at the correct depth—generally 2-3 times the seed’s diameter.
- Water gently after planting to settle soil and encourage germination.
Planting Schedule
- Create a planting calendar based on your climate zone.
- Stagger plantings to ensure continuous harvest throughout the season.
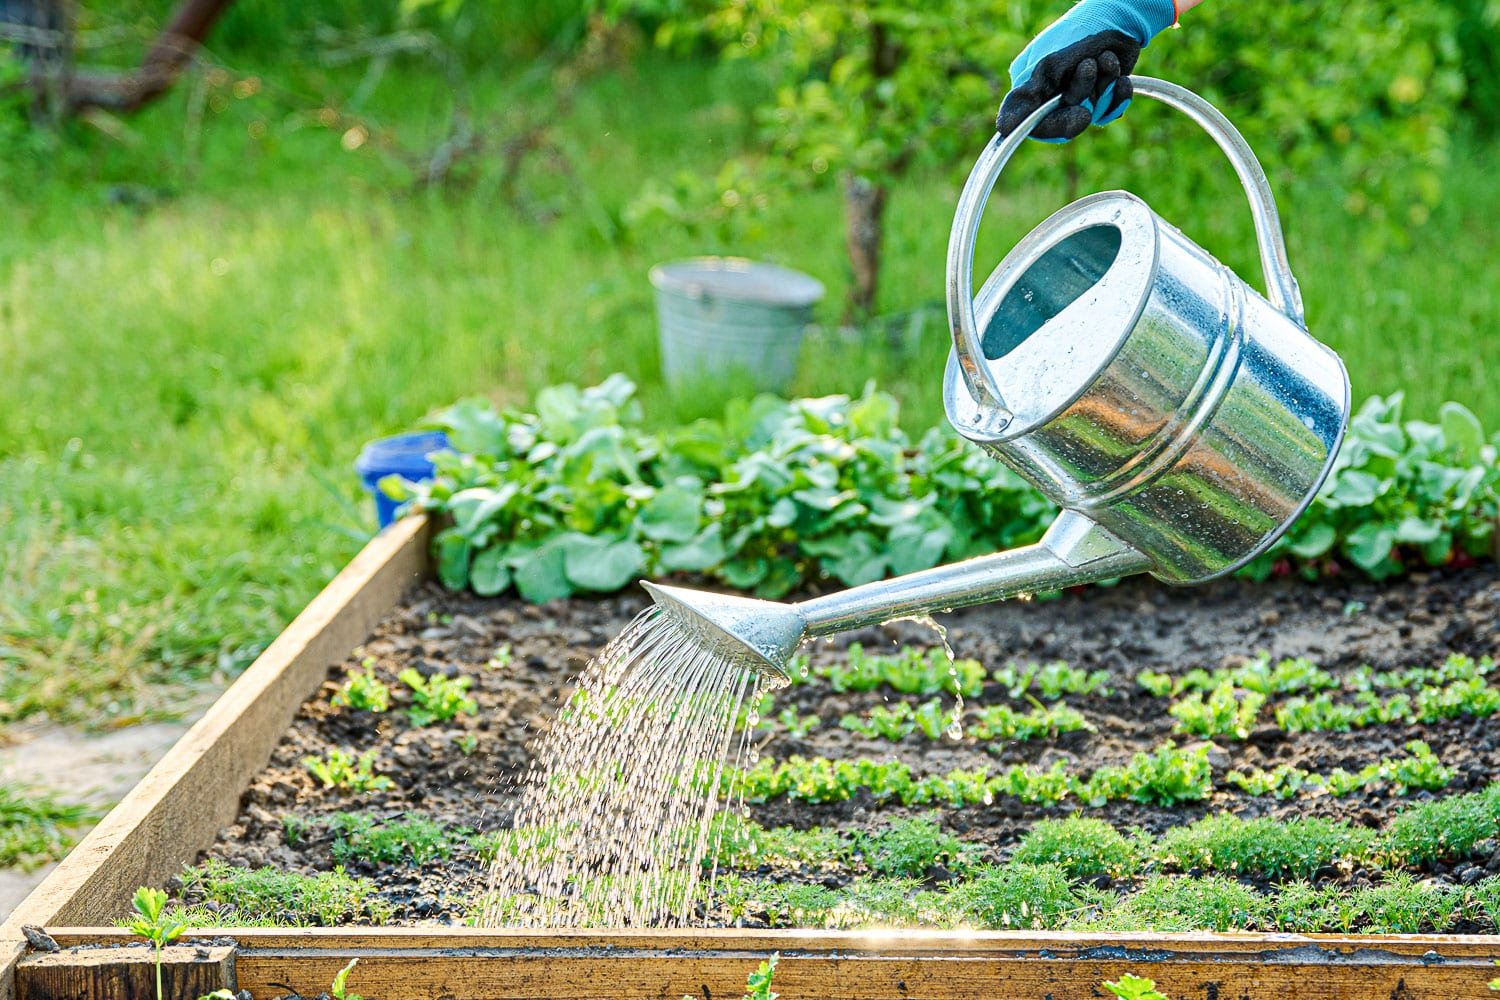
Step 5: Watering and Maintenance
Watering Best Practices
- Water early in the morning to reduce evaporation.
- Keep soil consistently moist but not waterlogged.
- Use drip irrigation or soaker hoses to conserve water and reduce disease risk.
Mulching
- Apply organic mulch (straw, shredded leaves) to retain moisture, suppress weeds, and improve soil quality.
Fertilizing
- Feed plants with organic fertilizers every 3-4 weeks or as needed.
- Avoid over-fertilizing, which can harm plants and leach into water systems.
Pest and Disease Management
- Inspect plants regularly for signs of pests or disease.
- Use natural remedies like neem oil or insecticidal soap.
- Encourage beneficial insects like ladybugs and lacewings.
Step 6: Harvesting Your Kitchen Garden
When to Harvest
- Pick vegetables and herbs at their peak ripeness for best flavor and nutrition.
- Harvest early in the day when plants are crisp and hydrated.
Tips for Continuous Yield
- Practice successive planting to replace harvested crops.
- Regularly prune herbs to encourage bushier growth.
- Avoid damaging plants during harvest to prolong productivity.
Expert Insights and Real-World Examples
- According to the National Gardening Association, kitchen gardens can reduce grocery bills by up to 30% annually.
- Urban gardeners in New York City have successfully grown tomatoes and herbs on balconies using container gardening, demonstrating kitchen gardens’ adaptability.
- Renowned horticulturist Dr. Linda Chalker-Scott emphasizes the importance of soil health as “the foundation of any thriving garden.”
Conclusion
Planting a kitchen garden is a fulfilling project that combines sustainability, health benefits, and the joy of nurturing life. By choosing the right location, selecting suitable plants, preparing your soil properly, and maintaining your garden with care, you can enjoy fresh, homegrown produce year-round. Start small, stay consistent, and watch your kitchen garden flourish.
Ready to dig in? Begin your kitchen garden journey today and transform your cooking and lifestyle with homegrown goodness.
Quick Reference: How to Plant a Kitchen Garden
| Step | Key Action | Tips |
|———————–|—————————————|————————————|
| 1. Location | Choose sunny, well-drained spot | Use containers for small spaces |
| 2. Plant Selection | Pick easy, climate-appropriate crops | Use companion planting |
| 3. Soil Preparation | Clear, loosen, and enrich soil | Test and amend soil pH |
| 4. Planting | Sow seeds or transplant seedlings | Follow spacing and depth guidelines|
| 5. Maintenance | Water, mulch, fertilize, pest control | Water early, mulch to conserve moisture |
| 6. Harvesting | Pick ripe produce early in the day | Practice successive planting |
By following these steps and expert tips, your kitchen garden will thrive, providing delicious, nutritious food with every harvest. Happy gardening!
