Creating an above ground garden is an excellent way to grow fresh vegetables, herbs, and flowers, especially if you have limited space or poor soil quality. Above ground gardens, also known as raised bed gardens, offer better drainage, easier access, and can significantly boost your plant’s health and yield. Whether you live in an urban apartment with a balcony or have a backyard struggling with compacted soil, this gardening method is both practical and rewarding.
In this comprehensive guide, we will walk you through everything you need to know about how to make an above ground garden—from choosing the right materials and location to planting and maintaining your garden. By the end, you’ll have the confidence and knowledge to build your own thriving above ground garden that suits your lifestyle and space.
Why Choose an Above Ground Garden?
Before diving into the how-to, it’s important to understand the benefits of above ground gardening:
- Improved Soil Quality: You control the soil mix, avoiding poor or contaminated ground.
- Better Drainage: Elevated beds prevent waterlogging and root rot.
- Easier Maintenance: No bending or kneeling, reducing strain on your back and knees.
- Pest Control: Raised height deters some pests and makes it easier to install protective barriers.
- Extended Growing Season: Soil in raised beds warms faster in spring, allowing earlier planting.
Step 1: Selecting the Location for Your Above Ground Garden
The success of your garden starts with picking the perfect spot. Here’s what to consider:
- Sunlight: Most vegetables and flowers need 6-8 hours of direct sunlight daily. Choose a place that gets ample sun.
- Accessibility: Make sure the garden is easily reachable for watering, weeding, and harvesting.
- Drainage: Avoid areas prone to standing water or heavy shade.
- Space: Consider the size of the garden based on the plants you want to grow and available space.
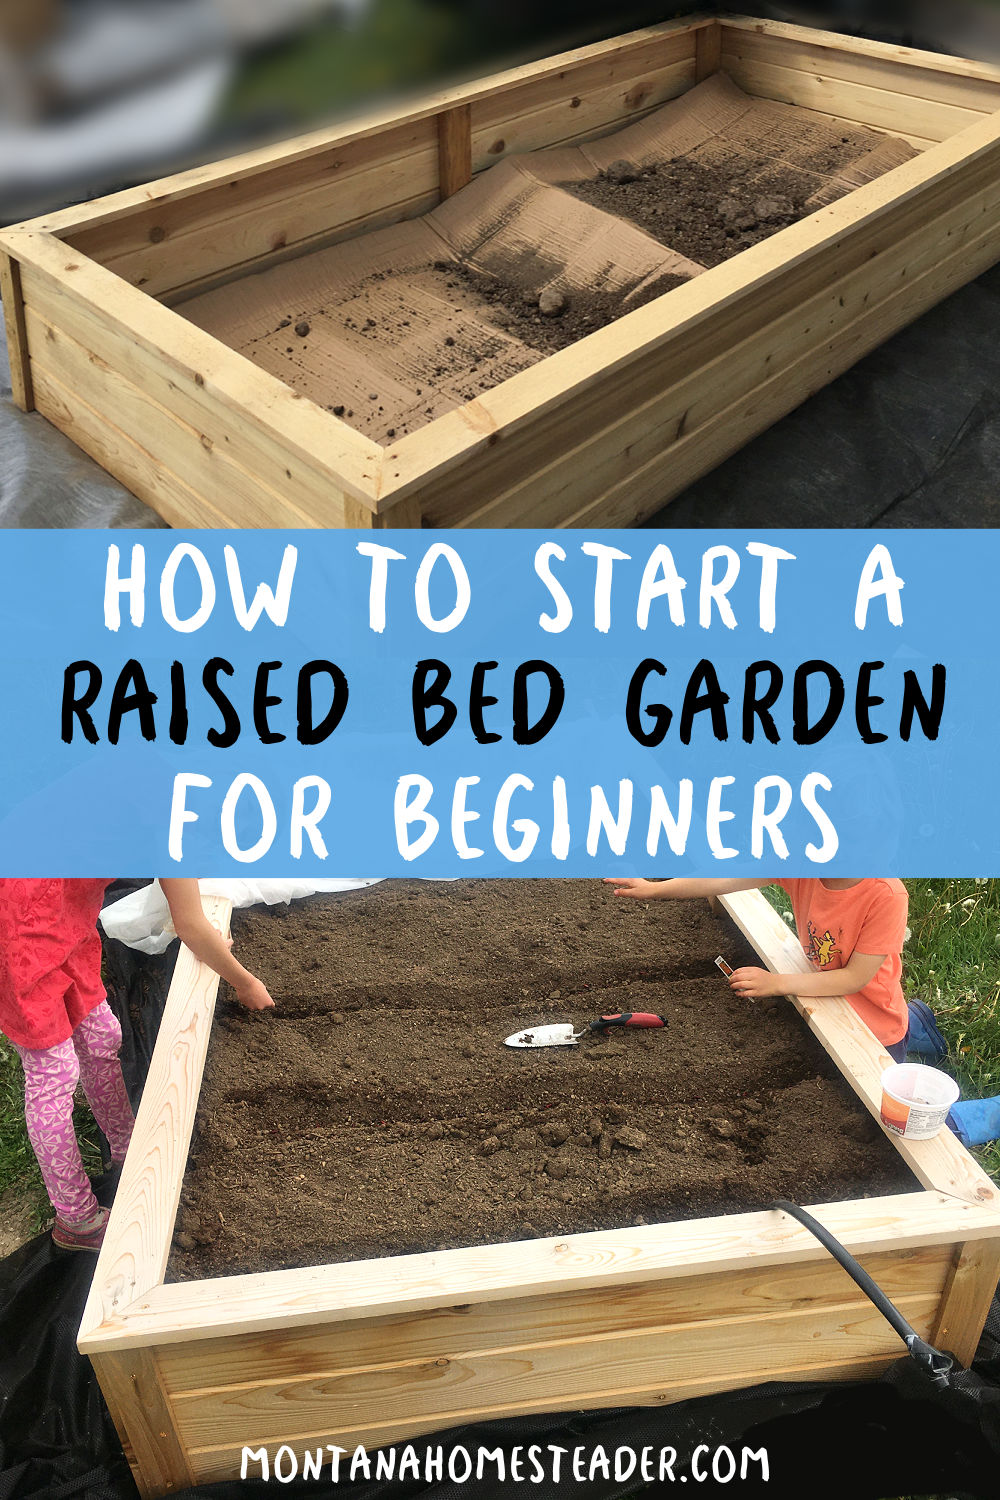
Step 2: Choosing Materials and Building Your Raised Bed
The frame of your above ground garden can be made from various materials. Here are popular options:
| Material | Pros | Cons |
|—————-|———————————-|———————————|
| Wood (Cedar, Redwood) | Natural, aesthetically pleasing, rot-resistant | Can be costly, may require sealing |
| Composite Wood | Durable, low maintenance | More expensive, less natural look |
| Concrete Blocks | Long-lasting, sturdy | Heavy, can absorb heat |
| Metal (Galvanized Steel) | Modern look, durable | Can heat up, may rust over time |
| Recycled Materials | Eco-friendly, budget-friendly | Varies in durability and safety |
Expert Tip: Avoid treated wood with harmful chemicals like arsenic or chromium to keep your garden organic and safe.
Building Steps:
- Measure and Mark: Decide your bed size. Common dimensions are 4 feet wide by 8 feet long for easy reach.
- Assemble the Frame: Use screws or nails to join the sides. Ensure corners are square.
- Prepare the Ground: Remove grass, weeds, and debris. Level the area as much as possible.
- Place the Frame: Set your frame in the chosen spot.
- Optional Liner: Use landscape fabric to prevent weeds if desired.
Step 3: Filling Your Above Ground Garden with Soil
The soil mix is critical for plant health. A good blend has:
- 40% Topsoil: Provides bulk and minerals.
- 30% Compost: Adds nutrients and improves structure.
- 20% Peat Moss or Coconut Coir: Retains moisture.
- 10% Perlite or Vermiculite: Improves aeration and drainage.
Pro Tip: Avoid using garden soil alone as it can be compacted and poor in nutrients.
Step 4: Selecting and Planting Your Crops
Choose plants suitable for your climate, season, and space. Some beginner-friendly plants for above ground gardens include:
- Vegetables: Lettuce, tomatoes, carrots, radishes, peppers.
- Herbs: Basil, parsley, cilantro, thyme.
- Flowers: Marigolds, nasturtiums (also deter pests).
Planting Tips:
- Follow seed packet instructions for spacing and depth.
- Group plants by water and sunlight needs.
- Consider companion planting to improve growth and reduce pests.
Step 5: Maintaining Your Above Ground Garden
Proper care ensures a bountiful harvest:
- Watering: Above ground gardens dry out faster; water consistently, especially during hot weather.
- Mulching: Apply organic mulch to retain moisture and suppress weeds.
- Fertilizing: Feed plants with organic fertilizers or compost tea every 3-4 weeks.
- Pest Control: Use physical barriers like row covers or natural repellents.
Real-World Example: Urban Gardener Success Story
Jane, an urban apartment dweller, transformed her small balcony into a lush above ground garden using cedar raised beds. She harvested fresh tomatoes and herbs all summer, reducing grocery bills and improving her diet quality. Jane attributed her success to choosing the right soil mix and consistent watering schedule.
Frequently Asked Questions (FAQs)
Q1: How deep should an above ground garden be?
A depth of 12-18 inches is ideal for most vegetables to accommodate roots.
Q2: Can I build an above ground garden on concrete or patio?
Yes, as long as you use a raised bed and ensure proper drainage.
Q3: How often should I water an above ground garden?
Typically daily during hot weather; always check soil moisture before watering.
Conclusion
Building an above ground garden is a rewarding project that brings fresh produce and beauty to any space. By choosing the right location, materials, and soil mix, and by maintaining your garden properly, you can enjoy a thriving green oasis regardless of your gardening experience. Whether you aim to grow food, flowers, or herbs, above ground gardening offers a flexible, accessible, and effective way to connect with nature.
Ready to start your own above ground garden? Gather your materials today and take the first step towards a greener, healthier lifestyle!
Remember: Gardening is a journey. Experiment with different plants and techniques, and enjoy the process of nurturing life from soil to harvest.
