Designing and laying out a garden plot is an exciting first step toward growing your own vegetables, herbs, or flowers. Whether you are a seasoned gardener or just starting, understanding how to effectively plan your garden space can lead to healthier plants, higher yields, and a more enjoyable gardening experience. This guide will walk you through the essential steps to layout a garden plot, ensuring your garden is both productive and beautiful.
In this article, you’ll learn how to select the right location, prepare the soil, design planting beds, and organize your plants for optimal growth. We’ll also cover key considerations such as sunlight, irrigation, and crop rotation to help you create a thriving garden. By the end, you’ll have a clear blueprint to start your garden with confidence.
Why Proper Garden Plot Layout Matters
A well-planned garden layout maximizes space, improves plant health, and simplifies maintenance. Poor planning can lead to overcrowding, poor drainage, and reduced yields. Taking the time to design your garden plot based on your available space, plant needs, and gardening goals ensures a productive and enjoyable growing season.
Step 1: Choose the Right Location for Your Garden Plot
Selecting an ideal site is the foundation of a successful garden.
- Sunlight: Most vegetables and flowers require 6-8 hours of direct sunlight daily. Observe your yard throughout the day to identify the sunniest spot.
- Soil Drainage: Avoid areas where water pools after rain. Well-drained soil prevents root rot and fungal diseases.
- Accessibility: Ensure the location is easy to reach for watering, weeding, and harvesting.
- Wind Protection: Choose a spot sheltered from strong winds to protect delicate plants.
Step 2: Determine the Size and Shape of Your Garden Plot
The size depends on your available space, time commitment, and what you want to grow.
- Start Small: Beginners should start with a manageable plot, such as 10×10 feet, to avoid feeling overwhelmed.
- Shape Options: Rectangular or square plots are easiest to manage, but curved or irregular shapes can add aesthetic appeal.
- Raised Beds vs. In-Ground: Raised beds improve drainage and soil quality but require upfront construction.
Step 3: Prepare the Soil for Planting
Healthy soil is the key to vigorous plants.
- Test Your Soil: Use a soil test kit to check pH and nutrient levels. Most vegetables prefer a pH between 6.0 and 7.0.
- Clear the Area: Remove grass, weeds, and debris.
- Amend the Soil: Add organic matter like compost or well-rotted manure to improve soil fertility and structure.
- Till or Double Dig: Loosen the soil to a depth of 8-12 inches to encourage root growth.
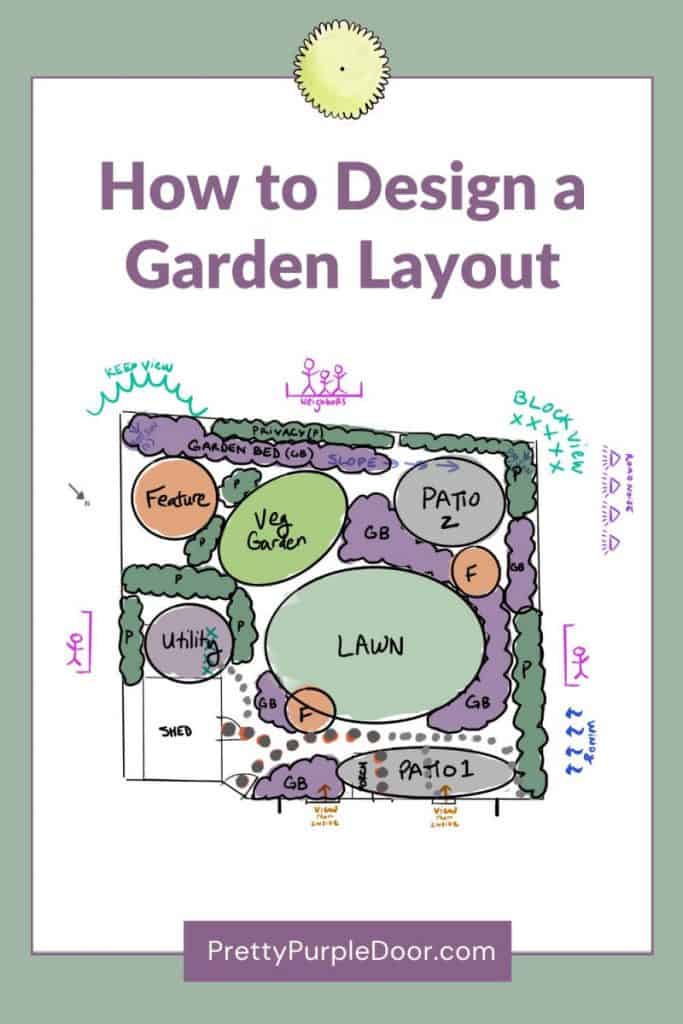
Step 4: Design Your Garden Layout
Organizing your plants strategically enhances growth and ease of maintenance.
Layout Styles:
- Row Planting: Traditional method with plants arranged in straight rows. Ideal for larger plots and mechanized tools.
- Square Foot Gardening: Divides the plot into 1-foot squares, maximizing space and reducing waste.
- Raised Bed/Grid System: Plants are arranged in raised beds divided by paths for easy access.
Considerations for Layout:
- Plant Spacing: Follow seed packet instructions for spacing to prevent overcrowding.
- Companion Planting: Plant compatible species together to deter pests and improve growth. For example, basil grows well near tomatoes.
- Crop Rotation: Rotate plant families each season to reduce soil-borne diseases.
Step 5: Create Pathways and Access Points
Paths prevent soil compaction and make gardening tasks easier.
- Width: Paths should be at least 18-24 inches wide for comfortable movement.
- Materials: Use mulch, gravel, or stepping stones to define paths.
- Accessibility: Arrange beds and paths so all plants are reachable without stepping on the soil.
Step 6: Plan for Irrigation and Drainage
Efficient watering is crucial for plant health.
- Water Source: Position your garden near a water supply.
- Irrigation Methods: Consider drip irrigation or soaker hoses for targeted watering that conserves water.
- Slope and Drainage: Ensure the garden is level or slightly sloped to prevent waterlogging.
Step 7: Mark Your Garden Plot
Use stakes, string, or garden paint to outline your plot and beds.
- This visual guide helps you stay organized when planting.
- Label rows or squares with plant names for easy identification.
Expert Tips for a Successful Garden Layout
- Start with a Garden Plan: Sketch your garden on paper or use garden planning apps.
- Rotate Crops Annually: Helps maintain soil health and prevent pests.
- Use Vertical Space: Incorporate trellises for climbing plants like peas and cucumbers.
- Mulch Around Plants: Conserves moisture and suppresses weeds.
Real-World Example: Square Foot Gardening Success
Mel Bartholomew popularized square foot gardening, which divides a garden into a grid of 1-foot squares. This method maximizes space and simplifies planning. Gardeners report up to 90% higher yields in smaller plots using this approach. It is especially effective for urban gardeners with limited space.
Frequently Asked Questions (FAQs)
Q1: How much sunlight does my garden plot need?
Most edible plants require at least 6 hours of direct sunlight daily.
Q2: Can I garden in poor soil?
Yes, amend poor soil with compost and organic matter or use raised beds filled with quality soil.
Q3: How far apart should I plant seeds?
Spacing varies by plant; always check seed packets for recommended distances.
Conclusion
Laying out a garden plot is both an art and a science that sets the stage for a bountiful growing season. By choosing the right location, preparing your soil, designing an efficient layout, and planning for irrigation, you create an environment where plants can thrive. Remember to start small, stay organized, and adapt your garden design based on your space and goals.
Ready to dig in? Begin sketching your garden plot today and watch your green space flourish with vibrant life and fresh produce. Happy gardening!
Key Takeaways:
- Select a sunny, well-drained location accessible for daily care.
- Start with a manageable garden size and shape.
- Prepare nutrient-rich soil with proper amendments.
- Design your layout using rows, squares, or raised beds.
- Plan pathways for easy access and prevent soil compaction.
- Incorporate efficient irrigation and drainage solutions.
- Use companion planting and crop rotation for healthier plants.
By following these steps, you’ll master how to layout a garden plot that maximizes growth and enjoyment.
