Creating a neat and attractive garden border with bricks is a simple yet effective way to enhance your outdoor space. Whether you want to define flower beds, separate lawn areas, or add a classic touch to your garden, laying bricks for garden borders provides durability and aesthetic appeal. This guide will walk you through how to lay brick for garden border, offering expert tips and practical steps to ensure a professional-looking finish.
In this article, you’ll learn why brick borders are a popular choice, the essential tools and materials needed, and a detailed step-by-step process to install your garden border correctly. Additionally, we’ll cover common challenges and maintenance tips to keep your brick border looking fresh for years. If you’re ready to upgrade your garden’s curb appeal with a timeless brick edge, keep reading!
Why Choose Brick for Garden Borders?
Bricks offer several advantages as garden border materials:
- Durability: Bricks withstand weather extremes better than wood or plastic edging.
- Aesthetic Versatility: Available in various colors and textures, bricks complement many garden styles.
- Low Maintenance: Once laid, brick borders require minimal upkeep.
- Eco-Friendly: Many bricks are made from natural clay and can be reused or recycled.
According to landscaping experts, a well-laid brick border not only enhances garden structure but also prevents soil erosion and keeps mulch or gravel contained.
Tools and Materials Needed to Lay a Brick Garden Border
Before starting, gather the following:
- Bricks (standard sizes like 4×8 inches work well)
- String line and stakes for straight alignment
- Tape measure
- Shovel and spade
- Rubber mallet
- Spirit level
- Garden hose or watering can
- Sand or mortar mix (depending on border style)
- Wheelbarrow (for soil and sand transport)
- Gloves and safety glasses
Pro Tip: For a more permanent border, use mortar; for flexible and easier installation, dry-laid bricks on sand are ideal.
Step-by-Step Guide: How to Lay Brick for Garden Border
Step 1: Plan and Mark Your Border
- Use a string line and stakes to outline the desired border shape.
- Measure the length to calculate the number of bricks needed (usually 1 brick per 8 inches).
- Consider curves or straight lines based on your garden design.
Step 2: Prepare the Ground
- Remove grass, weeds, and roots in the marked area to a depth of about 4-6 inches.
- Use a spade or shovel to level and compact the soil.
- For better stability, lay a base of crushed stone or gravel (about 2 inches), and compact it firmly.
Step 3: Lay the Base Sand Layer
- Spread a 1-2 inch layer of coarse sand over the gravel.
- Level the sand with a board or trowel, ensuring a smooth surface.
- Lightly spray the sand with water to help it settle.
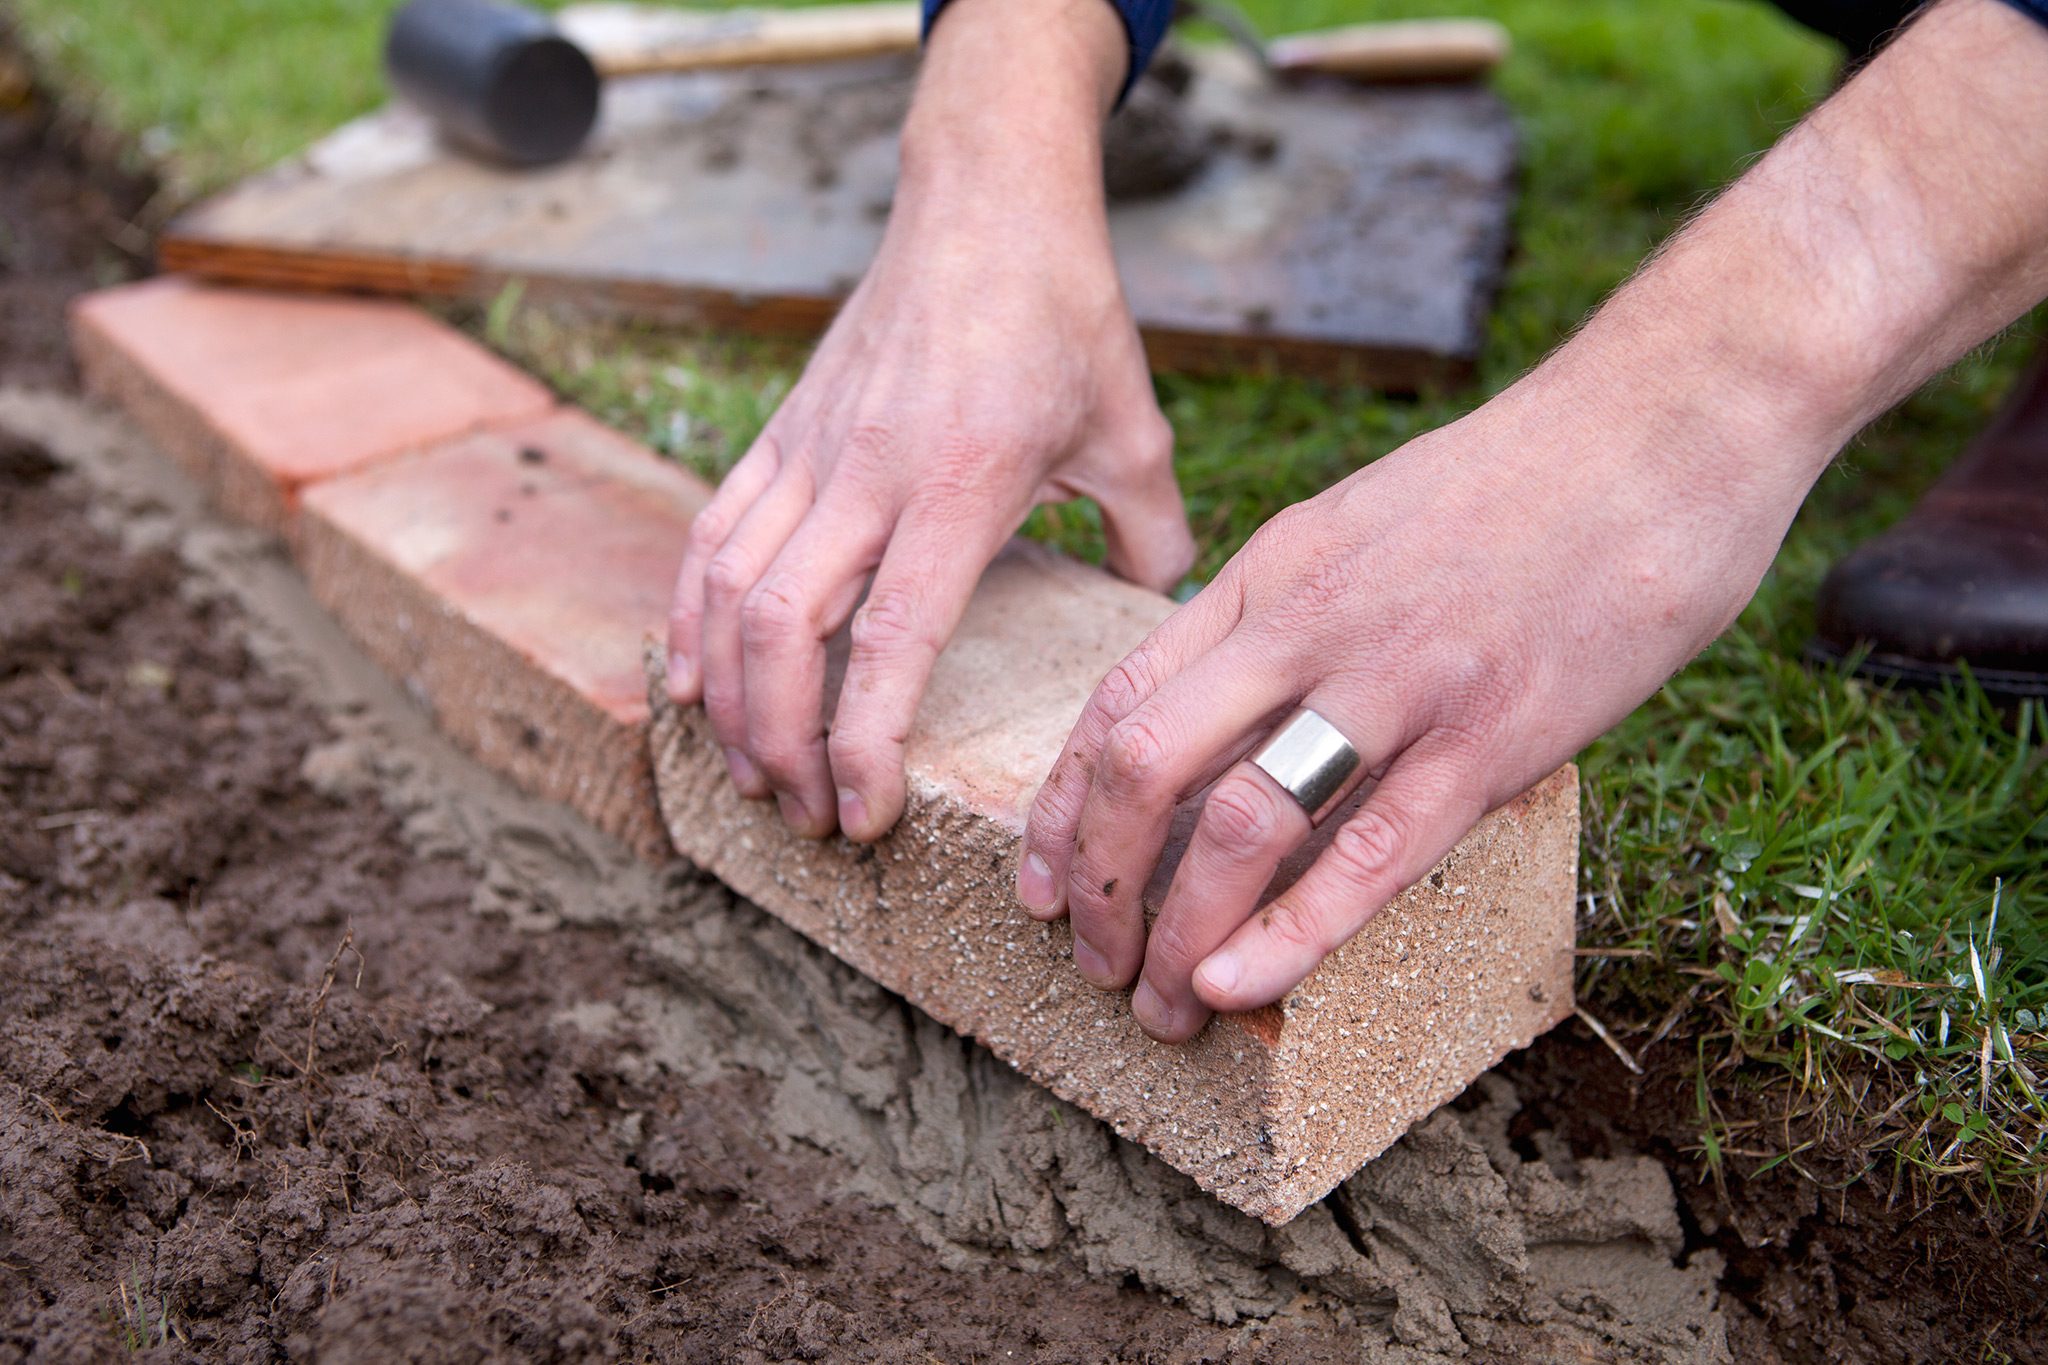
Step 4: Place the Bricks
- Start at one end and lay bricks in the desired pattern:
- Soldier course: bricks laid upright on their ends.
- Stretcher course: bricks laid flat with long sides showing.
- Use a rubber mallet to tap each brick gently into place.
- Check alignment frequently with a spirit level and string line.
- Keep consistent spacing; dry-laid bricks can be butted tightly or have small gaps for drainage.
Step 5: Secure the Bricks
- For dry laid borders, sweep sand into the gaps between bricks to lock them in place.
- For mortar-set borders:
- Mix mortar according to instructions.
- Apply mortar beneath and between bricks using a trowel.
- Remove excess mortar and smooth joints carefully.
- Allow mortar to cure properly (usually 24-48 hours).
Step 6: Final Touches
- Backfill soil or mulch behind the border to stabilize it.
- Clean the brick surface with a brush to remove dirt or mortar residue.
- Water the area lightly if dry-laid to help sand settle.
Common Patterns and Styles for Brick Garden Borders
- Single Row Straight Border: Simple and clean, perfect for defining beds.
- Double Row Border: Adds height and sturdiness for raised beds.
- Curved Borders: Use flexible string lines and cut bricks if necessary for smooth curves.
- Herringbone or Basketweave Pattern: More decorative, requires precise cutting and fitting.
Troubleshooting and Maintenance Tips
- Bricks shifting or sinking: Ensure proper compaction of base layers and use enough sand or mortar.
- Weeds growing between bricks: Fill gaps with polymeric sand or apply weed barrier fabric beneath.
- Efflorescence (white salt deposits): Clean with mild vinegar solution and water; ensure proper drainage.
- Repairing damaged bricks: Replace broken bricks promptly to maintain border integrity.
Expert Insights on Brick Garden Borders
Landscape architect Sarah Jenkins notes, “A brick border is a timeless element that adds structure and charm. Proper preparation and attention to detail during installation are key to longevity.”
Research shows that garden borders, particularly brick ones, can increase property curb appeal by up to 15%, making this DIY project not only functional but a smart investment.
Conclusion
Laying brick for a garden border is a rewarding project that combines function with classic style. By following the steps outlined — from planning and ground preparation to precise brick placement and finishing touches — you can create a durable and beautiful edge that enhances your garden’s appeal. Whether you prefer a simple straight line or a decorative curved border, bricks offer flexibility and lasting value.
Ready to transform your garden? Gather your materials, plan your layout, and start laying bricks today for a garden border that stands the test of time!
Call to Action:
If you found this guide helpful, share it with fellow gardeners and subscribe for more expert landscaping tips and DIY projects!
