Creating a raised garden bed is one of the most effective ways to improve your gardening experience. Whether you have limited space, poor soil quality, or want better control over your plants’ growing conditions, raised garden beds offer a versatile and accessible solution. In this guide, we’ll walk you through everything you need to know about how to install a raised garden bed—from selecting materials to preparing soil and planting your first crops.
Raised garden beds enhance drainage, reduce soil compaction, and make gardening easier on your back. Plus, they can add aesthetic appeal to your outdoor space. By the end of this article, you’ll have the confidence and knowledge to build a raised garden bed that suits your needs perfectly.
Why Choose a Raised Garden Bed?
Before diving into installation, it’s important to understand the benefits:
- Improved soil drainage: Raised beds prevent waterlogging and root rot.
- Better soil quality control: You can fill beds with nutrient-rich soil.
- Weed and pest reduction: Elevated beds limit weed growth and some pests.
- Extended growing season: Soil warms faster in raised beds.
- Accessibility: Easier to tend, especially for those with mobility challenges.
Materials You’ll Need to Install a Raised Garden Bed
Choosing the right materials is crucial for durability and safety. Here are popular options:
- Wood: Cedar and redwood are naturally rot-resistant and safe for edible plants.
- Composite lumber: Made from recycled wood and plastic, it lasts long but may cost more.
- Concrete blocks or bricks: Durable and easy to assemble but less mobile.
- Metal: Galvanized steel is rust-resistant and modern-looking.
- Soil and compost: High-quality organic soil mix to fill your bed.
Avoid treated wood with harmful chemicals that can leach into your soil, such as those treated with arsenic.
Step-by-Step Installation Process
1. Choose the Location
- Pick a spot that receives 6 to 8 hours of sunlight daily.
- Ensure easy access to water.
- Consider proximity to your house for convenience.
2. Determine the Size and Shape
- Standard raised beds are 4 feet wide (for easy reach) and vary in length.
- Height usually ranges from 6 inches to 12 inches or more.
- Keep pathways wide enough for comfortable movement.
3. Prepare the Site
- Clear grass, weeds, and debris.
- Level the ground if possible.
- Optionally, lay landscape fabric or cardboard to suppress weeds.
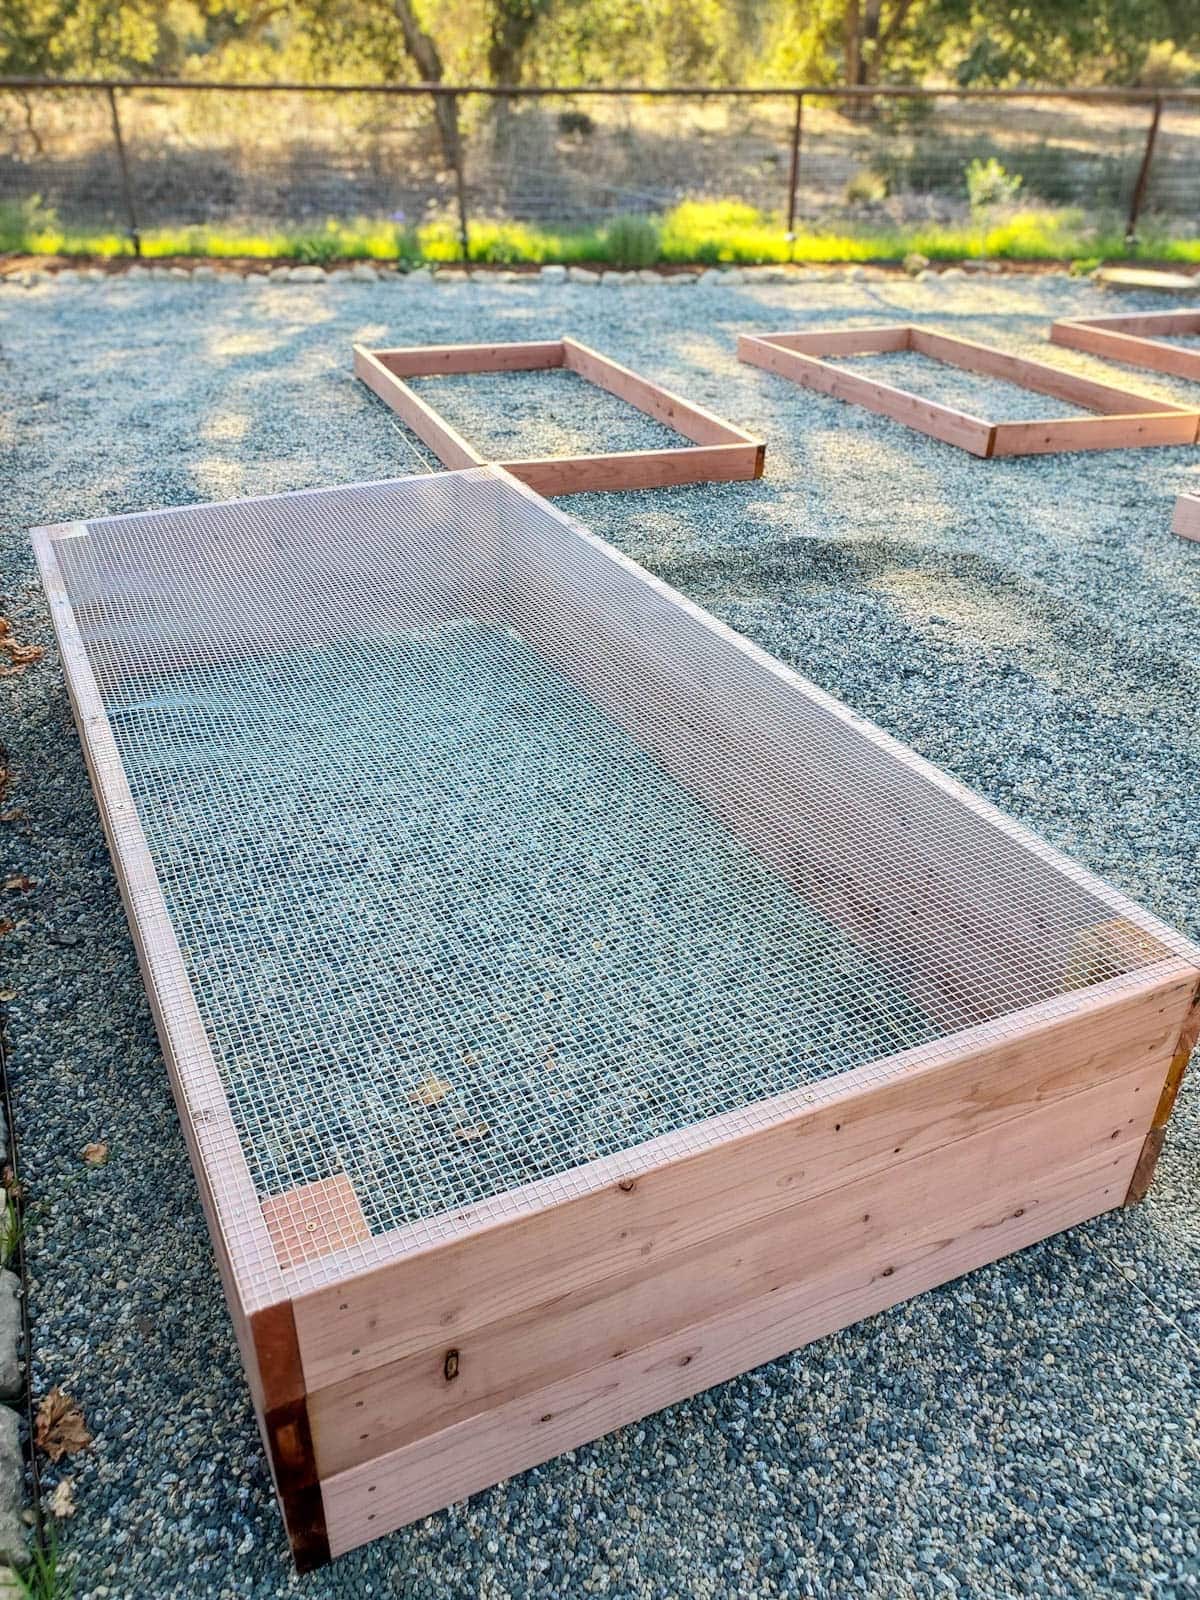
4. Build the Frame
- Cut your chosen material to size.
- Assemble the sides using screws or brackets.
- Reinforce corners for stability.
5. Position the Frame
- Place the frame on the prepared ground.
- Check for levelness using a carpenter’s level.
- Adjust as needed.
6. Fill the Bed with Soil
- Use a mix of topsoil, compost, and organic matter.
- A typical ratio is 50% topsoil, 30% compost, and 20% aeration materials like perlite or coarse sand.
- Fill up to the top, leaving a small gap for mulch.
7. Add Mulch and Plant
- Apply mulch to retain moisture and suppress weeds.
- Choose plants suited for your climate and sunlight.
- Follow proper spacing and watering guidelines.
Tips for Maintaining Your Raised Garden Bed
- Water regularly, especially in hot weather.
- Rotate crops annually to prevent soil depletion.
- Add compost yearly to replenish nutrients.
- Monitor for pests and diseases early.
- Protect plants with covers or shade cloth if necessary.
Common Questions About Installing Raised Garden Beds
How deep should a raised garden bed be?
A depth of 12 inches is ideal for most vegetables. Root crops like carrots may require 18 inches or more.
Can I install a raised bed on concrete?
Yes. Place a weed barrier and fill the bed with soil as usual. Raised beds on concrete require good drainage.
How long will a wooden raised bed last?
Cedar and redwood beds can last 10-15 years with proper care. Composite and metal beds often last longer.
Do I need to line the bed?
Lining can prevent soil loss but may reduce drainage. Use breathable fabric if lining.
Real-World Example: A Small Urban Raised Bed Garden
Jane, an urban gardener, built a 4×8 feet cedar raised bed on her patio. Using organic soil and companion planting, she harvested fresh vegetables all summer without bending over. Her setup saved space and boosted productivity, proving raised beds’ effectiveness in small areas.
Conclusion
Installing a raised garden bed is a straightforward, rewarding project that can transform your gardening experience. By selecting the right materials, preparing your site carefully, and following a clear installation process, you ensure a thriving garden space with improved soil health and plant growth.
Are you ready to start your raised garden bed? Gather your materials, plan your layout, and enjoy the benefits of elevated gardening. Whether you’re a beginner or experienced gardener, raised beds offer an accessible and productive way to grow your favorite plants.
Start building your raised garden bed today and watch your garden flourish with ease and style!
