Installing metal edging in your garden is a smart way to create clean, defined borders between flower beds, lawns, and walkways. Metal edging not only enhances the aesthetic appeal of your garden but also helps prevent grass and weeds from encroaching into flower beds, making garden maintenance much easier. This article will walk you through how to install metal edging in a garden efficiently and effectively, ensuring a long-lasting and professional look.
Why Choose Metal Edging for Your Garden?
Metal edging is a popular choice among gardeners and landscapers for several reasons:
- Durability: Made from steel or aluminum, metal edging resists weather, pests, and decay better than plastic or wood.
- Clean Lines: Metal edging provides sharp, precise borders that enhance garden design.
- Low Maintenance: Once installed, it requires little upkeep.
- Flexibility: Can be bent or shaped to fit curves and unique garden layouts.
- Eco-Friendly: Many metal edgings are recyclable and have a smaller environmental footprint than plastic options.
Tools and Materials Needed for Installing Metal Edging
Before you start, gather the following:
- Metal edging strips (steel or aluminum)
- Edging stakes or spikes (usually come with the edging)
- Hammer or mallet
- Tape measure
- Garden spade or edging shovel
- Level (optional)
- Gloves
- String line or garden hose (to mark edges)
- Safety glasses (recommended)
Step-by-Step Guide: How to Install Metal Edging in Garden
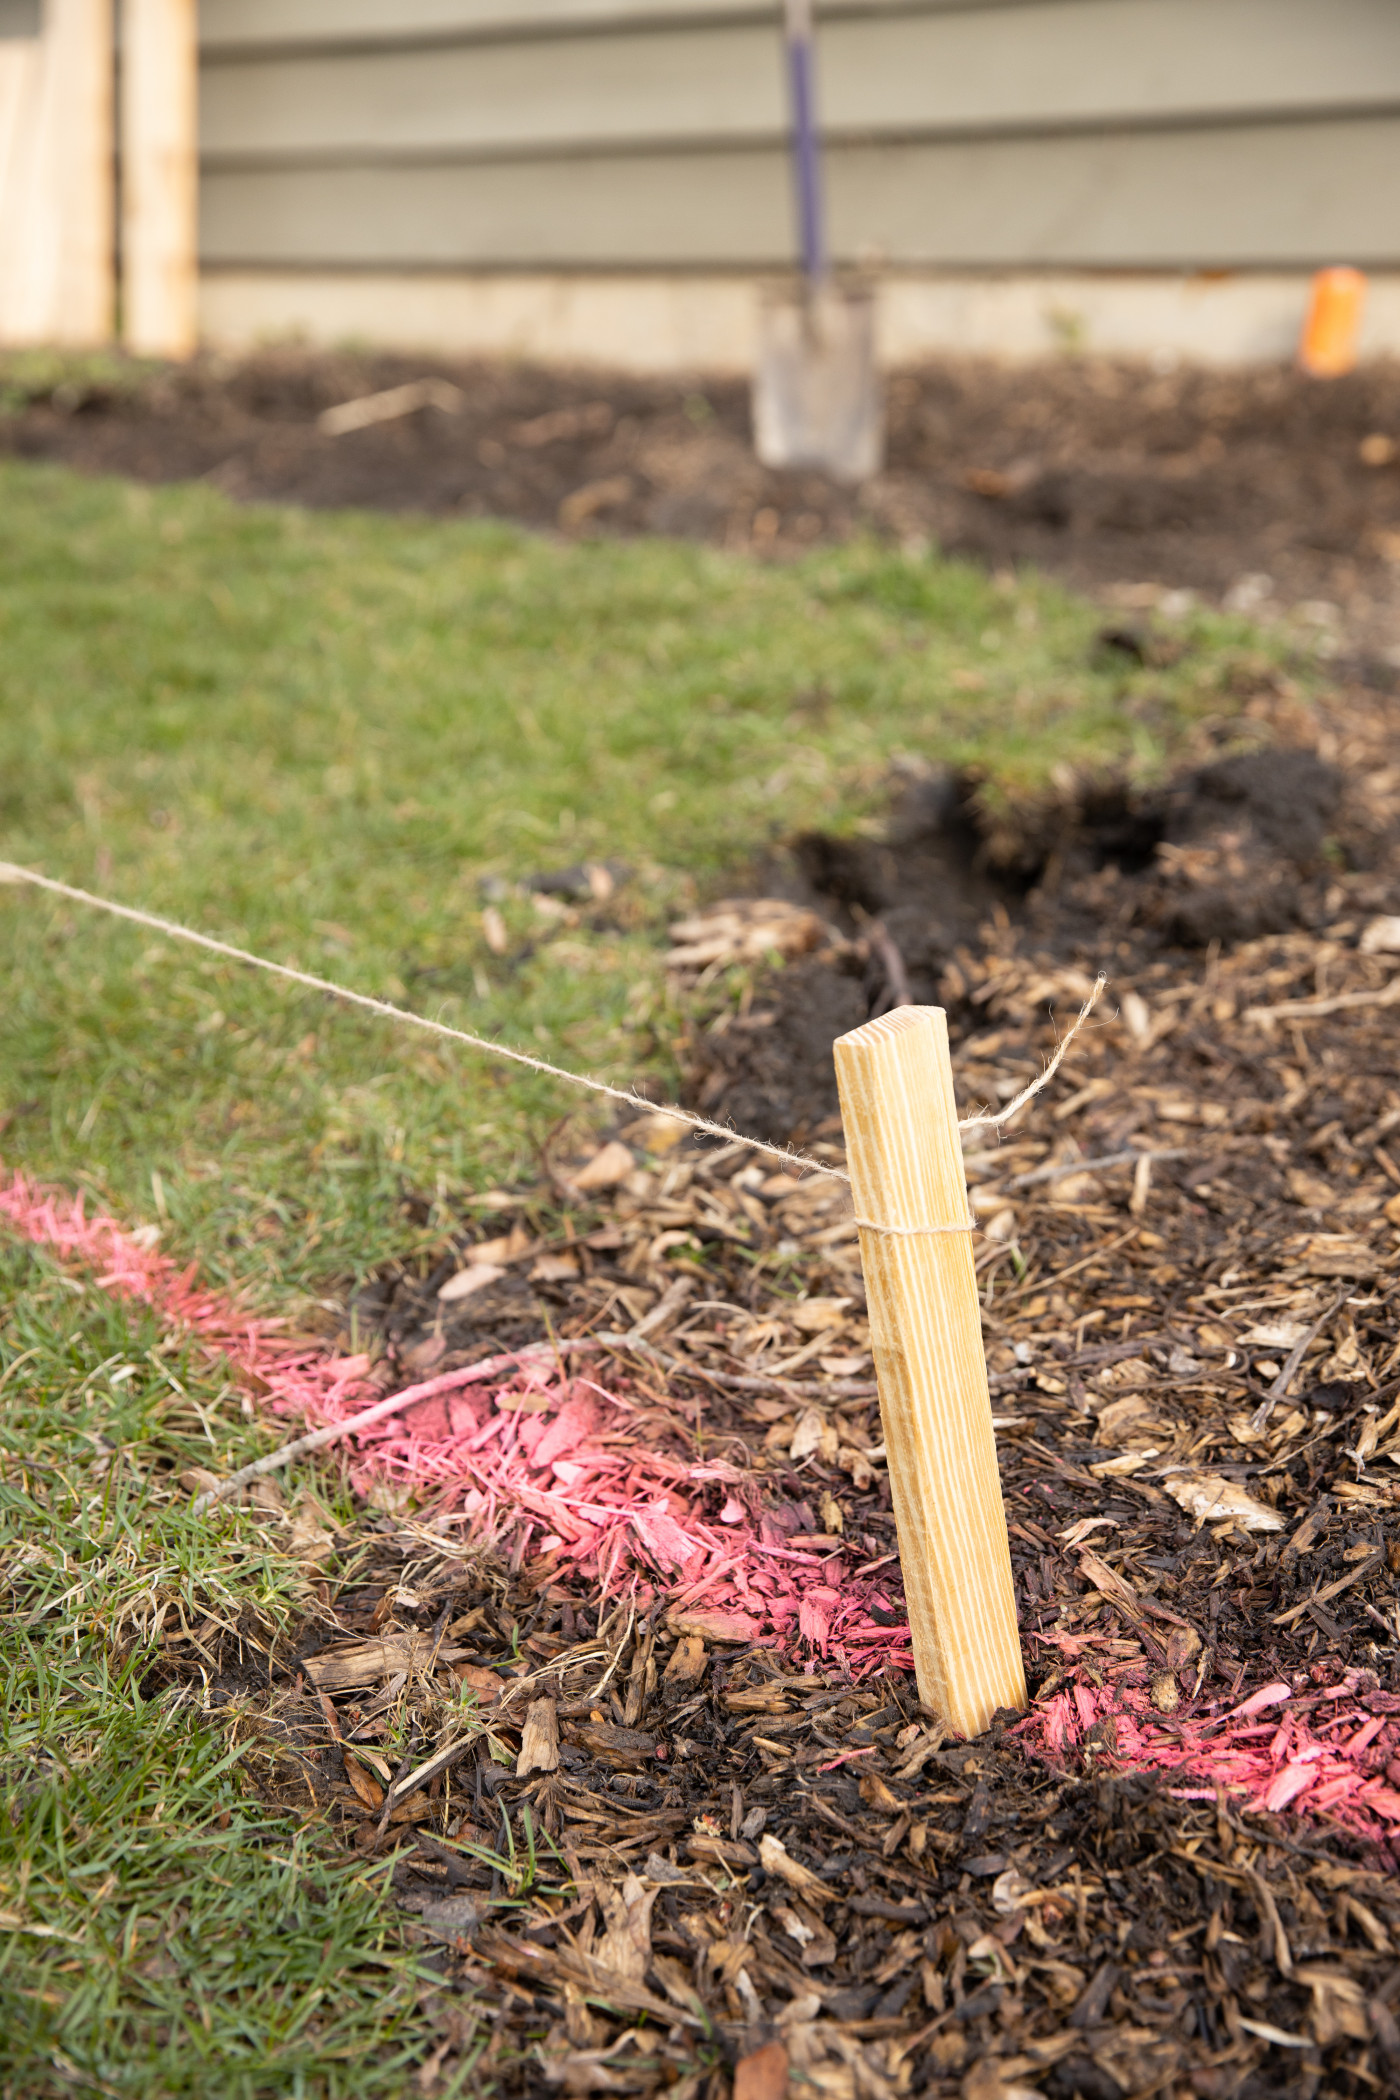
1. Plan and Measure Your Garden Edging
- Define the border: Use a garden hose or string to outline the desired edging shape.
- Measure the length: Use a tape measure to determine how much metal edging you need.
- Mark the line: Place stakes along the line for a visual guide.
2. Prepare the Ground
- Dig a trench: Using a spade, dig a trench along your marked line approximately 4 to 6 inches deep and 3 to 4 inches wide. This depth ensures the edging will be stable and partially hidden underground.
- Clear debris: Remove rocks, roots, and large clumps of soil from the trench to create a smooth base.
3. Cut and Shape the Metal Edging
- Measure and cut: Cut the metal edging strips to the required lengths using metal snips or a saw suitable for metal.
- Shape curves: For curved borders, gently bend the metal strips by hand or using pliers, taking care not to kink the material.
4. Position the Metal Edging
- Place the edging: Insert the metal edging into the trench, ensuring the top edge is slightly above ground level (about 1/2 inch) for visibility and function.
- Align correctly: Use a level to make sure the edging is straight or follows the desired curve smoothly.
5. Secure the Edging with Stakes
- Drive stakes in: Hammer the edging stakes through the holes in the metal edging into the soil. Space stakes approximately every 12 to 18 inches for stability.
- Check alignment: As you secure the edging, periodically check the line and adjust as needed.
6. Backfill and Compact Soil
- Fill the trench: Backfill the trench with soil on both sides of the edging to lock it in place.
- Compact soil: Firmly press the soil down to prevent shifting and ensure long-lasting stability.
7. Final Touches
- Clean the edges: Remove any loose soil or debris from the edging surface.
- Mulch or plant: Add mulch or plants along the edging to enhance appearance and protect the metal from weathering.
Tips for a Successful Metal Edging Installation
- Wear gloves and safety glasses to avoid cuts from sharp metal edges.
- For curved gardens, take your time shaping the metal slowly to avoid damage.
- Choose galvanized or powder-coated metal edging for added rust resistance.
- Use a string line for long straight edges to maintain precision.
- Regularly inspect edging for movement or damage, especially after heavy rains.
Common Questions About Metal Garden Edging
How deep should metal edging be installed?
Metal edging should be installed 4 to 6 inches deep to ensure stability and prevent soil from washing under the edging.
Can metal edging be installed on slopes?
Yes, metal edging can be installed on slopes. Use longer stakes and ensure the edging follows the slope contour tightly.
Is metal edging safe for pets and children?
Generally, metal edging is safe if installed correctly with no sharp exposed edges. Always file down any sharp points for safety.
Conclusion
Properly installed metal edging can transform your garden by creating clean, durable borders that enhance beauty and simplify maintenance. By following this step-by-step guide, you ensure your metal edging lasts for years and looks professionally done. Whether you have a straight pathway or a curvy flower bed, metal edging offers versatility and reliability. Ready to upgrade your garden? Gather your tools, plan your layout, and start installing metal edging today for a garden that impresses!
Reflective Insight: Investing time in precise installation of metal edging pays off with easier garden upkeep and enhanced curb appeal. Think of metal edging as the foundation of your garden’s design—strong, neat, and built to last.
