Indoor herb gardens bring fresh flavors, vibrant greenery, and therapeutic benefits right into your home. Whether you’re a cooking enthusiast or someone looking to enhance your living space with natural elements, cultivating herbs indoors is a rewarding and practical hobby. This guide will walk you through how to build an indoor herb garden with expert tips, actionable steps, and essential knowledge to ensure your herbs thrive year-round.
In this article, you’ll learn about the best herbs for indoor growing, ideal containers, lighting requirements, soil types, watering schedules, and common challenges with solutions. We’ll also explore how to maintain your garden for continuous harvests and share insights from gardening experts to boost your success. By the end, you’ll be equipped to create a flourishing indoor herb garden that suits your lifestyle and kitchen needs.
Why Build an Indoor Herb Garden?
Indoor herb gardens are perfect for:
- Freshness: Pick herbs at their peak for cooking and garnishing.
- Convenience: Have a supply of herbs year-round, irrespective of climate.
- Health: Grow organic plants free from pesticides.
- Aesthetics: Enhance your indoor environment with greenery and pleasant aromas.
- Therapeutic Value: Gardening reduces stress and improves mental wellness.
Step 1: Choose the Right Herbs for Indoor Growing
Not all herbs thrive indoors equally. Selecting the right types ensures a successful garden. Here are some popular and easy-to-grow indoor herbs:
- Basil: Requires warm temperatures and plenty of light.
- Parsley: Grows well with moderate sunlight and consistent moisture.
- Mint: Vigorous grower; prefers indirect light and moist soil.
- Thyme: Needs bright light and well-drained soil.
- Chives: Tolerant of lower light; easy to maintain.
- Rosemary: Prefers bright light and drier soil conditions.
Tip: Start with 3-5 herbs to manage care efficiently.
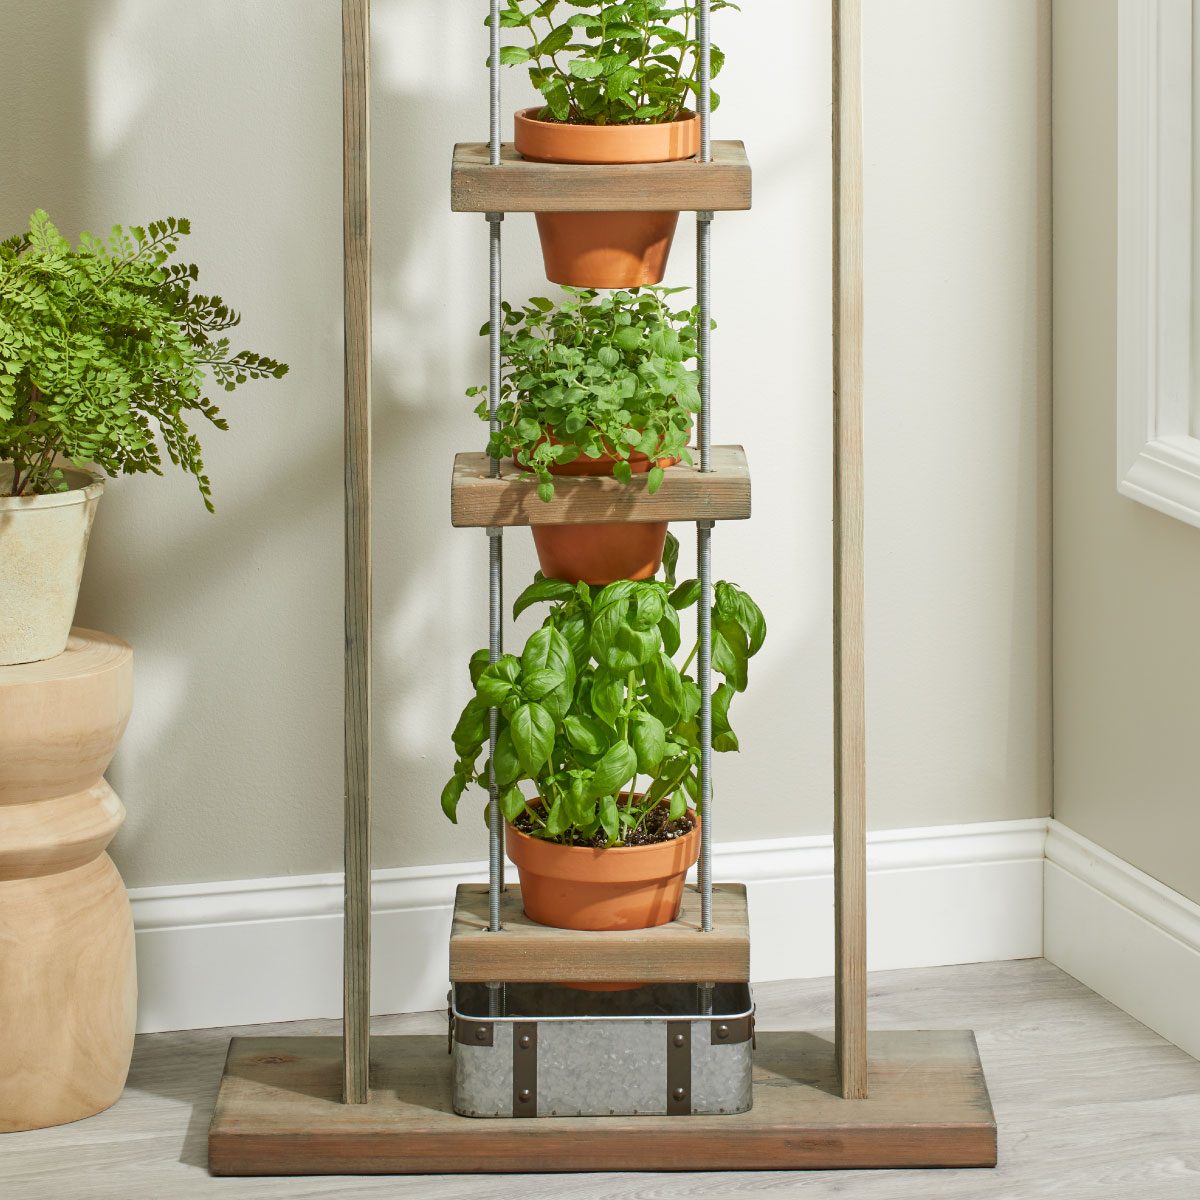
Step 2: Select Suitable Containers and Soil
Containers:
- Use pots with drainage holes to prevent waterlogging.
- Choose pots made from terracotta, ceramic, or plastic depending on aesthetics and moisture retention.
- For beginners, self-watering pots can simplify watering routines.
Soil:
- Opt for a high-quality potting mix designed for indoor plants.
- Avoid garden soil, which can be heavy and poorly draining.
- Mix in perlite or vermiculite to improve aeration and drainage.
Step 3: Provide Adequate Lighting
Herbs need sufficient light to grow and develop flavorful leaves. Here’s how to ensure they get enough:
- Natural Light: Place your garden near a south- or west-facing window for 6-8 hours of sunlight daily.
- Supplemental Lighting: Use LED grow lights if natural light is insufficient, especially during winter months.
- Keep lights 6-12 inches above the herbs and run them for about 12-16 hours a day.
Step 4: Watering and Humidity Best Practices
Proper watering is crucial to prevent root rot or drying out.
- Water when the top inch of soil feels dry.
- Use room temperature water to avoid shocking the plants.
- Ensure excess water drains away; never let pots sit in standing water.
- Increase humidity by placing a tray with water and pebbles beneath pots or using a humidifier.
Step 5: Fertilizing Your Indoor Herb Garden
Indoor herbs benefit from occasional feeding to replenish nutrients.
- Use a balanced liquid fertilizer diluted to half-strength every 4-6 weeks.
- Avoid over-fertilizing, which can lead to excessive leaf growth but weak flavor.
- Organic options like worm castings or compost tea also work well.
Step 6: Pruning and Harvesting for Continuous Growth
Regular trimming encourages bushier plants and prolongs harvest periods.
- Pinch off the top sets of leaves to stimulate branching.
- Harvest leaves in the morning for peak flavor.
- Avoid removing more than one-third of the plant at once.
- For herbs like basil, remove flower buds promptly to extend leaf production.
Troubleshooting Common Issues
| Problem | Cause | Solution |
|————————|——————————–|————————————-|
| Yellowing leaves | Overwatering or poor drainage | Reduce watering; improve drainage |
| Leggy, sparse growth | Insufficient light | Increase light exposure or add grow lights |
| Pests (aphids, spider mites) | Dry air or infrequent cleaning | Wipe leaves; use insecticidal soap |
| Mold or fungus | High humidity and poor airflow | Improve ventilation; avoid overwatering |
Expert Tips for Indoor Herb Gardening Success
- Rotate pots weekly to ensure even light exposure.
- Use companion planting by grouping herbs with similar needs.
- Keep an eye on soil moisture with a moisture meter for accuracy.
- Clean leaves with a damp cloth to maximize photosynthesis.
Real-World Example: How One Home Chef Built a Thriving Herb Garden
Jessica, a culinary enthusiast in Chicago, transformed her small kitchen window into a lush herb garden. She started with basil, parsley, and mint in terracotta pots. Using a south-facing window and a supplemental LED grow light during winter, she maintained consistent watering and monthly fertilizing. Within two months, her herbs flourished, providing fresh ingredients for her weekly meals. Jessica credits regular pruning and pest monitoring as keys to her success.
Conclusion
Building an indoor herb garden is an accessible and gratifying endeavor that enhances your cooking, health, and living space. By selecting the right herbs, containers, and lighting, and following proper watering and care routines, you can cultivate a lush garden year-round. Remember to prune regularly and troubleshoot common issues to keep your plants thriving.
Start small, stay consistent, and enjoy the fresh flavors and natural beauty your indoor herb garden brings. Ready to grow your own? Gather your supplies and watch your indoor herb oasis flourish!
Take Action: Choose your favorite herbs today, find a sunny spot, and begin your indoor herb gardening journey. Your kitchen and taste buds will thank you!
