Creating a garden path is an excellent way to enhance your outdoor space, guiding visitors through your garden while adding charm and functionality. Whether you want a rustic stone walkway or a sleek modern path, building a garden path can transform your yard into a welcoming oasis. This guide will walk you through everything you need to know—from planning and materials to installation and maintenance.
In this article, you’ll learn how to build a garden path that suits your style and landscape. We’ll cover the best materials, tools required, step-by-step instructions, and expert tips to ensure your path is durable, safe, and visually appealing. Whether you’re a seasoned gardener or a beginner, this guide will equip you with the knowledge to create a stunning garden path that lasts for years.
Why Build a Garden Path? Benefits and Considerations
Before diving into construction, it’s important to understand why a garden path is a valuable addition to your outdoor space.
- Improves Accessibility: A clear walkway prevents soil compaction and protects plants by directing foot traffic.
- Enhances Aesthetic Appeal: Paths create structure and flow, drawing attention to garden features.
- Increases Property Value: Well-designed landscaping boosts curb appeal and home value.
- Safety: Reduces tripping hazards by providing a stable surface in wet or uneven areas.
Key considerations before building:
- Location: Choose a route that complements your garden’s layout.
- Material: Select based on durability, maintenance, and style.
- Budget: Costs vary widely from inexpensive mulch paths to premium stone.
Step 1: Planning Your Garden Path
Define the Path’s Purpose and Design
Start by asking:
- Who will use the path? (Family, guests, pets)
- How frequently will it be used?
- What garden features will it connect? (Patio, shed, flower beds)
Design tips:
- Use curved lines for a natural, relaxed feel.
- Straight paths suit formal or modern gardens.
- Keep the path width between 2 to 4 feet for comfortable walking.
Map the Route
- Use a garden hose or rope to outline the path shape on the ground.
- Walk the proposed line to check for obstacles or awkward turns.
- Adjust as needed for ease of movement and aesthetics.
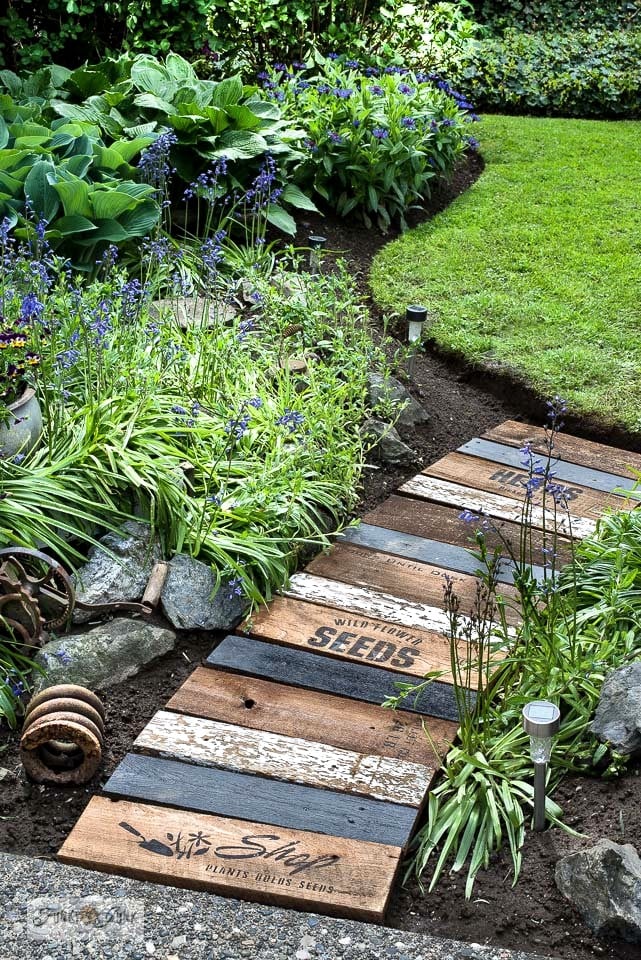
Step 2: Choosing the Right Materials for Your Garden Path
Selecting the right materials impacts both the look and longevity of your path. Here are popular options:
| Material | Pros | Cons | Cost Estimate |
|—————-|————————————|———————————-|——————–|
| Gravel | Affordable, good drainage | Can scatter, may need edging | Low |
| Flagstone | Natural look, durable | Heavy, requires skill to install | Moderate to High |
| Brick | Classic style, long-lasting | Can be slippery when wet | Moderate |
| Pavers | Variety of shapes/colors, easy install | May shift if base isn’t stable | Moderate |
| Mulch | Natural appearance, inexpensive | Needs frequent replenishing | Low |
| Concrete | Long-lasting, low maintenance | Can crack, less natural look | Moderate |
Tip: Combine materials for visual interest, such as brick edging with gravel fill.
Step 3: Gathering Tools and Materials
Before starting, collect these essentials:
- Shovel and spade
- Garden rake
- Tape measure
- Level
- Wheelbarrow
- Tamper (manual or plate compactor)
- Edging materials (metal, plastic, or wood)
- Landscape fabric (optional, for weed control)
- Your chosen path materials (stones, gravel, bricks, etc.)
Step 4: Preparing the Pathway Base
Proper base preparation ensures a stable, long-lasting path:
- Clear the area: Remove grass, plants, rocks, and debris along the path.
- Dig out the path: Excavate to a depth of 4 to 6 inches, depending on material thickness.
- Level the ground: Use a rake and level to create an even surface.
- Install edging: Secure edging along the sides to contain your materials and maintain shape.
- Lay landscape fabric (optional): Prevents weed growth without blocking water drainage.
- Add base layer: Spread 2 to 4 inches of crushed stone or gravel.
- Compact the base: Use a tamper or plate compactor to create a firm foundation.
Step 5: Installing the Garden Path Surface
For Stone or Pavers:
- Place stones or pavers carefully on the prepared base.
- Adjust each piece to create a level surface.
- Leave small gaps (1/4 inch) for jointing material.
- Fill joints with sand or polymeric sand to lock stones in place.
For Gravel:
- Spread gravel evenly over the compacted base layer.
- Rake flat and add more gravel as needed.
- Compact the gravel lightly to prevent shifting.
For Mulch:
- Spread a 2-3 inch layer over the prepared soil.
- Refresh mulch annually to maintain appearance.
Step 6: Finishing Touches and Maintenance
Adding Lighting and Decor
- Install solar or low-voltage garden lights to illuminate the path.
- Incorporate stepping stones or decorative borders for personality.
- Plant low-growing flowers or ground cover alongside for a lush effect.
Maintaining Your Garden Path
- Gravel paths: Replenish gravel every 1-2 years.
- Stone and paver paths: Inspect for shifting or cracks; reset stones as needed.
- Mulch paths: Replenish mulch regularly to prevent erosion.
- Remove weeds promptly to keep the path clean.
Expert Tips for Building a Successful Garden Path
- Slope the path slightly (1-2%) to allow water runoff and prevent pooling.
- Use sand or fine gravel under stones for better leveling.
- Consider permeable materials to reduce runoff and promote drainage.
- Match path style with your garden theme for cohesive design.
- When in doubt, consult a landscaping professional for complex terrains.
Conclusion
Building a garden path is a rewarding project that adds beauty, function, and value to your outdoor space. By carefully planning the route, selecting the right materials, and following proper installation steps, you can create a durable and attractive walkway. Regular maintenance will keep your path looking fresh and safe for years to come. Whether you prefer rustic gravel or elegant flagstone, your garden path will serve as a welcoming guide through your green retreat.
Ready to start your own garden path? Gather your materials, sketch your design, and enjoy the transformation of your garden today!
