Building a garden bed with wood is one of the simplest and most effective ways to start growing your own vegetables, herbs, or flowers. Raised garden beds improve soil drainage, reduce weeds, and make gardening accessible to all skill levels. If you’re wondering how to build a garden bed with wood, this comprehensive guide will walk you through the entire process—from selecting the right materials to assembling your bed for optimal growth.
In this article, you’ll learn practical tips and expert advice on choosing wood, preparing the site, assembling the frame, and maintaining your garden bed. Whether you’re a seasoned gardener or a beginner, this step-by-step approach ensures your garden bed is sturdy, durable, and ready to help your plants thrive.
Why Build a Garden Bed With Wood?
Raised garden beds offer numerous benefits that traditional in-ground gardening can’t match:
- Improved soil quality: Control over the soil mix helps plants grow healthier.
- Better drainage: Raised beds prevent waterlogging.
- Weed and pest control: Easier to manage and less prone to weeds.
- Accessibility: Higher beds reduce bending and strain, ideal for elderly or disabled gardeners.
- Extended growing season: Soil warms faster in spring.
Wood is a popular material choice because it’s natural, easy to work with, and visually appealing. Let’s dive into how to build a garden bed with wood that lasts.
Step 1: Choosing the Right Wood for Your Garden Bed
Selecting the right wood is critical for both durability and safety, especially since your garden bed will be in contact with soil and moisture.
Best Wood Types for Garden Beds
- Cedar: Naturally resistant to rot and insects; long-lasting (up to 15+ years). It’s an eco-friendly choice but can be pricier.
- Redwood: Durable and attractive; resists decay but can be expensive.
- Douglas Fir: Common and affordable; requires sealing to last longer.
- Pressure-treated wood: Chemically treated to resist rot, but some gardeners avoid it due to chemical concerns near edible plants.
Avoid woods like pine or spruce unless they’re sealed, as they tend to rot quickly.
Wood Dimensions
- Use 2-inch thick boards (e.g., 2×6 or 2×8) for sturdiness.
- Bed height should be 6 to 12 inches for most vegetables and flowers.
- Width ideally ranges from 3 to 4 feet—wide enough to reach the center without stepping in.
Step 2: Planning and Measuring Your Garden Bed
Before cutting any wood, carefully plan your garden bed’s size and location.
Factors to Consider
- Sunlight: Choose a spot with at least 6 hours of direct sun daily.
- Level ground: To ensure even water distribution.
- Accessibility: Near your home or tool shed for convenience.
- Soil drainage: Avoid low spots where water pools.
Measuring and Marking
- Use a tape measure and marking paint or stakes to outline the bed.
- A common size is 4 feet by 8 feet—large enough for variety but manageable.
- Draw a square or rectangle on the ground for accuracy.
Step 3: Gathering Tools and Materials
Here’s a checklist of what you’ll need:
- Wood boards (cedar or your choice)
- Wooden stakes (optional, for extra support)
- Exterior wood screws or galvanized nails (to avoid rust)
- Drill and drill bits
- Saw (hand saw or power saw)
- Measuring tape
- Level
- Carpenter’s square
- Gloves and safety goggles
- Soil mix (compost, topsoil, and other amendments)
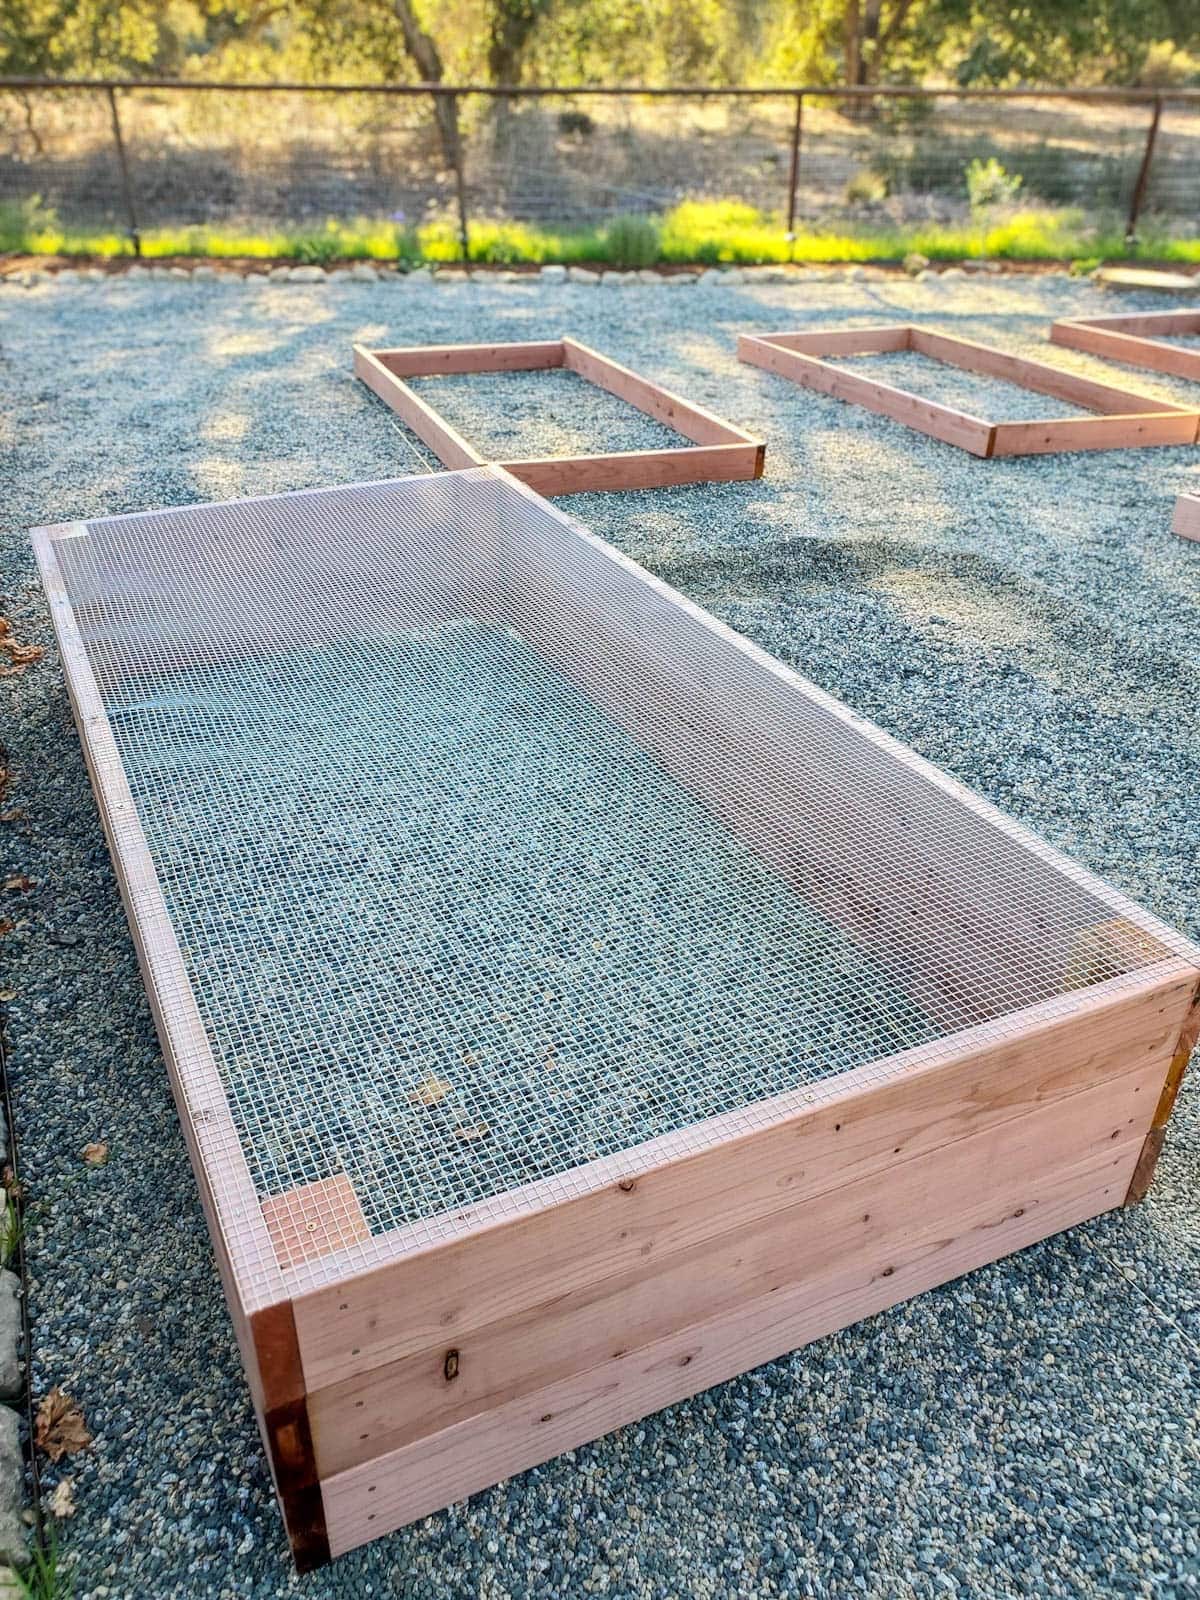
Step 4: Building the Wooden Frame
Now, let’s build the frame step by step.
1. Cut the Wood
- Cut your boards to the desired length.
- For a 4×8 bed, cut two 8-foot boards and two 4-foot boards.
2. Assemble the Sides
- Lay out the boards on a flat surface to form a rectangle.
- Drill pilot holes to prevent splitting.
- Use 3-inch exterior screws to attach the boards at each corner.
- Use a carpenter’s square to ensure right angles.
3. Reinforce the Corners
- For extra stability, add wooden stakes inside each corner.
- Screw the stakes into both boards.
4. Level the Bed
- Place the frame in your chosen spot.
- Use a level to check for evenness.
- Adjust by adding or removing soil underneath.
Step 5: Preparing and Filling Your Garden Bed
Prepare the Base
- Remove grass or weeds to prevent regrowth.
- Lay down cardboard or landscaping fabric to block weeds.
Fill the Bed with Soil
A good soil mix is vital for plant health:
- 40% topsoil
- 40% compost
- 20% peat moss or coconut coir
Mix well before filling the bed. Avoid using garden soil alone as it may compact too much.
Step 6: Planting and Maintaining Your Wooden Garden Bed
Planting Tips
- Choose plants suited to your climate and season.
- Follow spacing recommendations on seed packets.
- Water thoroughly after planting.
Maintenance
- Add mulch to retain moisture and reduce weeds.
- Check the wood annually for signs of rot or damage.
- Replenish soil nutrients with compost yearly.
Expert Tips for a Long-Lasting Wooden Garden Bed
- Seal the wood: Apply a non-toxic, water-based sealant to extend the wood’s life.
- Avoid direct soil contact with untreated wood: Use a plastic liner or landscape fabric.
- Elevate the bed: Place the bed on gravel or pavers to improve drainage.
- Rotate crops annually: Prevent soil depletion and pests.
Frequently Asked Questions (FAQ)
Can I build a garden bed with scrap wood?
Yes, as long as the wood is untreated and free of chemicals. Avoid old railroad ties or pressure-treated wood with harmful chemicals.
How deep should a wooden garden bed be?
At least 6 inches deep, but 12 inches is ideal for most vegetables.
How long does a wooden garden bed last?
With proper care, cedar or redwood beds can last 10-15 years. Other woods may last 3-5 years.
Is it safe to grow edibles in wood beds?
Yes, particularly with natural woods like cedar. Avoid treated wood containing harmful chemicals near edible plants.
Conclusion
Building a garden bed with wood is a rewarding project that enhances your gardening experience by providing better soil control, improved drainage, and easier maintenance. By selecting the right wood, planning carefully, and following the step-by-step construction process outlined here, you can create a durable, beautiful garden bed that will nurture your plants for years.
Ready to get started? Gather your materials and turn your gardening dreams into reality—your perfect wooden garden bed awaits!
Embrace the joy of gardening with a wooden garden bed that reflects your care and dedication. Happy planting!
