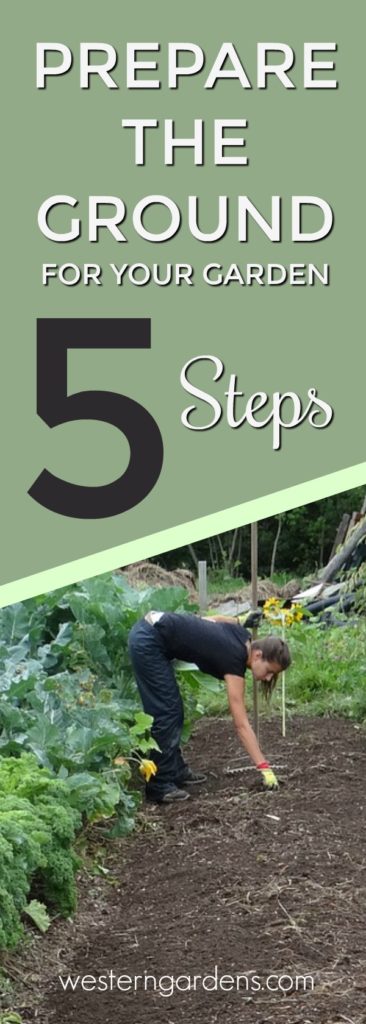
Preparing the ground for a garden is the essential first step toward growing a thriving, beautiful landscape or productive vegetable patch. Proper soil preparation sets the stage for healthy plant growth, improved nutrient absorption, and better water retention. Whether you’re a beginner gardener or an experienced horticulturist, understanding how to prepare the ground effectively can save time, effort, and resources in the long run.
In this comprehensive guide, we will walk you through each phase of garden ground preparation—from site selection and soil testing to tilling, amending, and final bed formation. You’ll learn practical techniques rooted in expert advice and scientific principles that will help you create an ideal foundation for your garden. By the end, you’ll be ready to plant with confidence, knowing your soil is primed to nurture your plants to their fullest potential.
Why Is Proper Ground Preparation Crucial for a Garden?
Before diving into the preparation process, it’s important to understand why preparing garden soil matters:
- Improves Soil Structure: Breaking up compacted soil enhances aeration and root penetration.
- Enhances Nutrient Availability: Amending soil with organic matter boosts fertility.
- Optimizes Water Management: Well-prepared soil retains moisture while allowing excess water to drain.
- Reduces Weeds and Pests: Clearing the site minimizes competition and pest habitats.
- Prepares a Level, Ready-to-Plant Bed: Makes planting easier and ensures even growth.
Step 1: Choose and Assess Your Garden Site
Choosing the right location is the foundation of successful gardening.
Factors to Consider:
- Sunlight Exposure: Most vegetables and flowers require 6-8 hours of direct sunlight.
- Drainage: Avoid low spots where water pools; good drainage prevents root rot.
- Accessibility: Easy access to water and tools simplifies maintenance.
- Soil Condition: Check for existing vegetation, rocks, or debris that may interfere.
Site Assessment Tips:
- Observe the area during different times to note sunlight and shade patterns.
- Test soil drainage by digging a 12-inch hole and filling it with water. If it drains within 24 hours, it’s suitable.
Step 2: Clear the Area Thoroughly
Before working the soil, clear the garden site completely.
How to Clear:
- Remove Vegetation: Pull out weeds, grass, and old plants by the roots to prevent regrowth.
- Dispose of Debris: Collect rocks, sticks, and trash.
- Cut Back Large Plants or Trees: Trim roots or branches that may encroach on your garden space.
Step 3: Test Your Soil
Soil testing is a critical step for understanding nutrient levels and pH, enabling precise amendments.
How to Test Soil:
- Collect several soil samples from different spots, 6-8 inches deep.
- Mix samples and send them to a local extension service or use at-home test kits.
- Analyze results for pH, nitrogen (N), phosphorus (P), potassium (K), and organic matter content.
Ideal Soil Conditions:
- pH: Most plants prefer 6.0 to 7.0.
- NPK Levels: Balanced nutrients or tailored amendments based on plant needs.
Step 4: Loosen and Till the Soil
Breaking up compacted soil is necessary for root growth and nutrient absorption.
Methods:
- Manual Tools: Use a garden fork or spade for small areas.
- Mechanical Tillers: Efficient for larger gardens; till to a depth of 8-12 inches.
- Double Digging: For heavy clay or compacted soil, this technique improves aeration deeply.
Tips:
- Avoid tilling when the soil is too wet, as this causes compaction.
- Remove large clumps and break soil into fine crumbs.
Step 5: Amend the Soil for Fertility and Structure
Adding organic matter and nutrients improves soil health dramatically.
Common Amendments:
- Compost: Rich in nutrients and beneficial microbes.
- Aged Manure: Adds nitrogen and organic matter.
- Peat Moss or Coconut Coir: Improves water retention and aeration.
- Sand or Perlite: For heavy clay soils to improve drainage.
- Lime or Sulfur: Adjust soil pH based on test results.
How to Incorporate:
- Spread amendments evenly over the soil surface.
- Mix thoroughly into the top 6-8 inches of soil.
Step 6: Level and Shape Your Garden Beds
Once amended, prepare the final planting surface.
Tips for Bed Preparation:
- Level the Soil: Remove bumps and fill dips to create an even surface.
- Shape Beds: Raised beds improve drainage and warmth; mounded beds can benefit root crops.
- Create Pathways: Define walking areas to avoid soil compaction on beds.
Step 7: Mulch and Water Before Planting
Mulching protects soil and conserves moisture immediately after preparation.
Mulching Benefits:
- Suppresses weeds.
- Maintains soil temperature.
- Reduces moisture evaporation.
Recommended Mulch Materials:
- Straw
- Shredded leaves
- Wood chips (for pathways)
Water the garden bed thoroughly to settle soil and kickstart microbial activity.
Expert Tips for Optimizing Ground Preparation
- Rotate Crops Annually: Prevent nutrient depletion and pest buildup.
- Use Cover Crops: Plant legumes or grasses off-season to improve soil fertility.
- Avoid Chemical Overuse: Excess fertilizers can harm soil biology and plant health.
- Test Soil Periodically: Maintain soil health with regular testing every 2-3 years.
Common Mistakes to Avoid When Preparing Garden Ground
| Mistake | Why It’s Problematic | How to Avoid |
|——————————-|—————————————-|————————————|
| Working soil when too wet | Causes compaction and poor structure | Wait until soil is moist but not wet|
| Skipping soil testing | Leads to nutrient imbalances | Test soil for precise amendments |
| Not removing weeds completely | Results in ongoing weed problems | Pull roots thoroughly |
| Over-tilling | Destroys soil structure and microbes | Till just once or twice per season |
Conclusion: Laying the Foundation for a Flourishing Garden
Proper ground preparation is the cornerstone of successful gardening. By carefully selecting your site, thoroughly clearing and testing the soil, loosening and enriching the ground, then shaping and nurturing the beds, you create an optimal environment for plants to flourish. This investment in soil health pays dividends in stronger plants, higher yields, and less maintenance.
Take time to prepare your garden ground thoughtfully and see the difference in your gardening results. Start your garden season with confidence, knowing you’ve set the stage for healthy growth and abundant harvests.
Ready to transform your outdoor space? Begin your garden ground preparation today and watch your garden dreams grow into reality!
