Introduction
Chives are a popular herb loved for their mild onion flavor and vibrant green color. If you grow chives in your garden, you know how rewarding it is to add fresh, aromatic touches to your dishes. But what if you want to enjoy chives year-round? Drying chives is an excellent way to preserve their flavor and extend their shelf life.
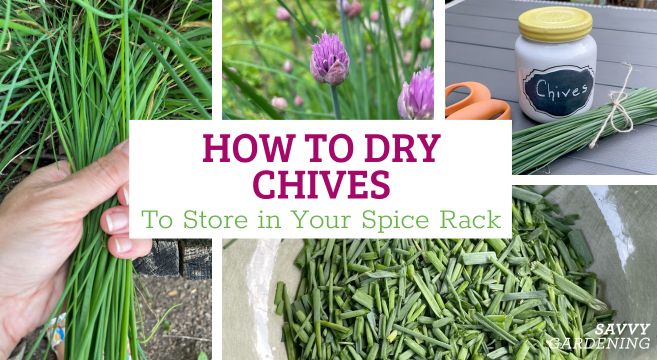
In this guide, you’ll learn how to dry chives from the garden effectively. We’ll cover the best harvesting times, drying methods, storage tips, and how to use dried chives in your cooking. Whether you’re a seasoned gardener or a culinary enthusiast, this article provides practical, expert-backed advice to help you preserve this versatile herb with ease.
Why Dry Chives?
Before diving into the drying process, let’s explore why drying chives is beneficial:
- Preserves flavor: Drying concentrates the unique onion-like taste.
- Extends shelf life: Fresh chives last about a week; dried chives can last up to a year.
- Convenient use: Dried chives are easy to sprinkle on soups, salads, and sauces.
- Reduces waste: Prevents chives from spoiling when you harvest more than you can use fresh.
When to Harvest Chives for Drying?
Timing your harvest correctly is crucial for the best flavor and drying results.
- Harvest in the morning after the dew has dried but before midday heat.
- Choose healthy, vibrant leaves free from yellowing or damage.
- Cut chives about 1-2 inches above the soil to allow regrowth.
- Avoid harvesting during or right after rain to reduce moisture content.
Harvesting at the right time ensures that your chives dry evenly and retain their fresh flavor.
How to Dry Chives From the Garden: Step-by-Step Methods
There are several effective ways to dry chives. Choose a method based on your available time, equipment, and desired texture.
1. Air Drying (Traditional Method)
Air drying is easy and requires no special equipment.
Steps:
- Wash chives gently under cool water to remove dirt.
- Pat dry with a clean towel or let air dry completely to avoid mold.
- Bundle chives into small bunches, securing with a rubber band or twine.
- Hang bundles upside down in a warm, dry, well-ventilated area away from direct sunlight.
- Allow 1-2 weeks for chives to dry fully — they should snap easily when dry.
- Remove dried leaves from stems and store.
Pros: Low cost, natural preservation
Cons: Takes longer, risk of mold if humidity is high
2. Oven Drying
If you want faster results, use your oven to dry chives.
Steps:
- Preheat oven to the lowest setting (usually 140°F or 60°C).
- Spread washed and dried chives in a single layer on a baking sheet lined with parchment paper.
- Keep the oven door slightly ajar to allow moisture to escape.
- Check every 15-20 minutes and turn chives to dry evenly.
- Total drying time: 1-3 hours until chives crumble easily.
Pros: Quick, controlled drying
Cons: Risk of overheating, watch carefully to prevent burning
3. Dehydrator Drying
A food dehydrator offers the most controlled drying environment.
Steps:
- Wash and dry chives thoroughly.
- Spread chives evenly on dehydrator trays.
- Set temperature to 95-115°F (35-46°C).
- Dry for 1-4 hours, checking frequently.
- Chives are done when crisp and brittle.
Pros: Efficient, preserves flavor and color
Cons: Requires dehydrator appliance
How to Store Dried Chives
Proper storage keeps your dried chives fresh and flavorful for months.
- Use airtight containers such as glass jars or sealed plastic bags.
- Store in a cool, dark place to prevent flavor degradation.
- Avoid moisture exposure, which can cause mold.
- Label containers with the drying date.
- For best flavor, use dried chives within 6-12 months.
How to Use Dried Chives in Cooking
Dried chives offer a concentrated flavor and are versatile in the kitchen.
- Use 1 teaspoon of dried chives to replace 1 tablespoon of fresh chives.
- Add to soups, stews, dips, and salad dressings.
- Sprinkle on baked potatoes, scrambled eggs, or roasted vegetables.
- Rehydrate by soaking in a small amount of water if a softer texture is desired.
Tips and Expert Advice for Drying Chives
- Do not dry chives in direct sunlight to preserve color and flavor.
- Ensure chives are completely dry before storage to avoid spoilage.
- Consider harvesting chive flowers; they’re edible and can also be dried.
- Rotate storage containers every few months to maintain freshness.
- Experiment with freezing fresh chives as an alternative preservation method.
Common Questions About Drying Chives
Can you dry chives with roots attached?
No, it’s best to trim off roots and dry only the leaves, as roots retain moisture and can cause mold.
How do I know when chives are fully dry?
Dried chives should snap easily and crumble when rubbed between your fingers.
Is drying better than freezing chives?
Drying extends shelf life without needing freezer space, but freezing retains more fresh flavor. Use both methods based on your needs.
Conclusion
Drying chives from your garden is a simple, effective way to enjoy the fresh, oniony flavor all year long. Whether you choose air drying, oven drying, or using a dehydrator, following the right steps ensures you preserve the herb’s vibrant taste and aroma. Store dried chives properly in airtight containers away from moisture and sunlight to maintain their quality.
By mastering chive drying, you reduce waste, enhance your cooking, and make the most of your garden harvest. Try drying your chives this season and discover the convenience and flavor of homemade dried herbs!
Ready to preserve your garden’s bounty? Start drying your chives today and transform your culinary creations with homegrown flavor!
